
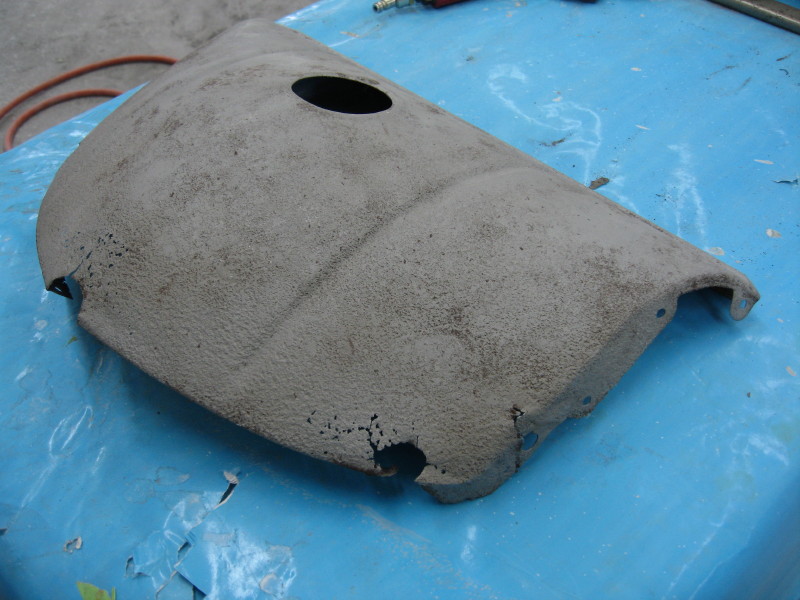
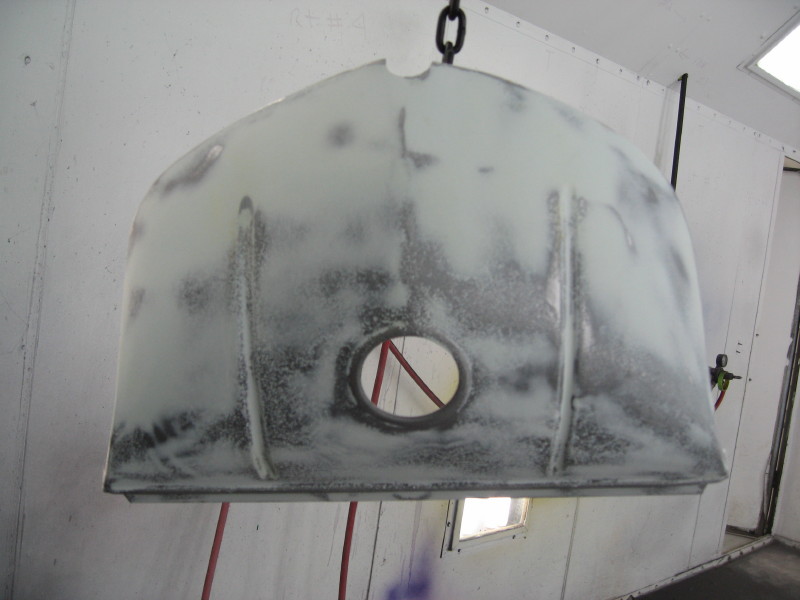
Grille shell
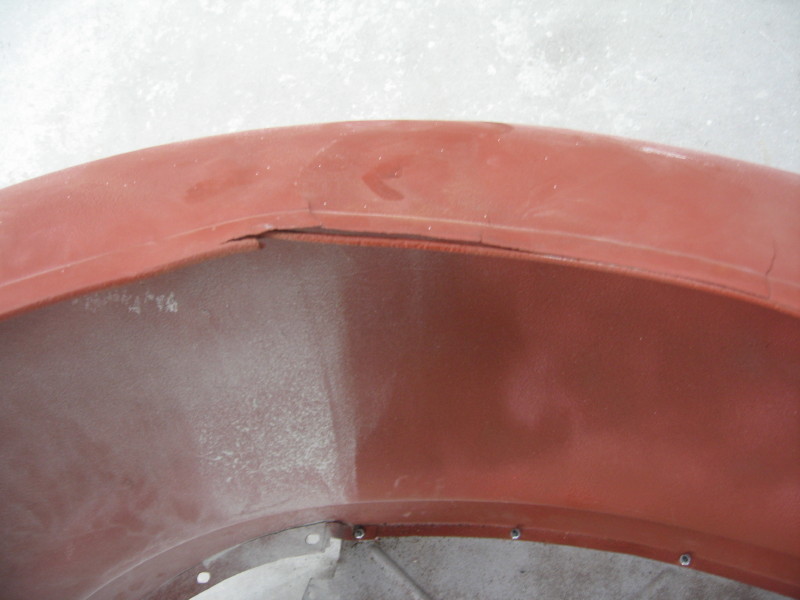
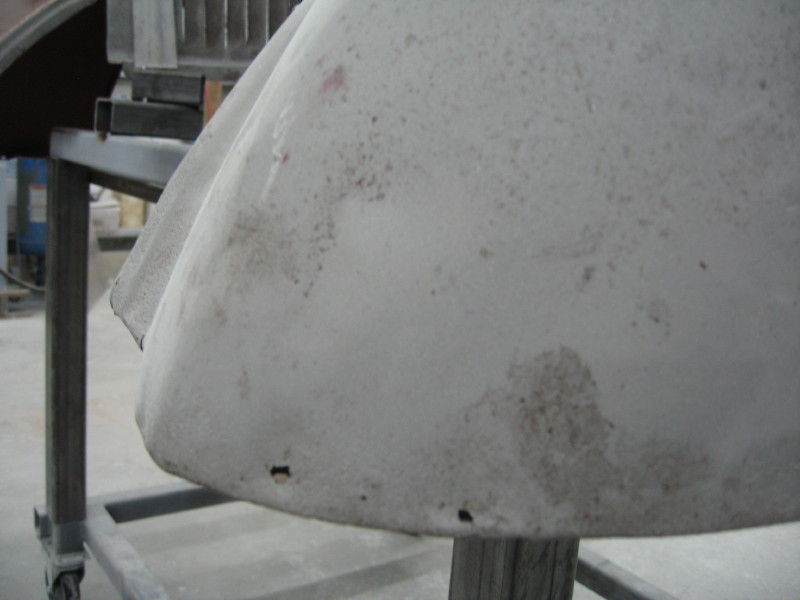
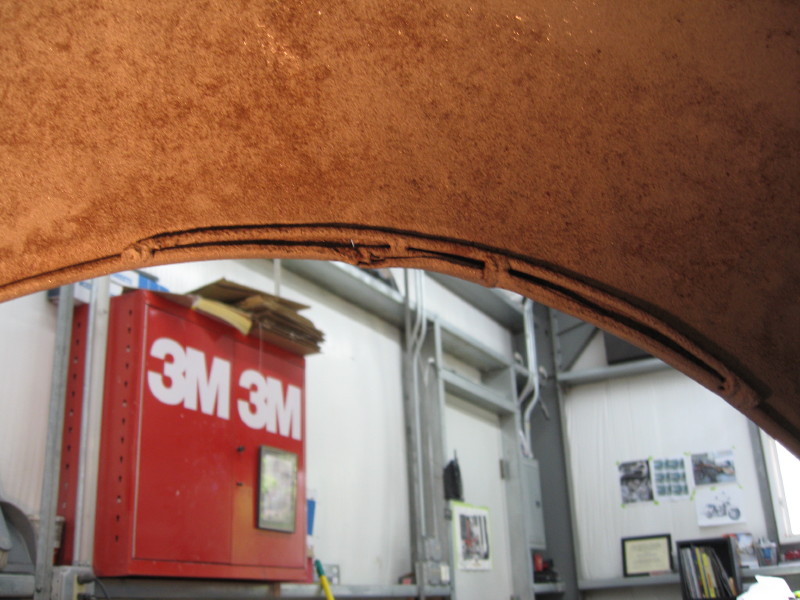
Much of the Grille Shell is like swiss cheese. Areas that trapped water over the years, left their mark. Before we start, let's get a look at what shape the Shell is in, overall.
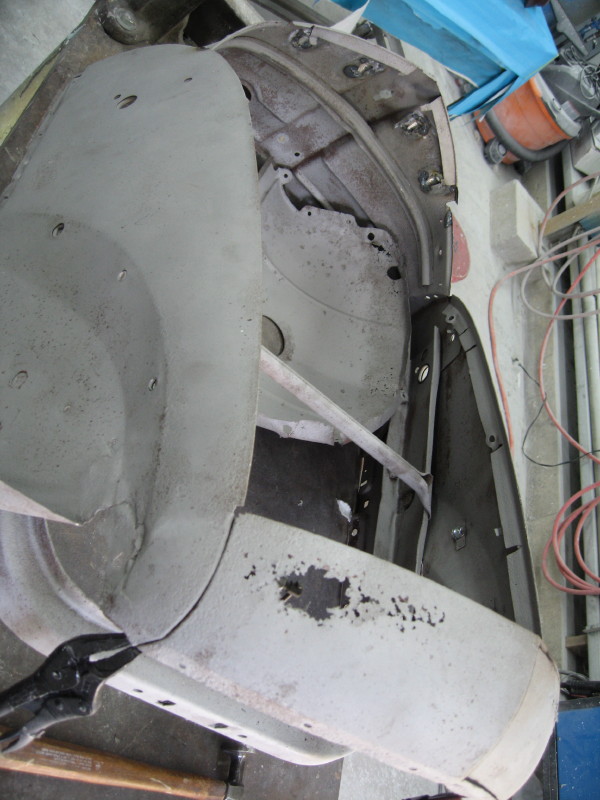
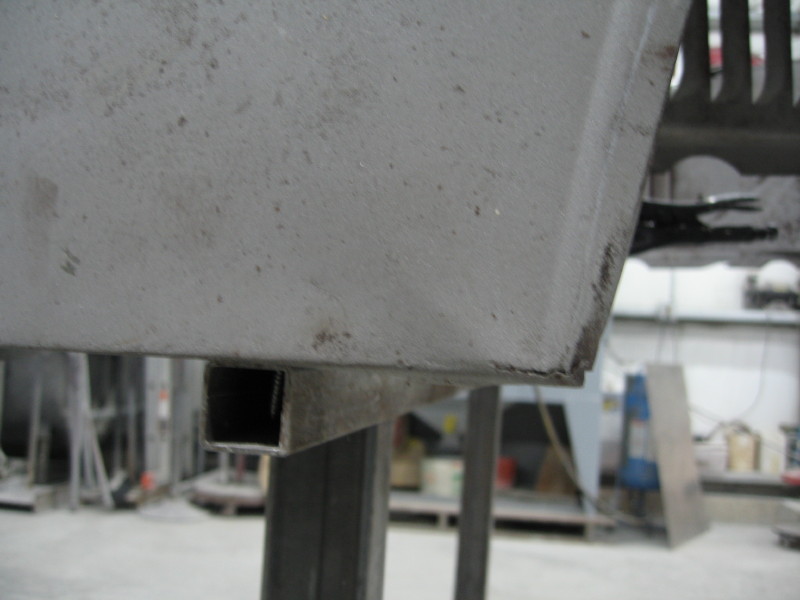
Both sides of the Lower Grille Shell, are very pourus , and the whole panel should be replaced. But ! You guessed it. No reproduction part made. So, we'll fabricate our own.
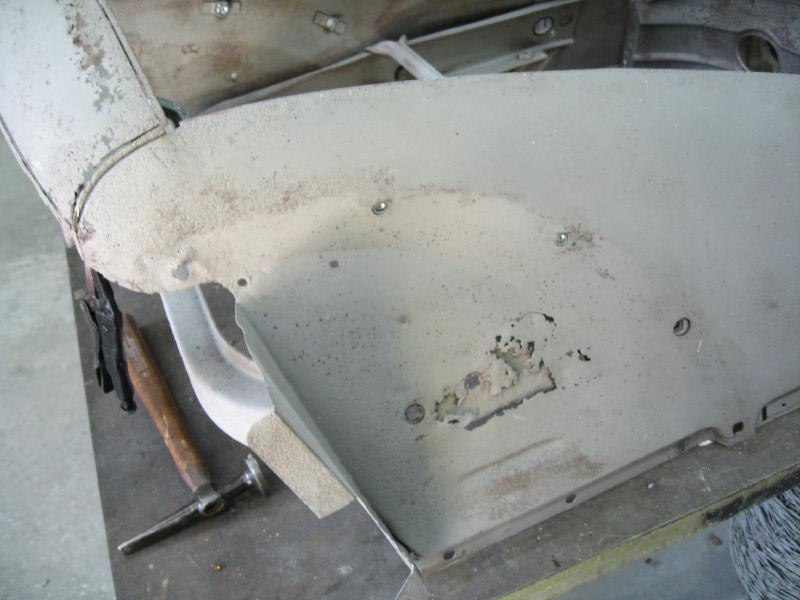

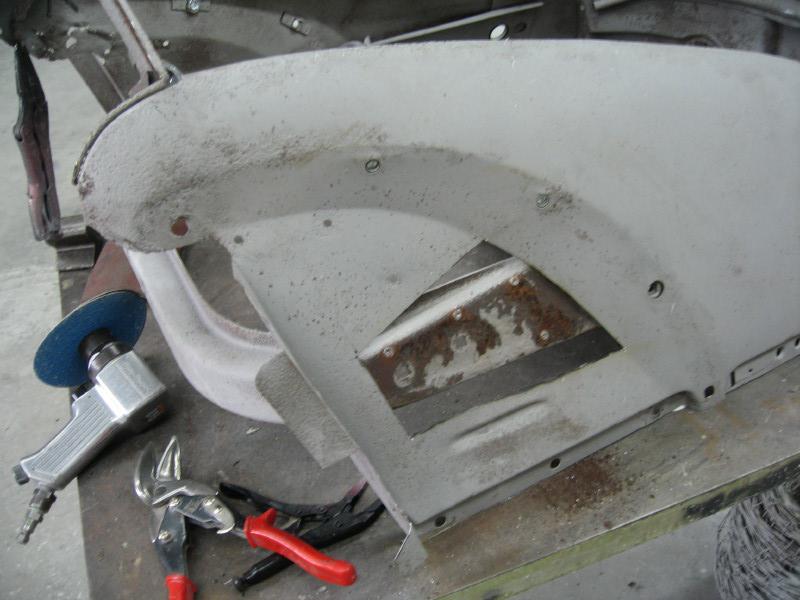
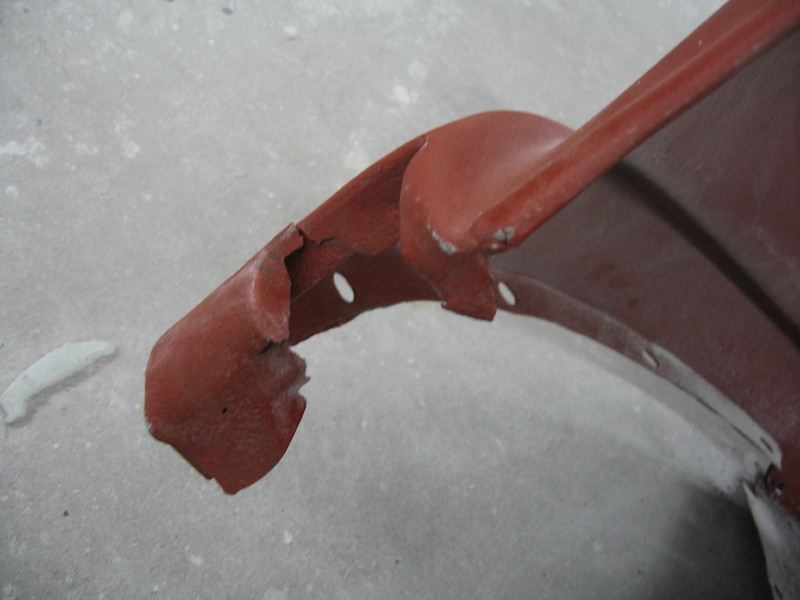
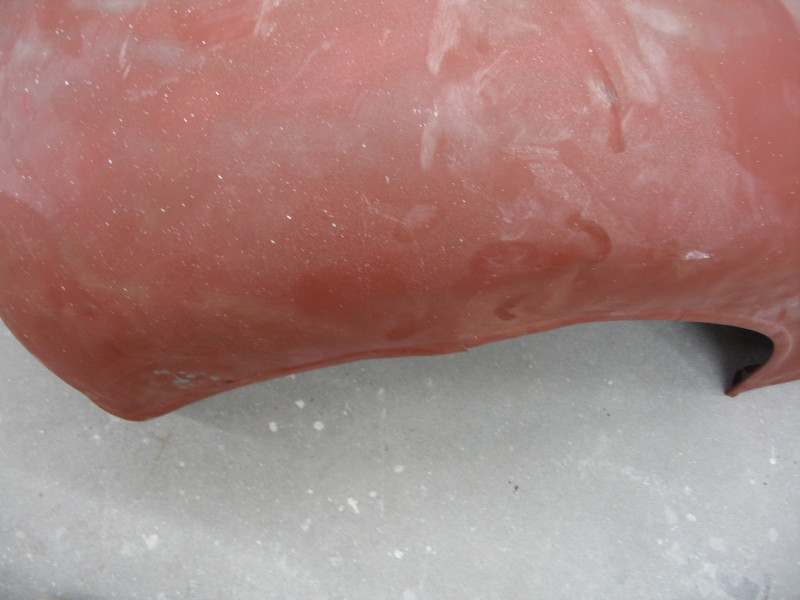
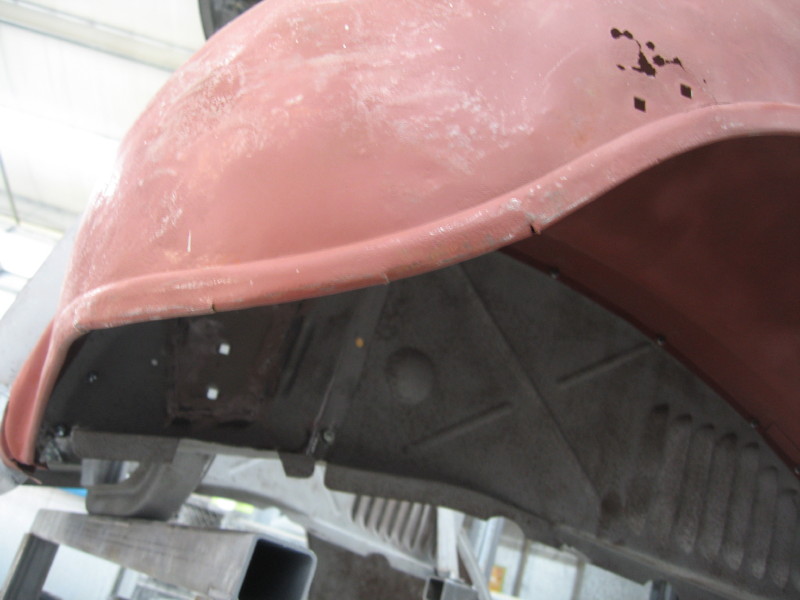
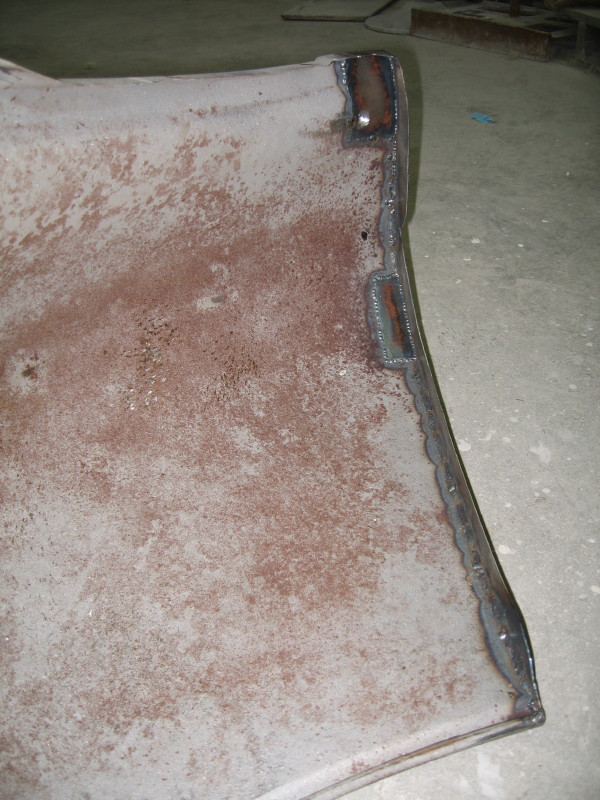
The inner fender areas were pourus, and the bottom corners where the fender bolts was fatigued as well.
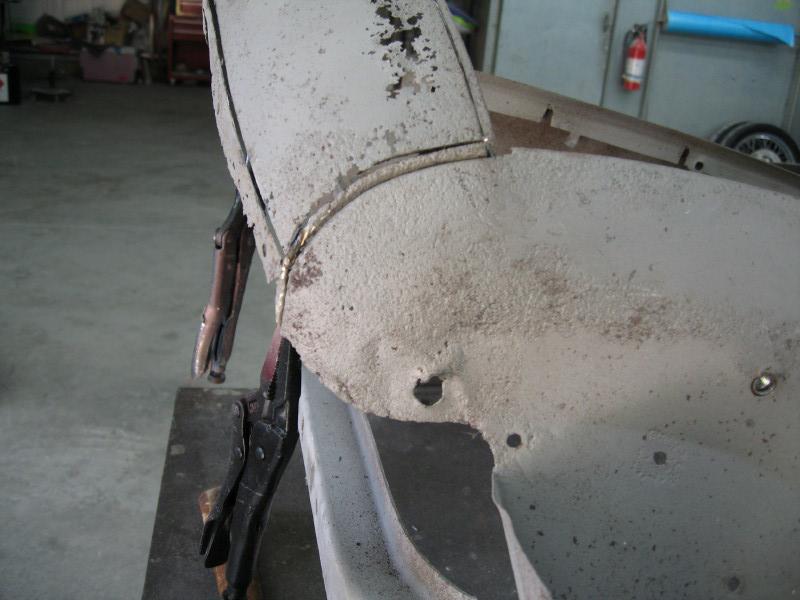
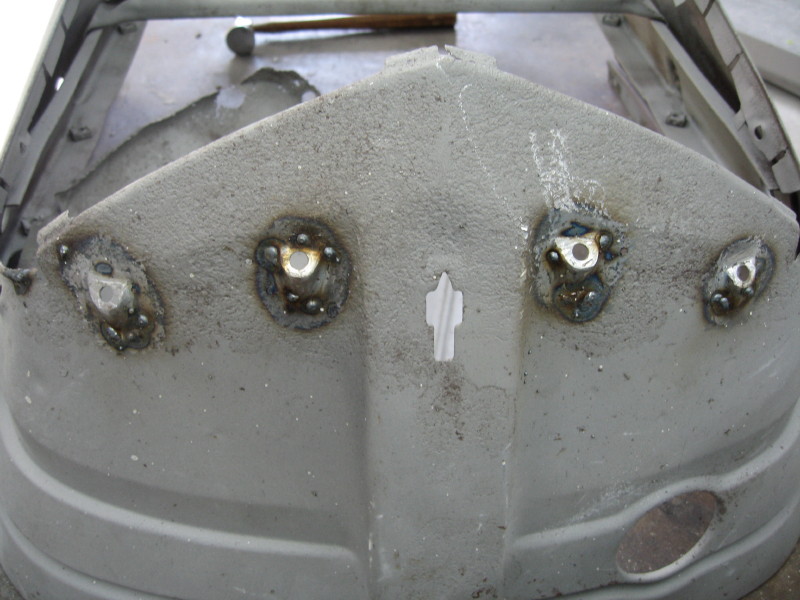
The top of the Shell, has mount areas for rubber bumpers, where the hood front, contacts when closed. I was eager to try an idea to fix that area, before I got a photo. So suffice it to say, the 4 mounts were so pourus, they were transparent ! You could not touch them, for fear they would lose their shape. I decided to take a piece of 1/2" steel tubing, cut it on the same angle, as the rounded hump, that sat on top of the shell. The base, the hump sat on, was still good, just pitted. So, I could weld the new hump on without, blowing right through. I finished the bumper mount, by welding a steel washer on the end, to cap it off. The hole in the center, was the same size as the original mount, so we'll have no problem installing the new rubber bumpers.
So, I began cutting out the bad and replacing with the new !
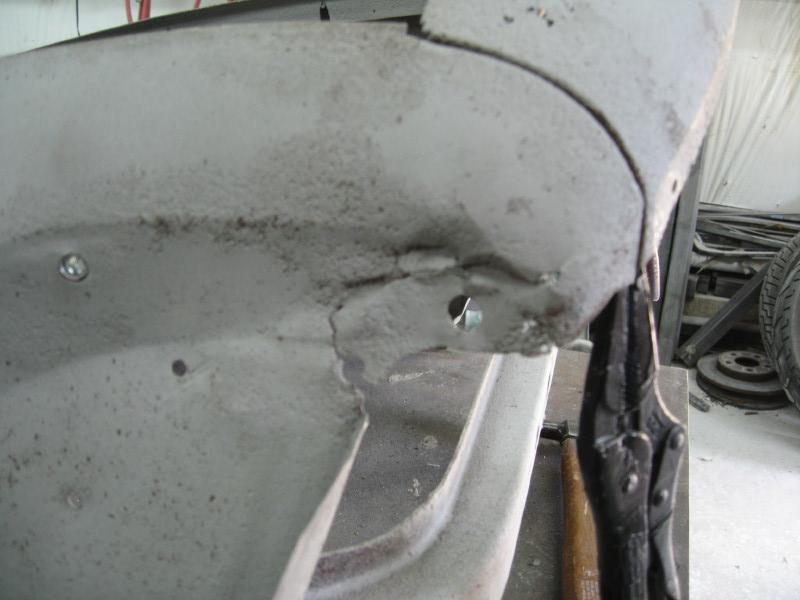
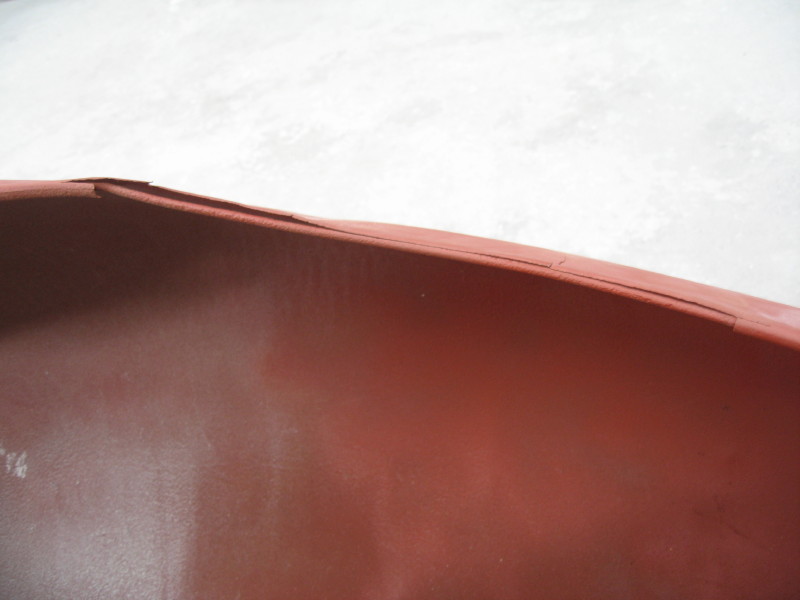
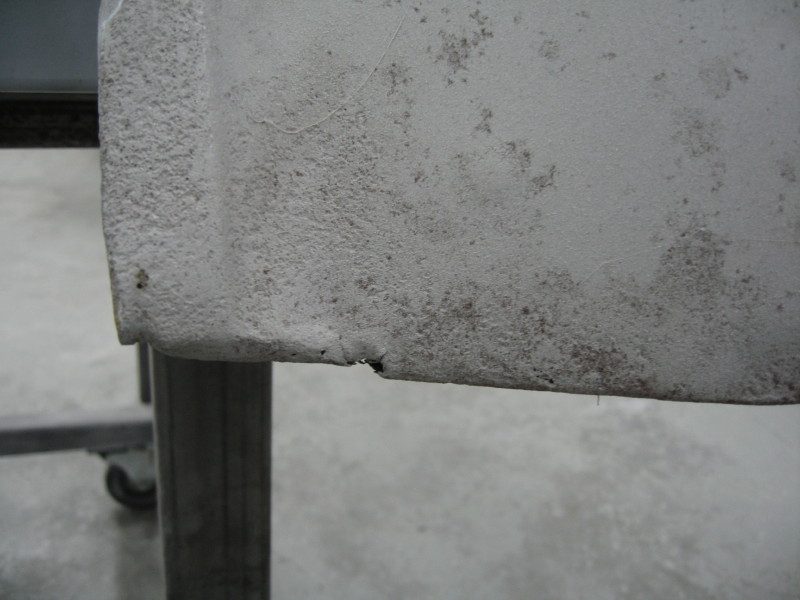
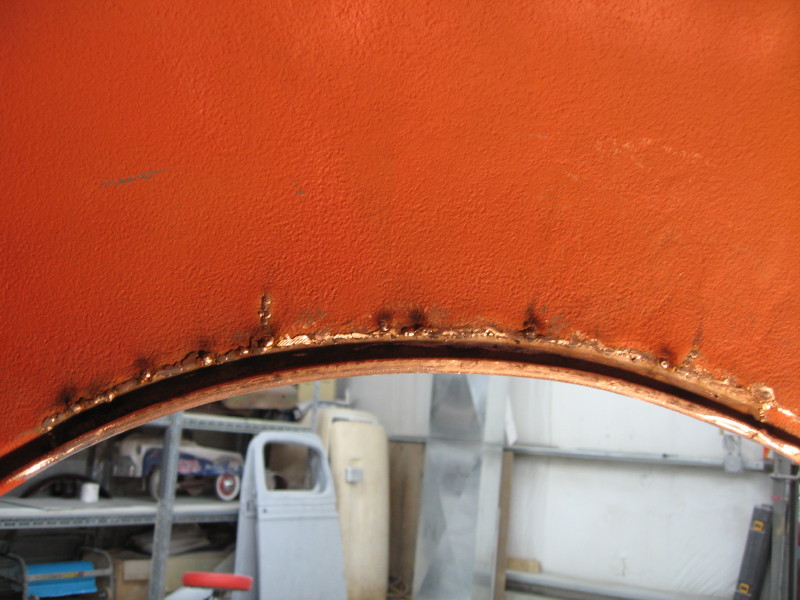
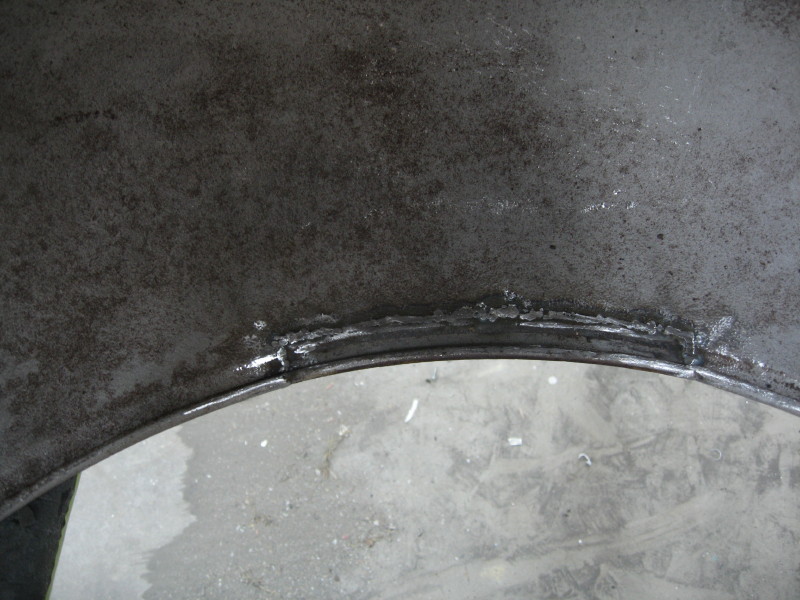
Many corners and folds had fatigued over the years and cracked. Those areas were able to be stitched back together.

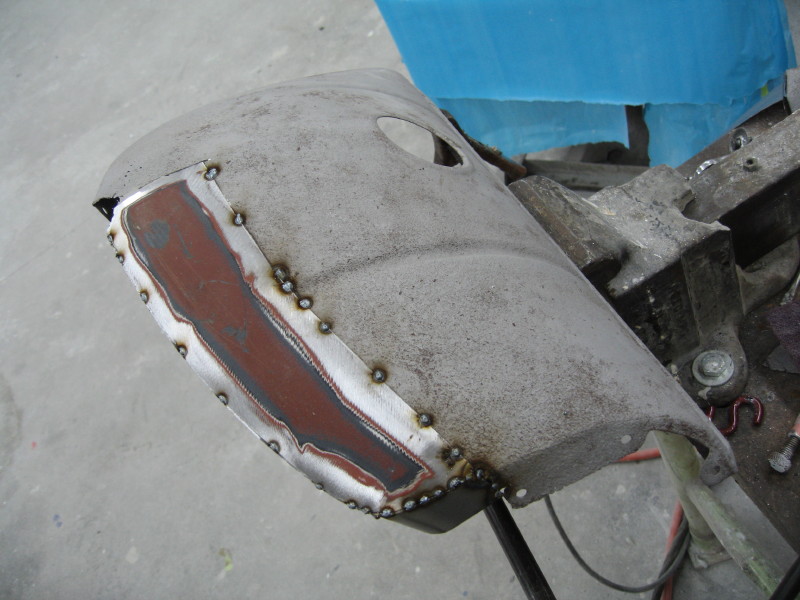
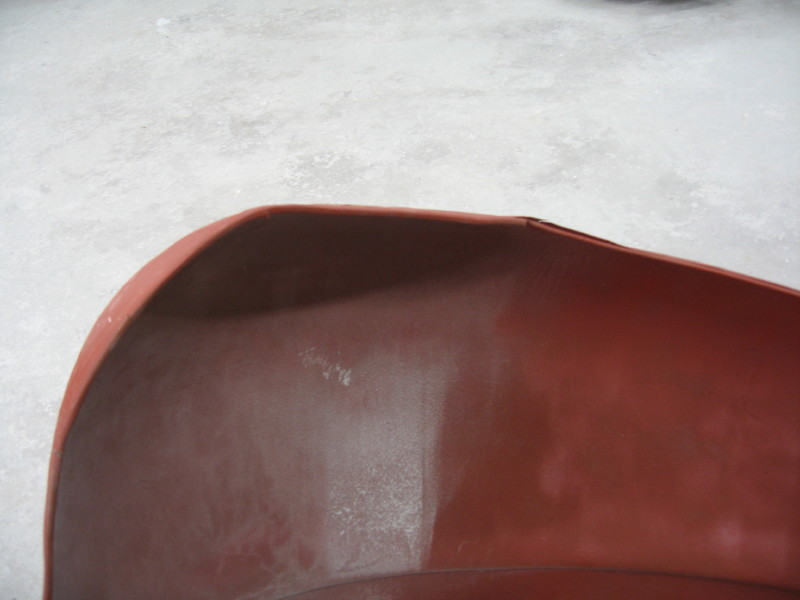
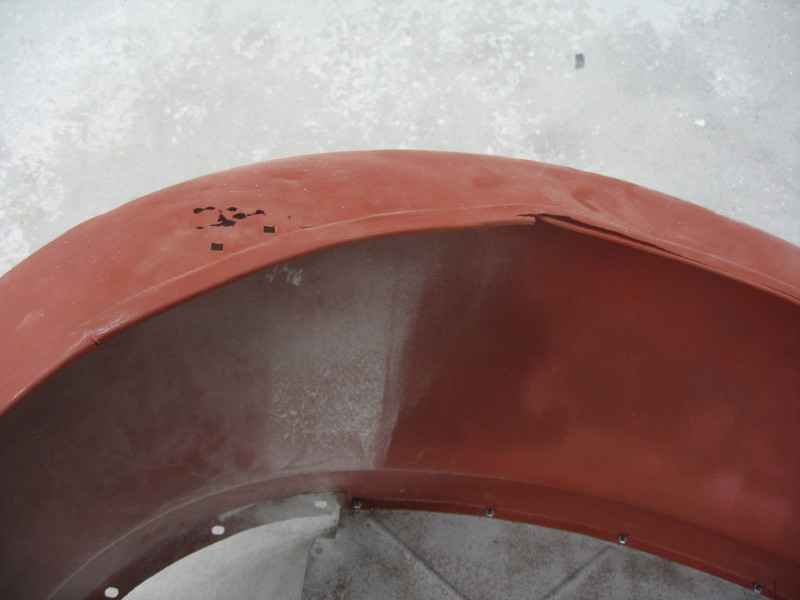
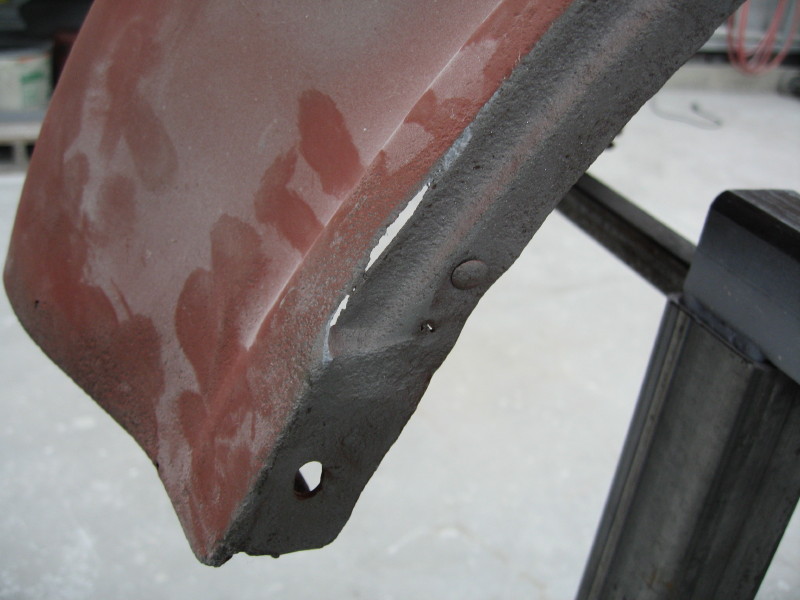
The Lower Shell had rotted below the Lip, that the Grill itself, sits on, and it was still in good shape. So, I cut out everything below the Lip, and from side to side. Each half, of the panel itself, is a compound curve and pretty time consuming to fabricate from scratch. We got an old 30's donor fender along the way, and thought it might be useful for making patches. It was ! The whole fender is compound curves ! So, I just took the areas that were cut off the Shell, and slid them around, on top of the donor fender, until they settled on a spot with a similar compound curve. There was a perfect patch, that needed minor manipulating to work.
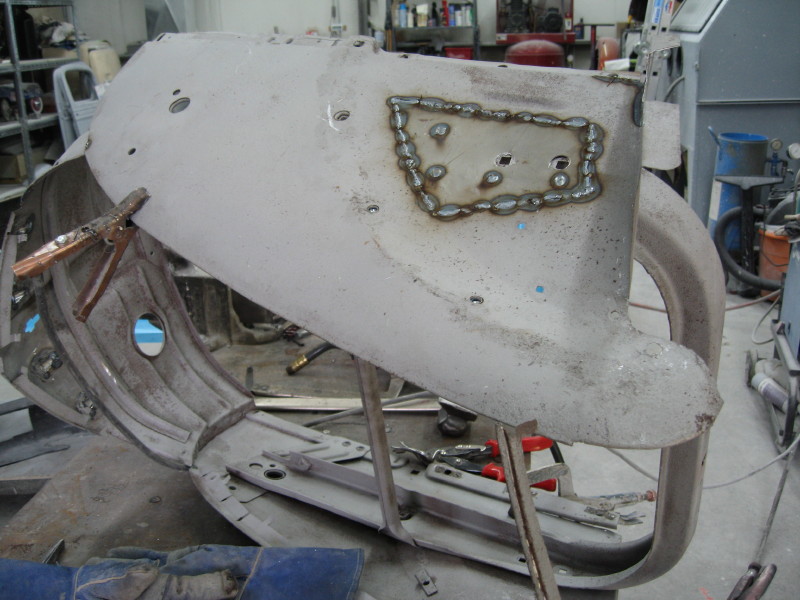
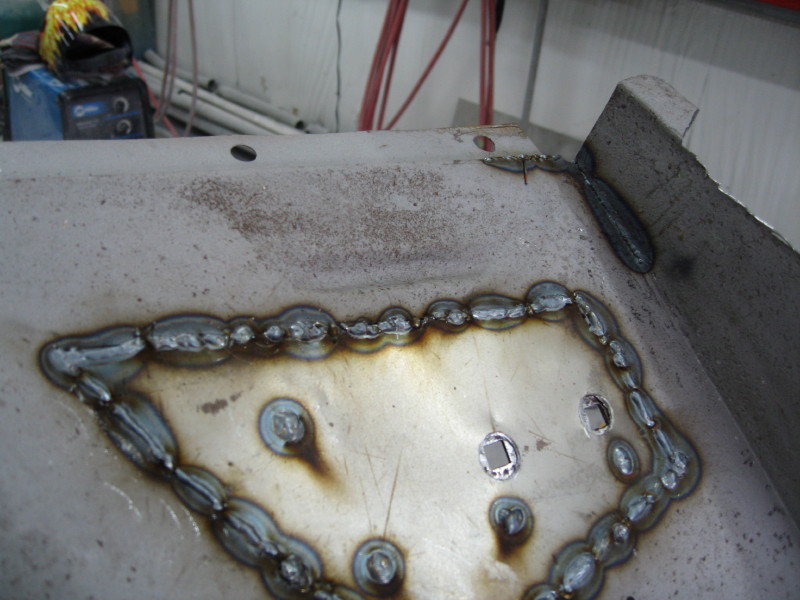
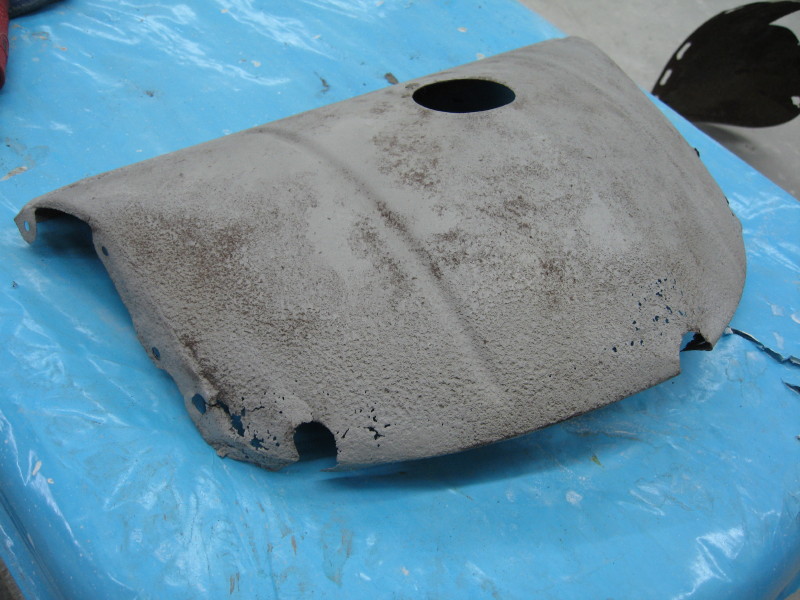
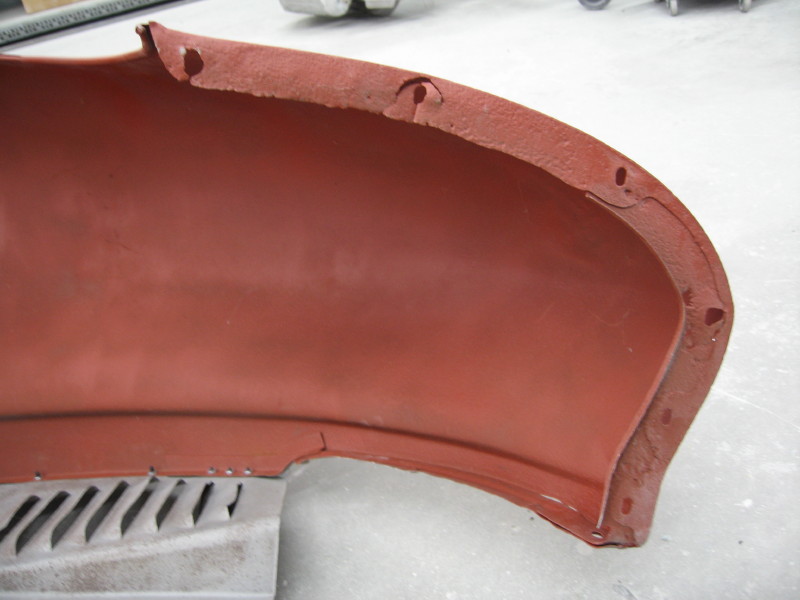
The Grill Shell Inner Panel was also in rough condition. Although there is a fiberglass reproduction part available, it didn't fit at all. So the original was re-worked.


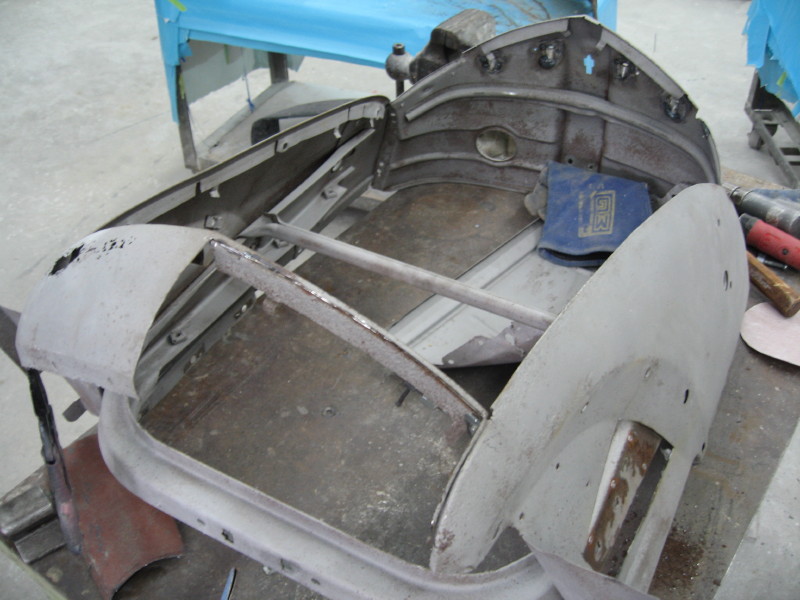
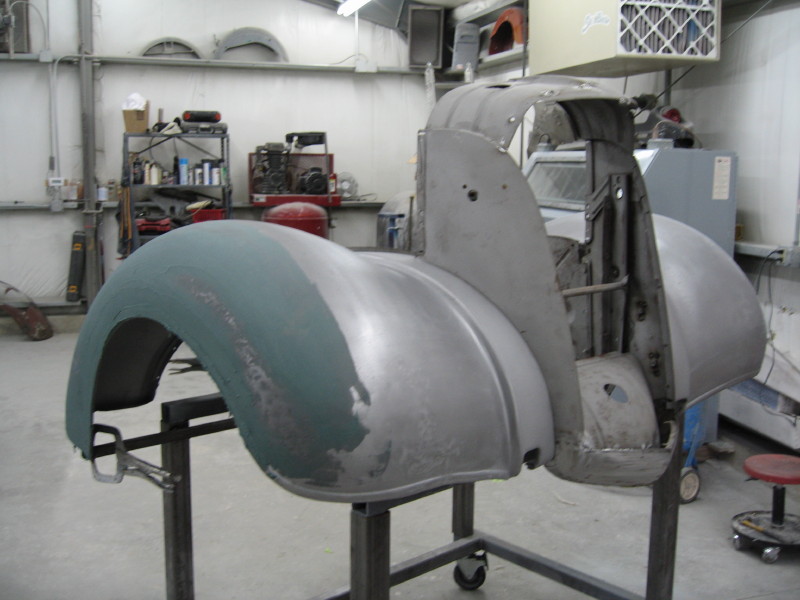
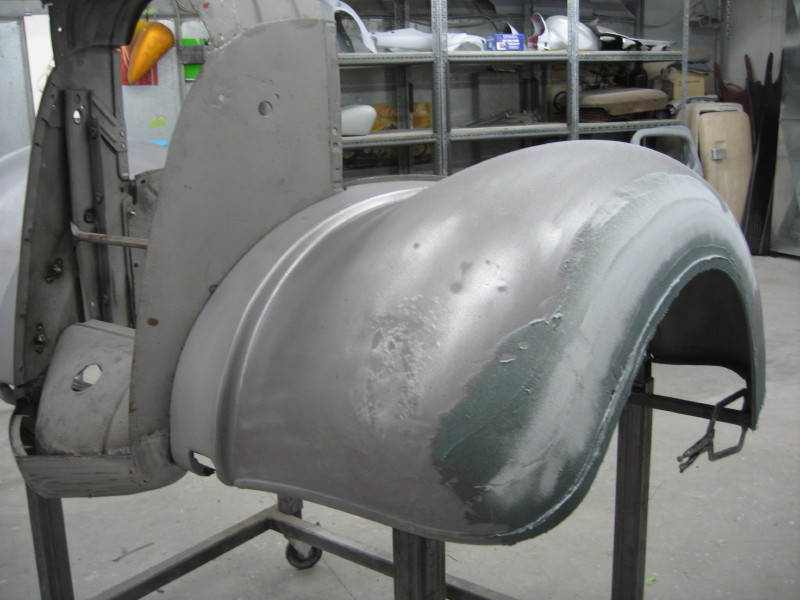
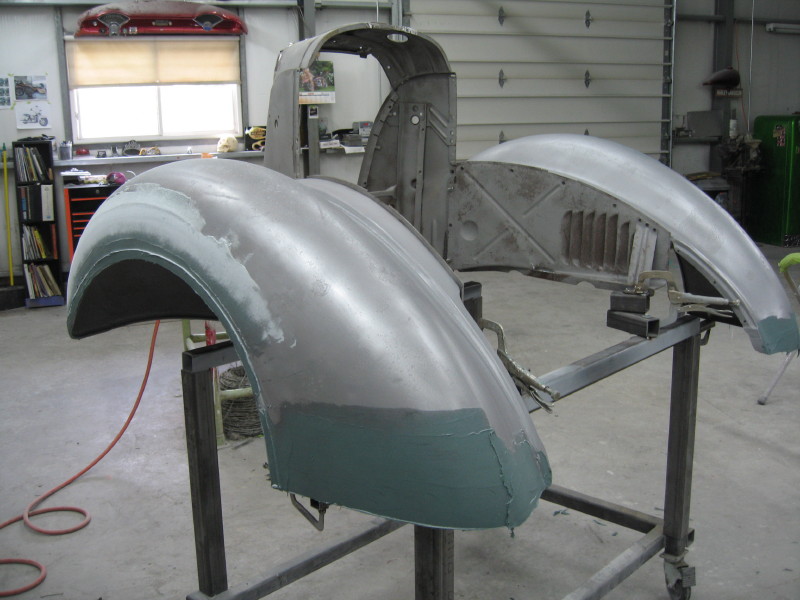
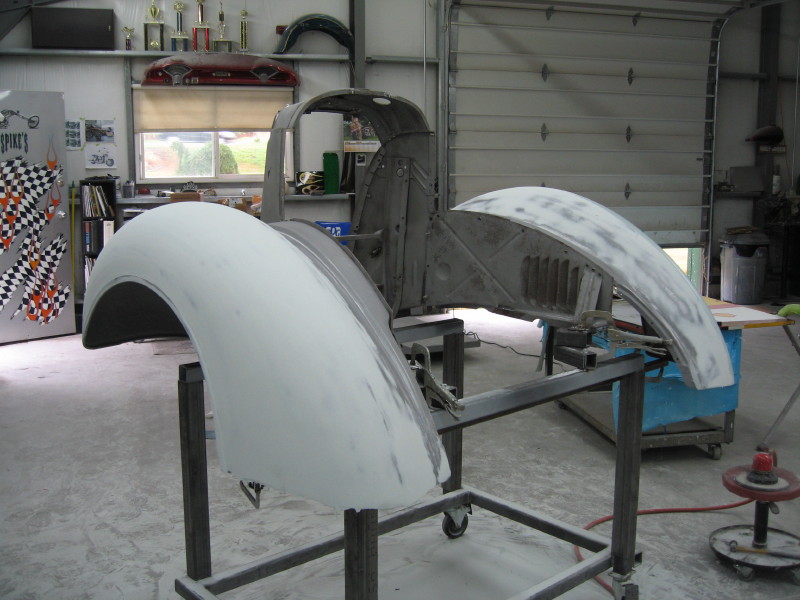
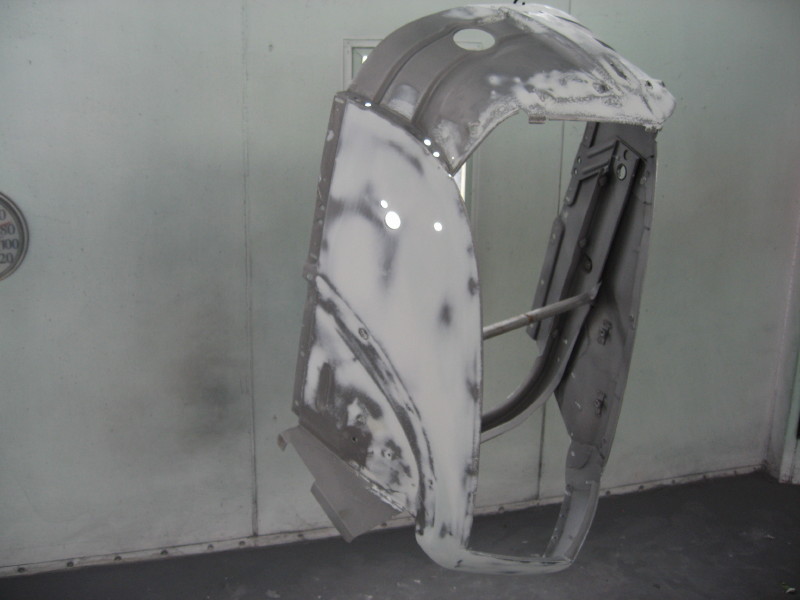
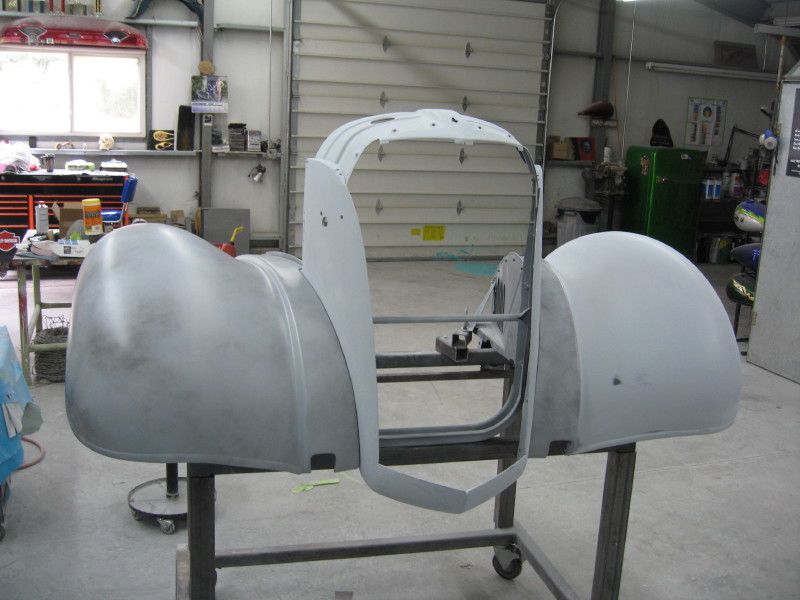
Front Fenders
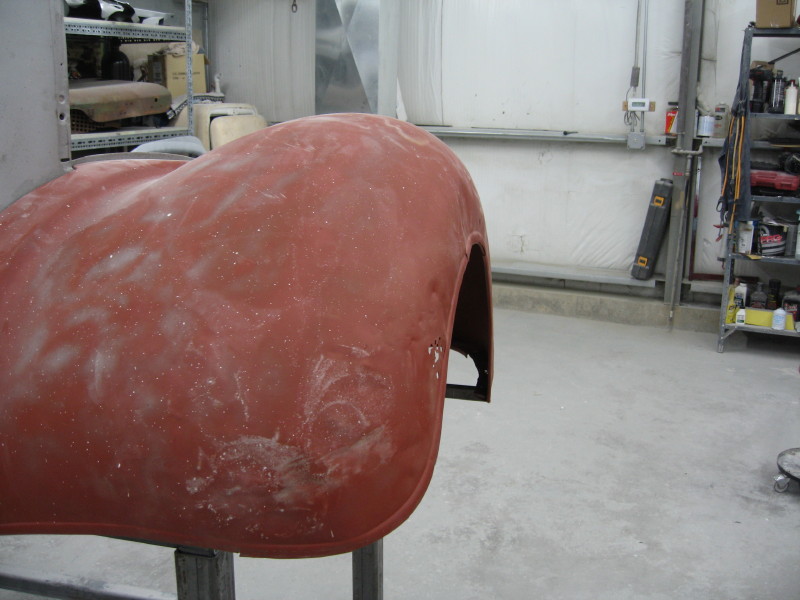
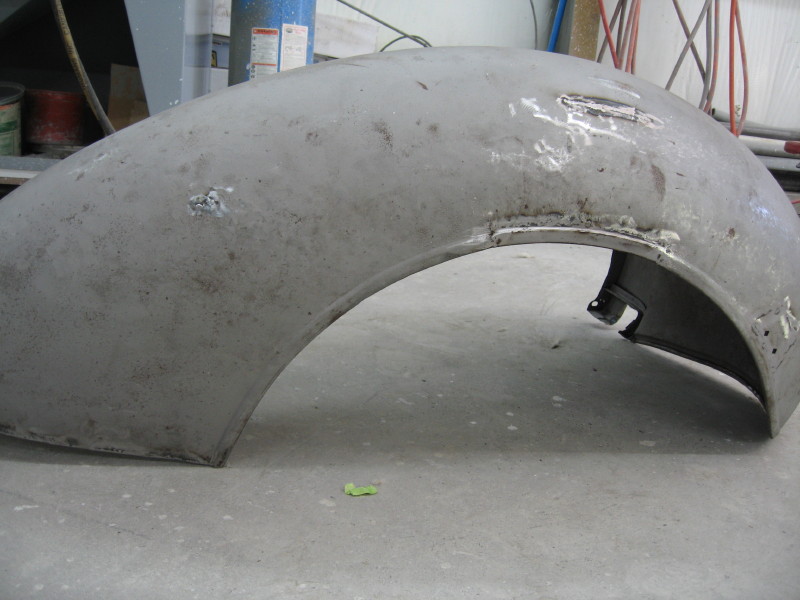
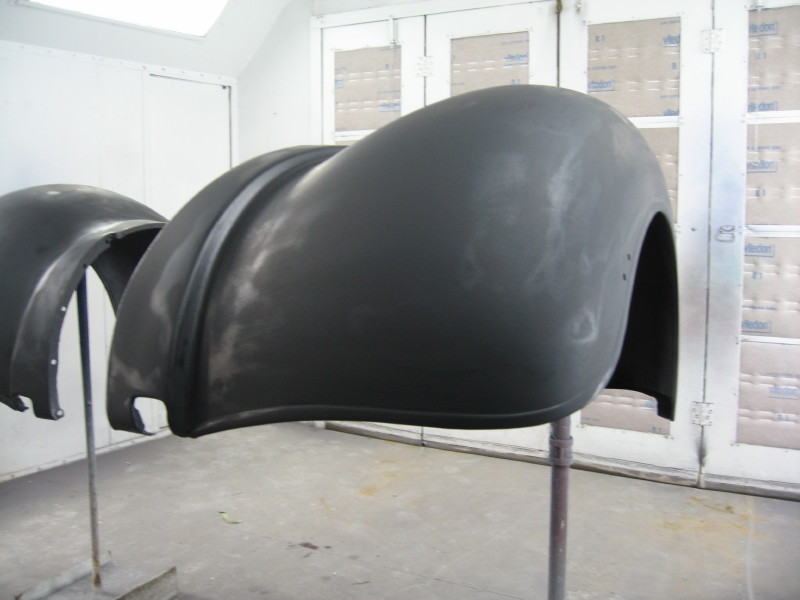
Here's an overview of both front fenders we'll be rebuilding. These were the biggest challenge of the whole job. After lots of searching and unable to find anything better than what we had, the focus was now on a plan of attack.
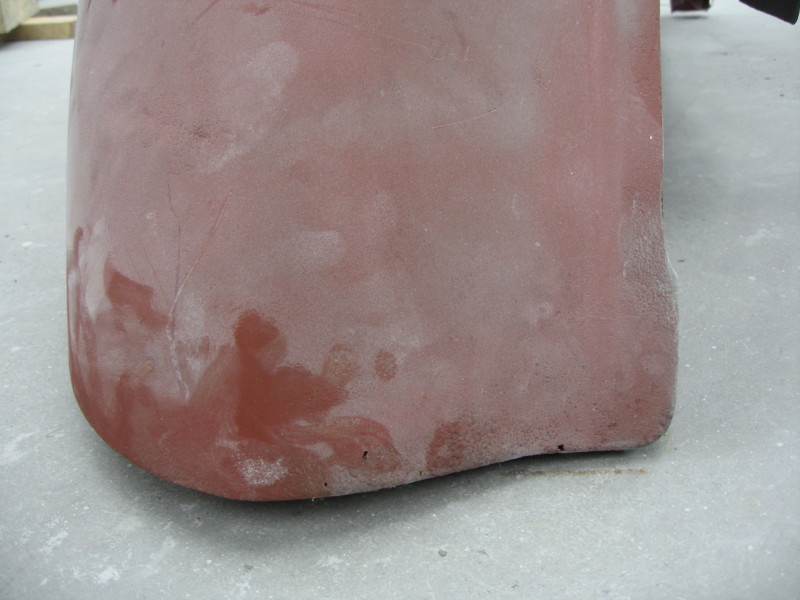
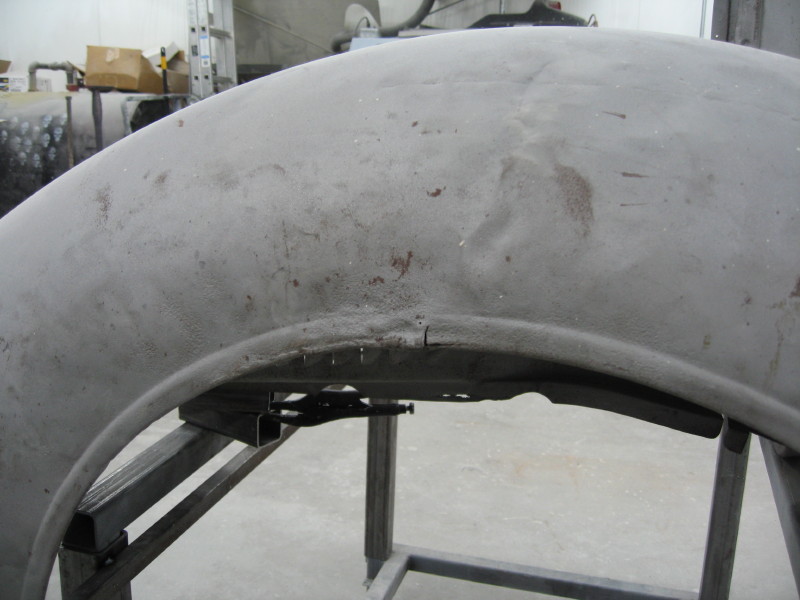
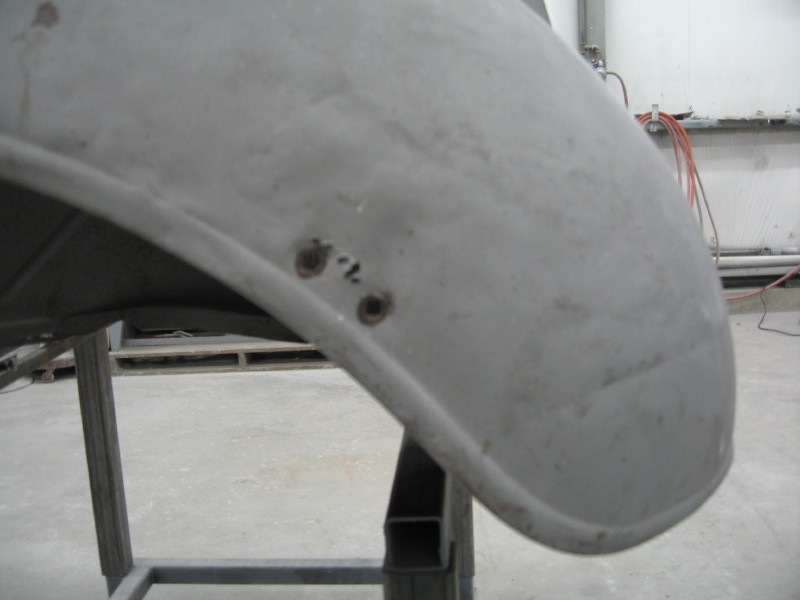
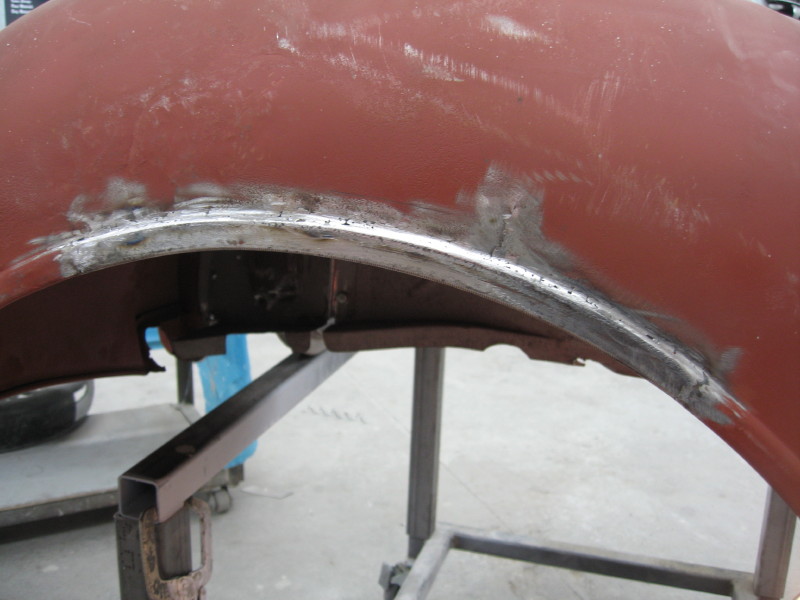
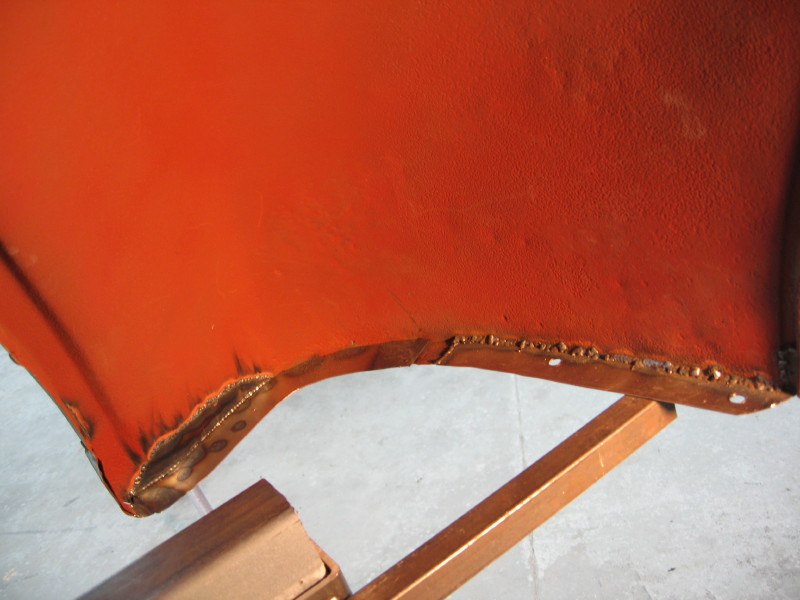
Cracks,rot and metal fatigue have made it hard for the fenders to hold their shape, along the Beadline.
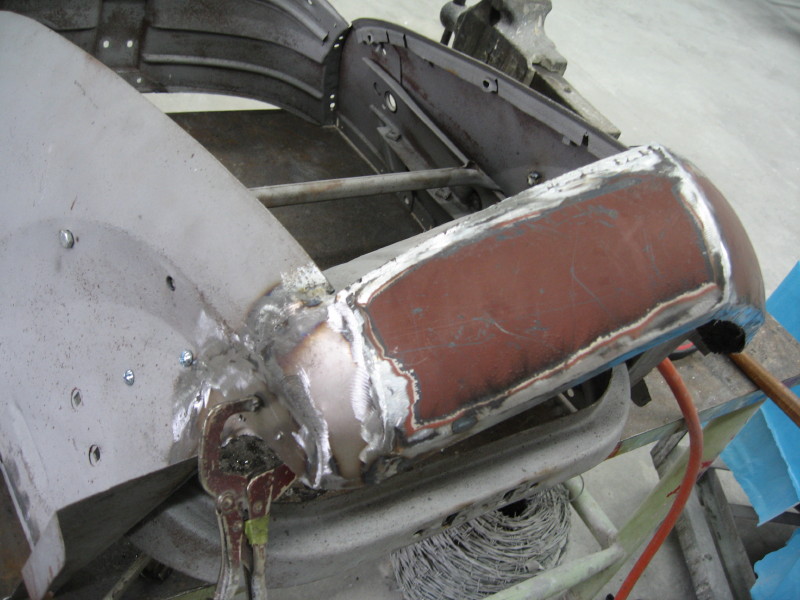
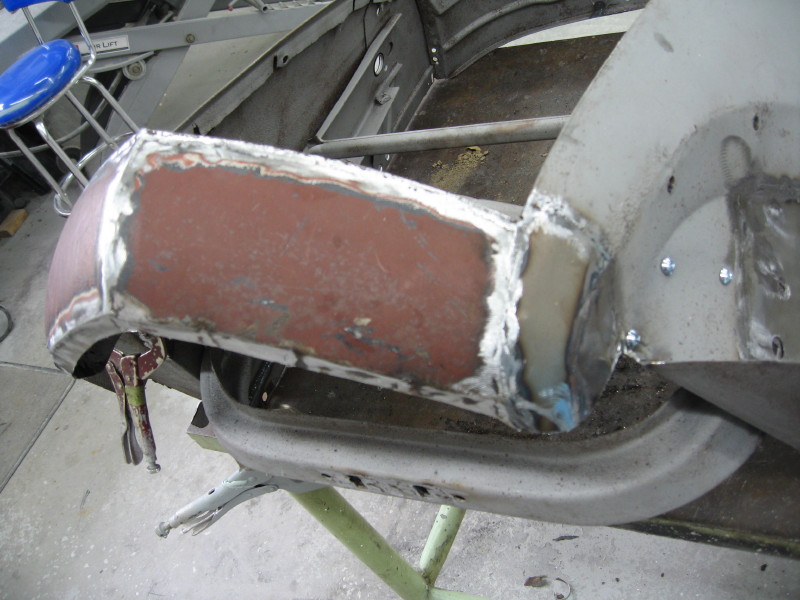
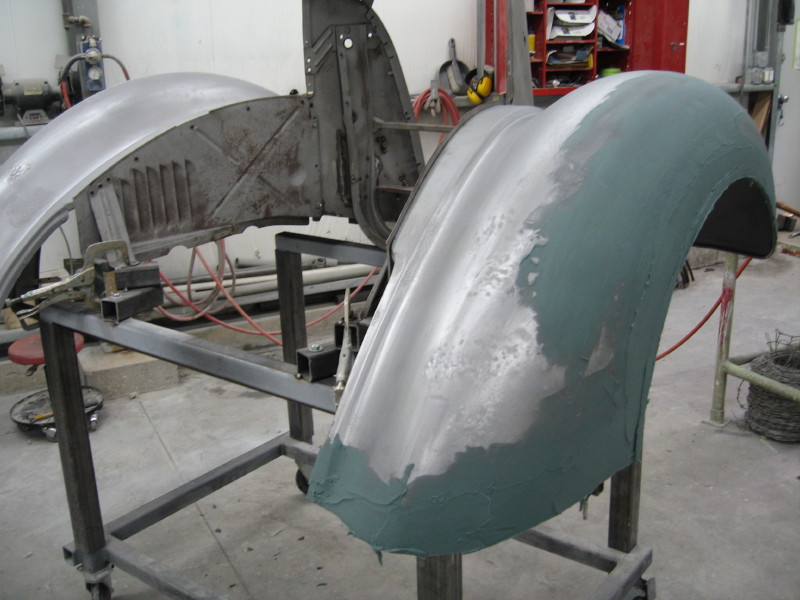
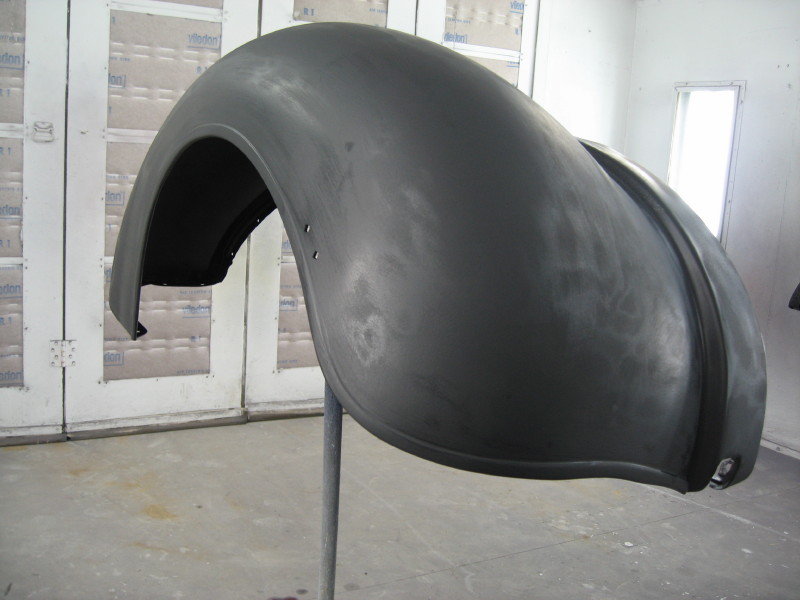
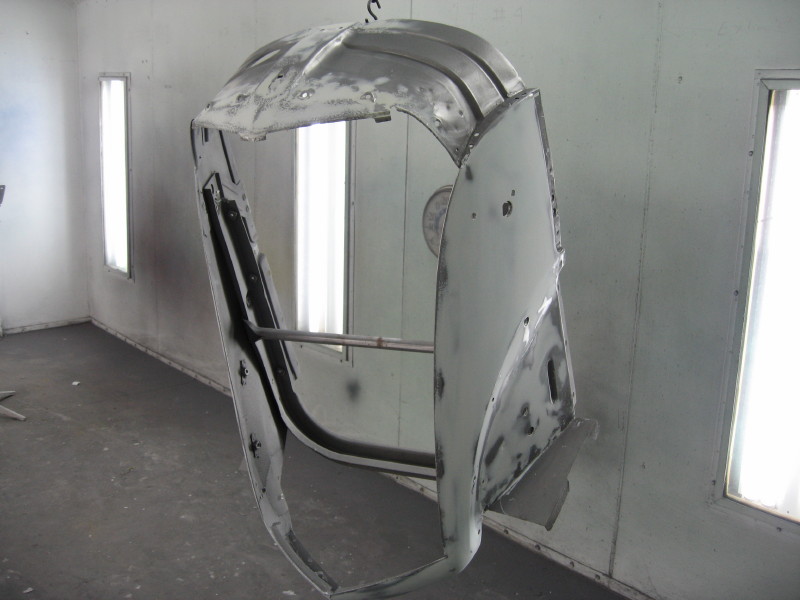
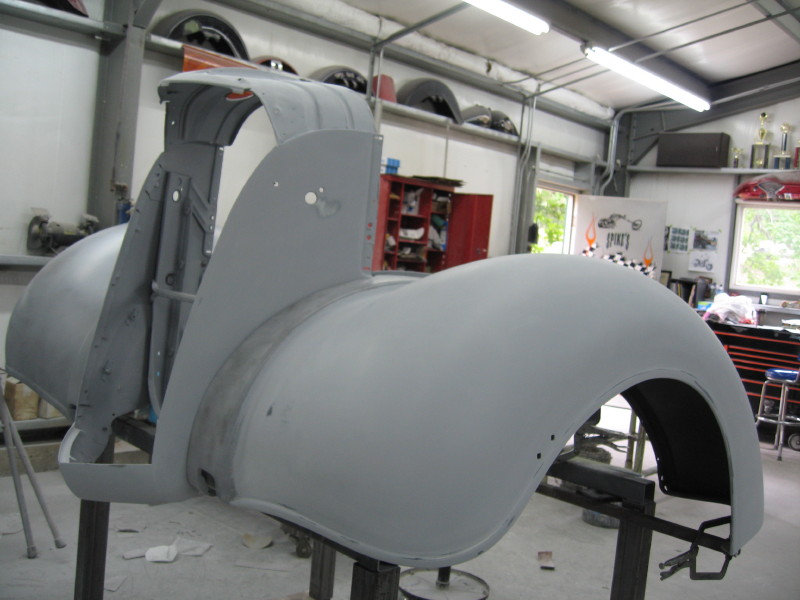
While I had everything mounted on a Jig, I began hammering out the dents and started to bring the fenders back into shape. Eventhough, they were reluctant to hold their shape,due to the weak metal, this is necessary before patching. The new metal we add and the dent removal, will put the stress back into the panels, that help them hold their shape ! After hours of hammering and dollying, we are ready to start making repairs.
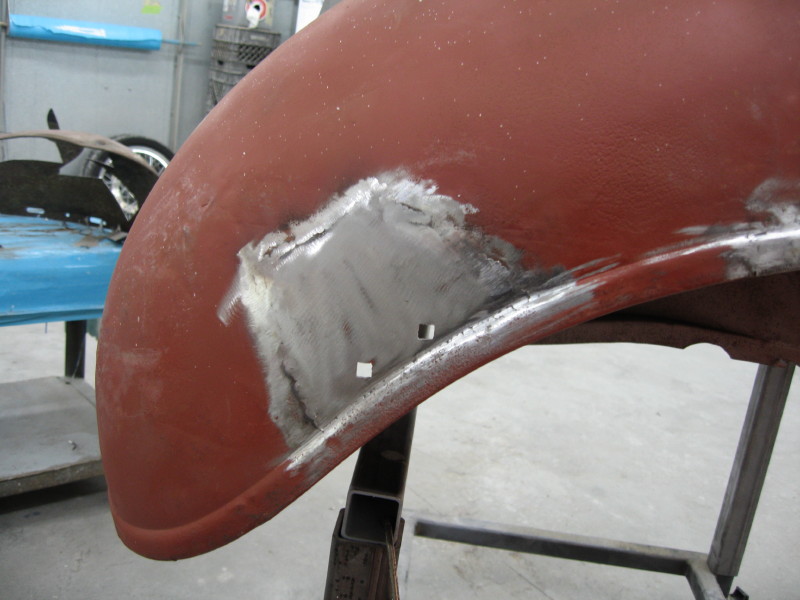
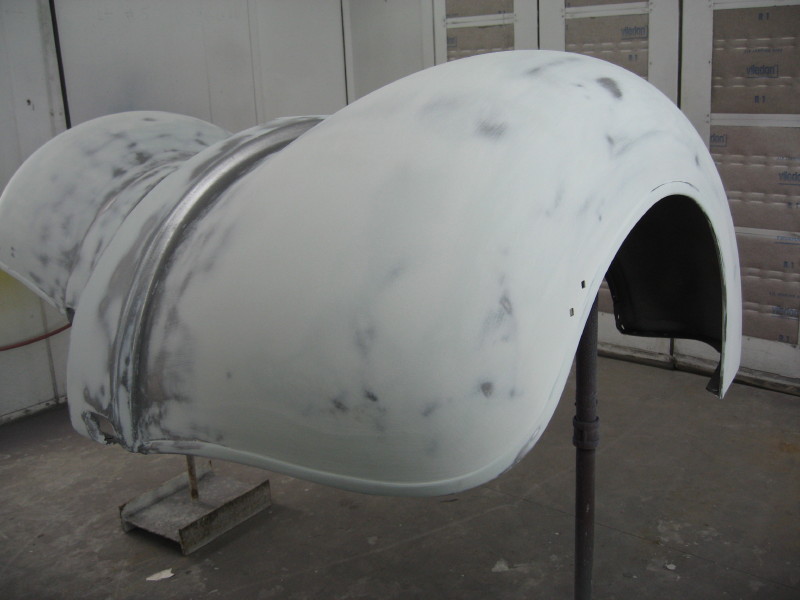
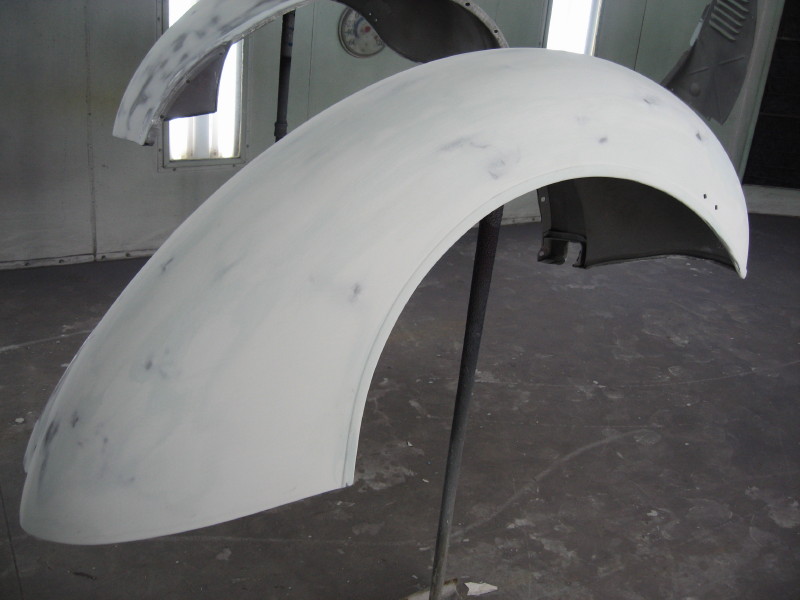
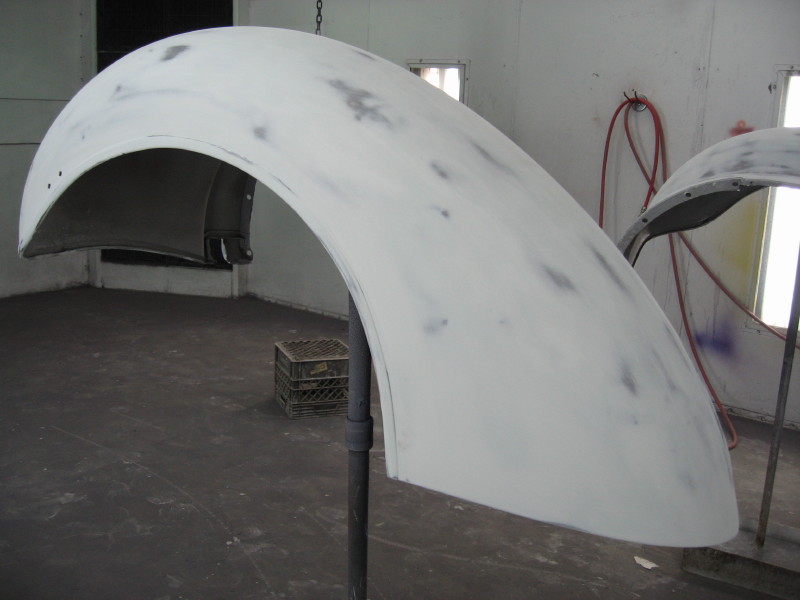
Once all the metal patching was done and all cracks welded, everything was sandblasted, then mounted on the Jig again. I then went back and again hammered and straightened the fenders. With the patches and welding done, now the fender holds it's shape much better. I then sanded them with 80 grit paper, and applied a coat of DuraGlass(water resistant bondo with fiberglass hairs), leveled that out and then a full coat of Plastic, was applied. The only way to really get these fenders straight, is to mount them on the jig. These fenders are so big and flimsy when not bolted down, that the bodyline will keep changing.
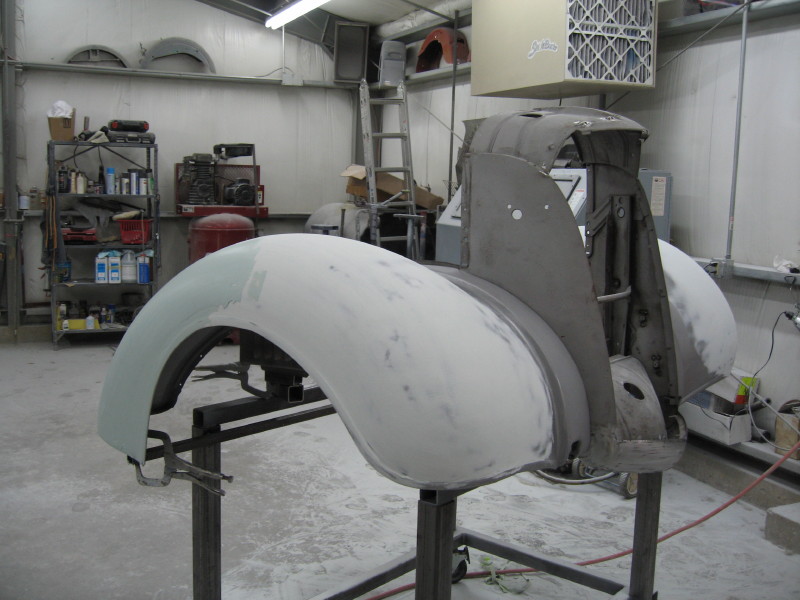
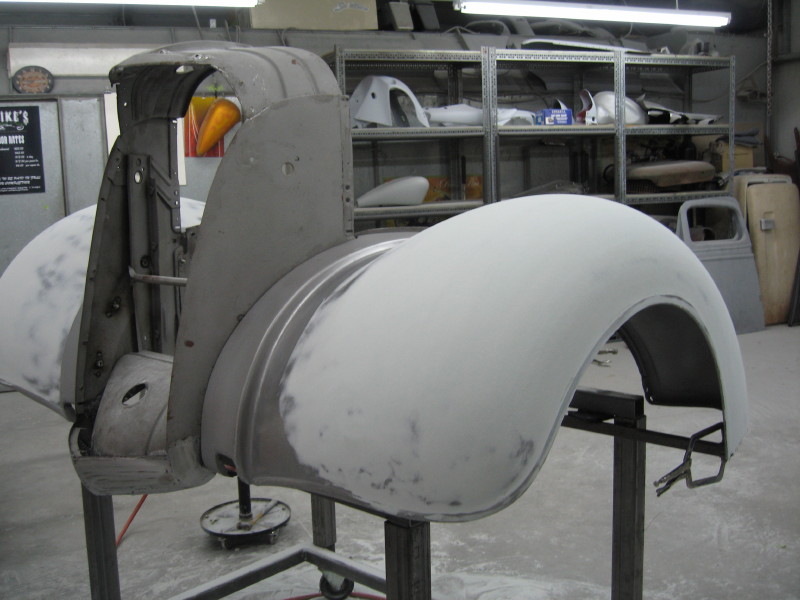
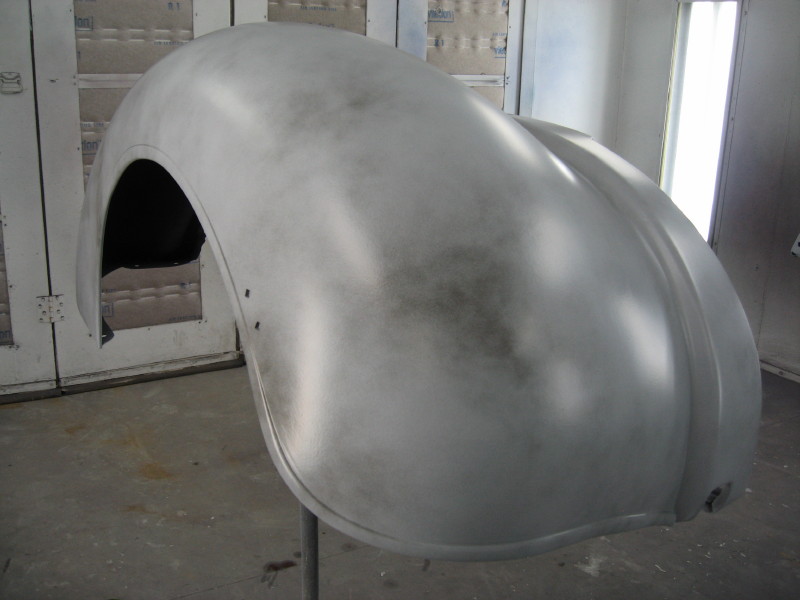
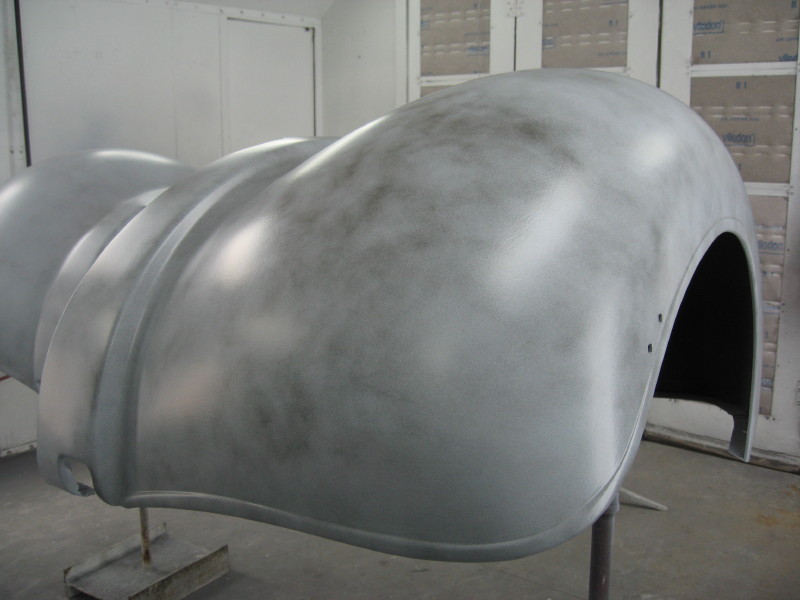
All the panels got completely coated with Plastic filler, 70+ years left some deep pits and many small dents and ripples. We will be painting this truck a Black Cherry, so any imperfection will be visible. Once all the bodywork was done, it was off to the Spray Booth for 2 coats of PPG DP90LF Epoxy Primer. That will be followed by 3 coats of, PPG K38 High Build Primer. Then a dusting of some Black Basecoat, for a guide coat, when blocking the Primer.

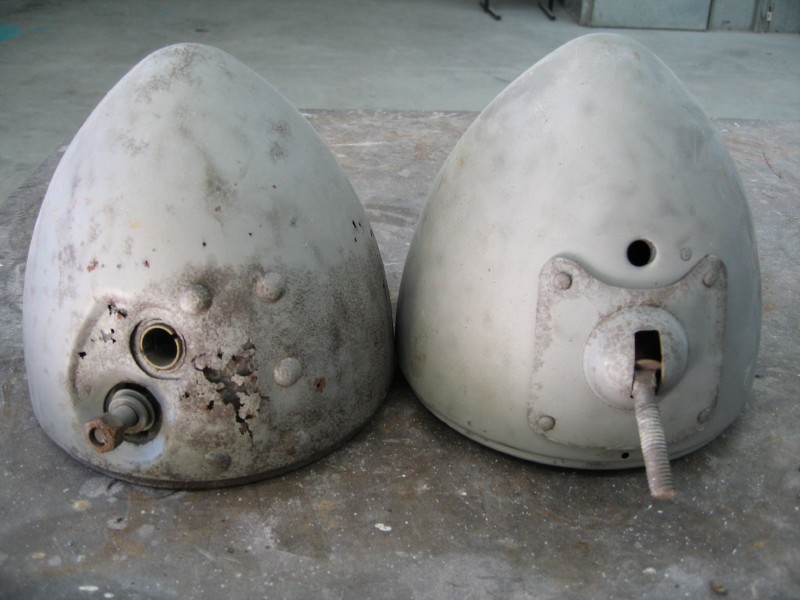
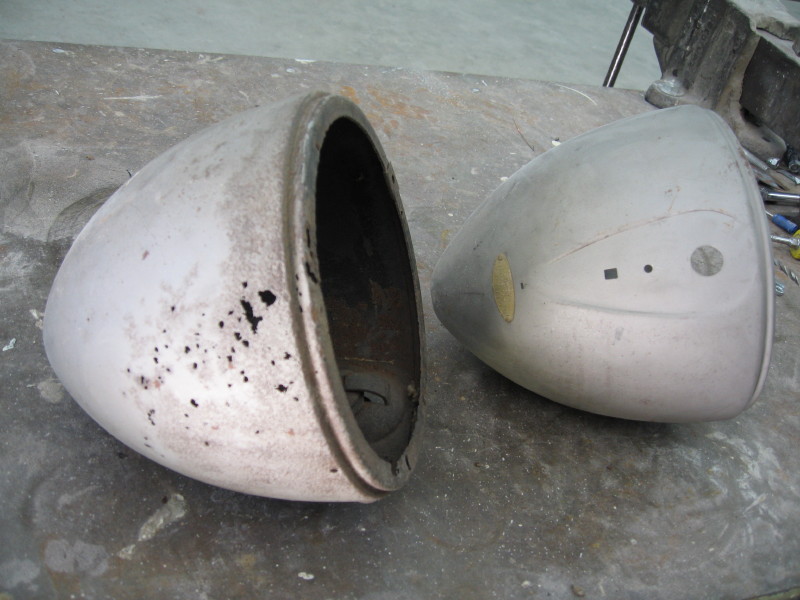
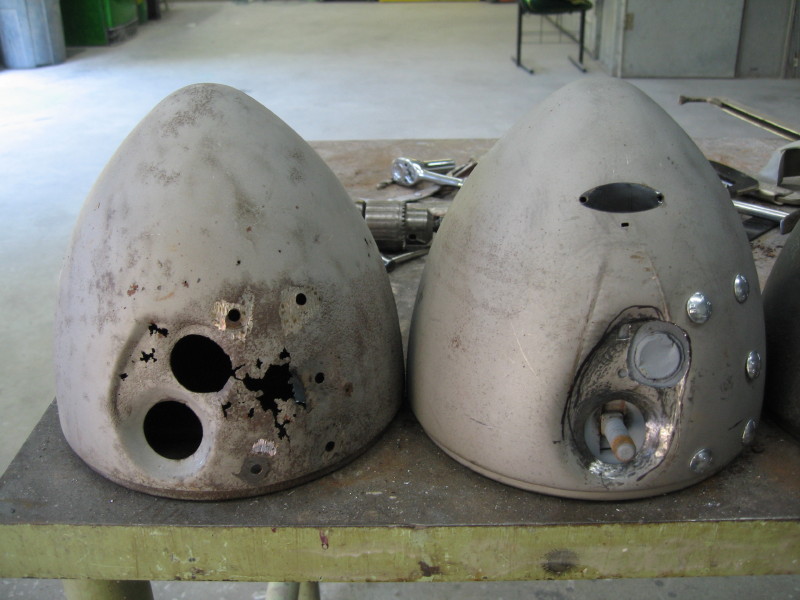
Original bucket on left, and the bucket I'll transform, on the right.
The new bucket, has an extra lip that needs to be trimmed off.
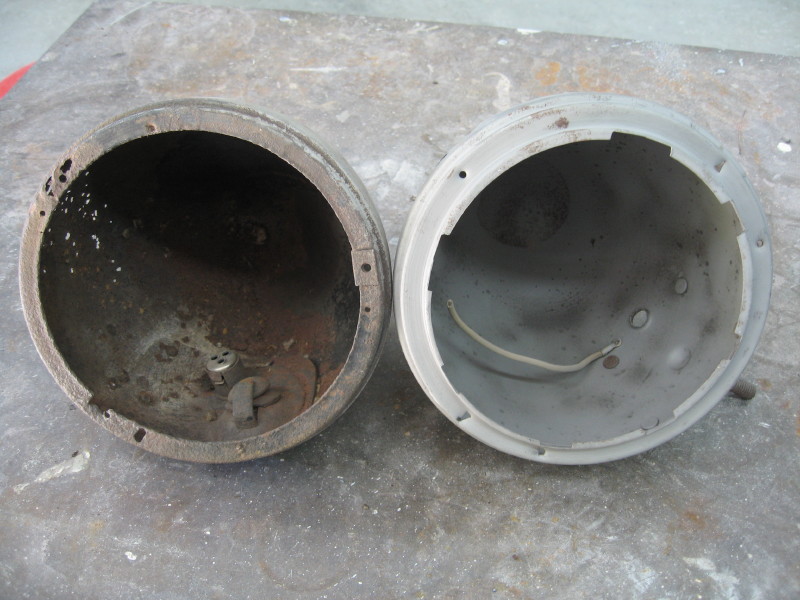
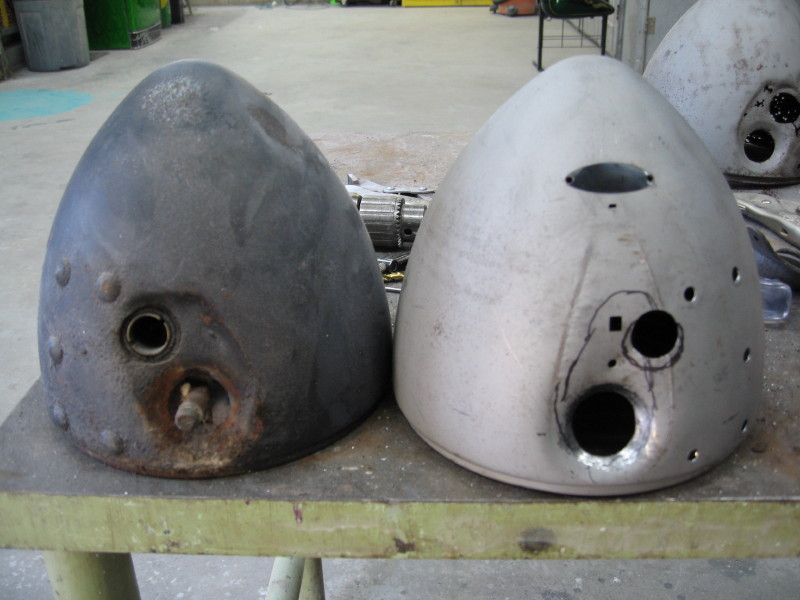
The Headlight Buckets
One was in pretty good shape, but the other must have had moisture in it for quite awhile. We have an orphaned bucket in really good shape, except it mounts differently and now we'll make the modifications necessary, to turn this into our new bucket !
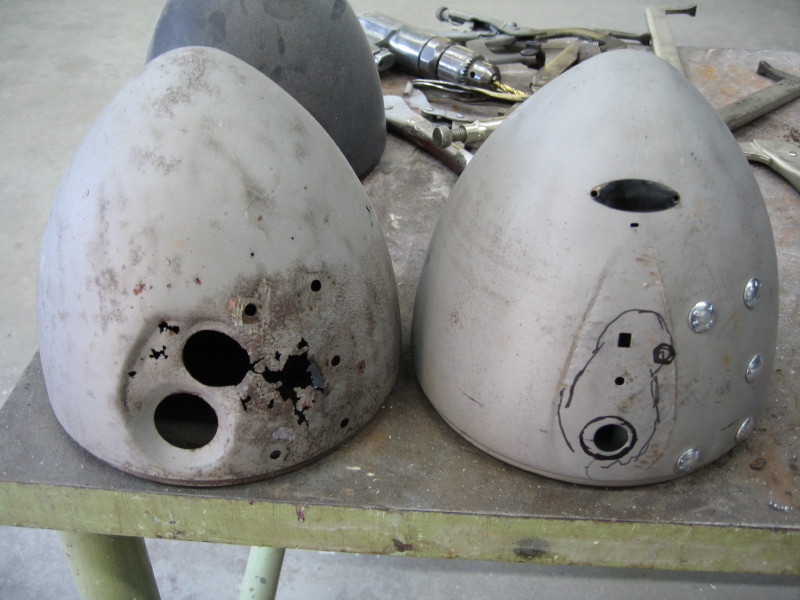
From this angle we see more rot, on the old bucket. The top of the new bucket has a recess where another lamp was mounted to it. That area will be hammered flat again, and the un-needed holes filled.
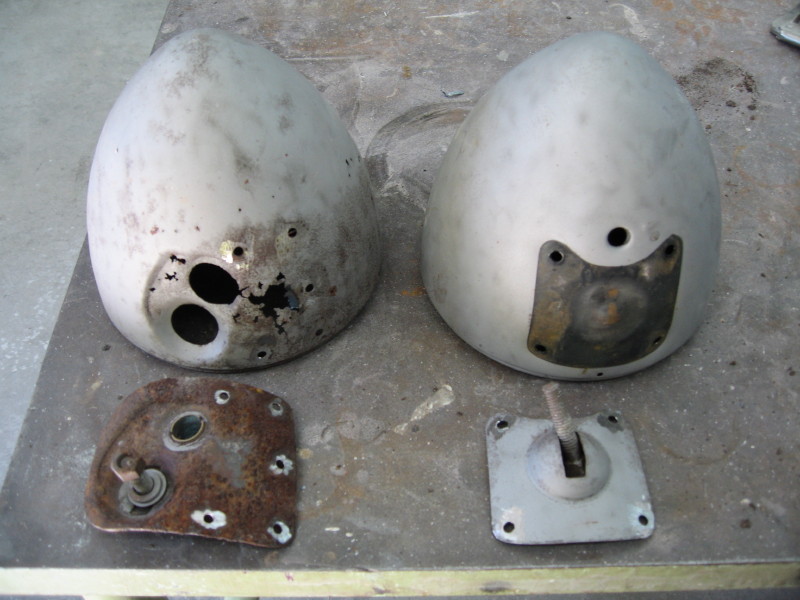
Here, both mounts have been removed.
The correct mount is installed in the orphan bucket. When choosing the spot to mount it, what we want to consider is: minimizing modifications. The area I picked had some holes I could use and some I had to fill. By picking this spot, I was able to concentrate the repairs to a small area. As opposed to, working all around the bucket.
I removed the mount, drilled the second hole and began shaping the mounting area, to match the original.
With the mount reinstalled, I finished shaping the area. All that is left now, is to weld up the un-needed holes, and do the filler work.
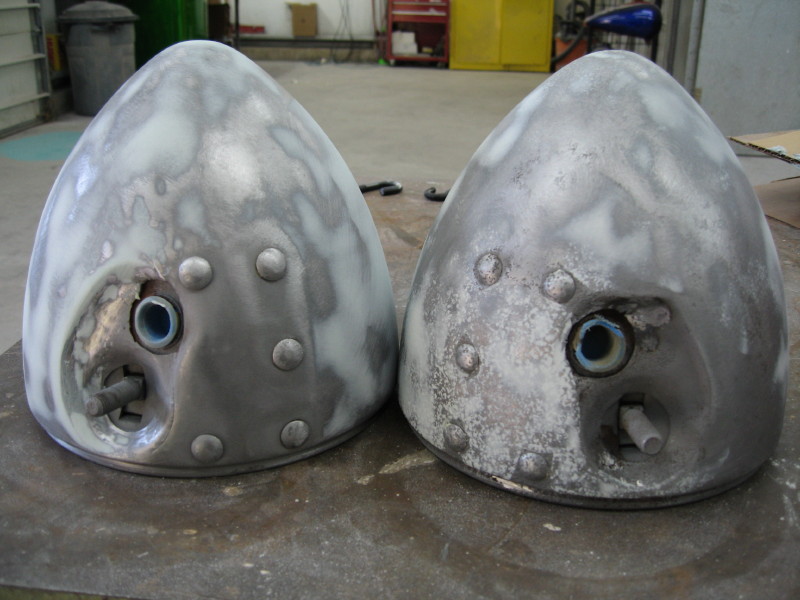
Ready for Primer !
While the Buckets are being primered, the Nose was re-installed on the Jig. It was then block sanded with 150 grit sandpaper. We'll take this time, to fine tune the bodywork,and make sure any pits or imperfections are addressed, before we Prime it, for the final time.