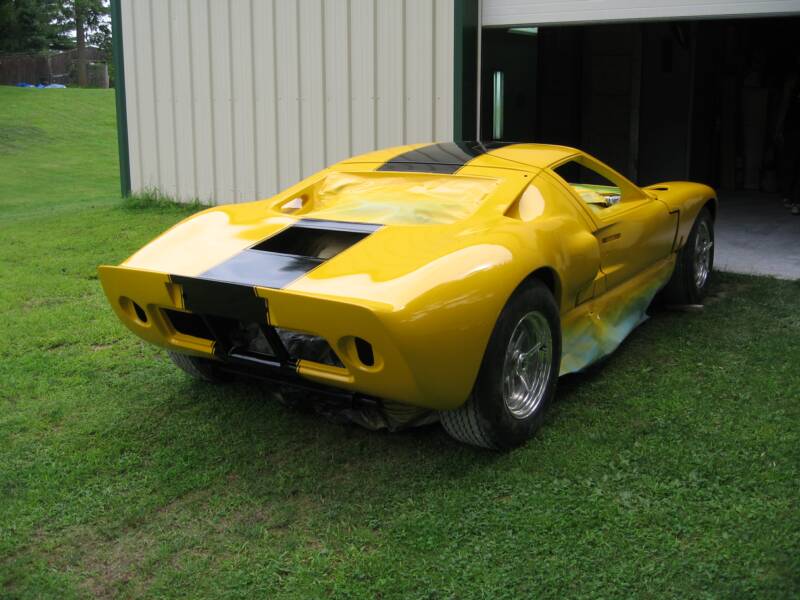
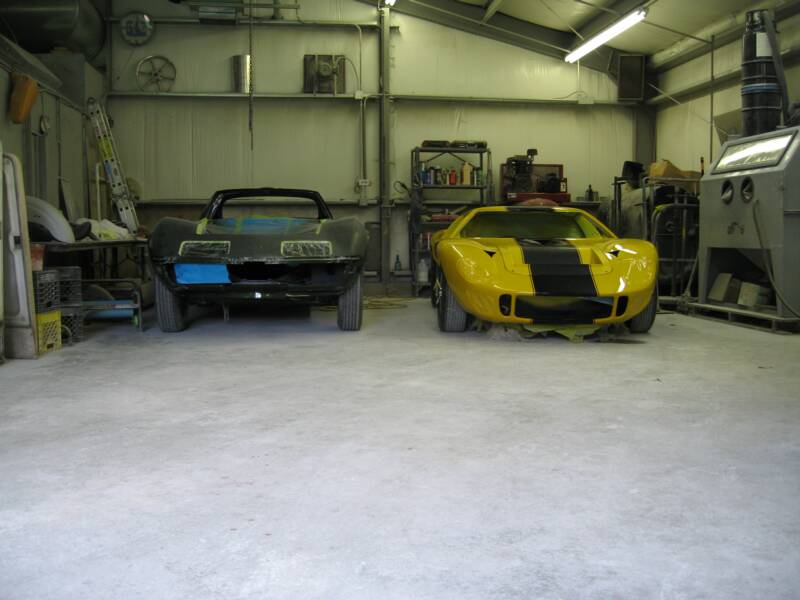
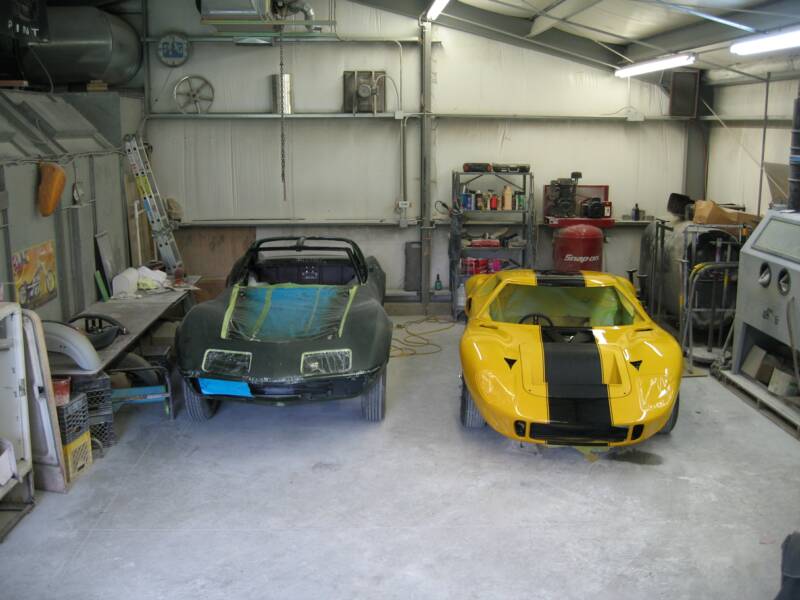
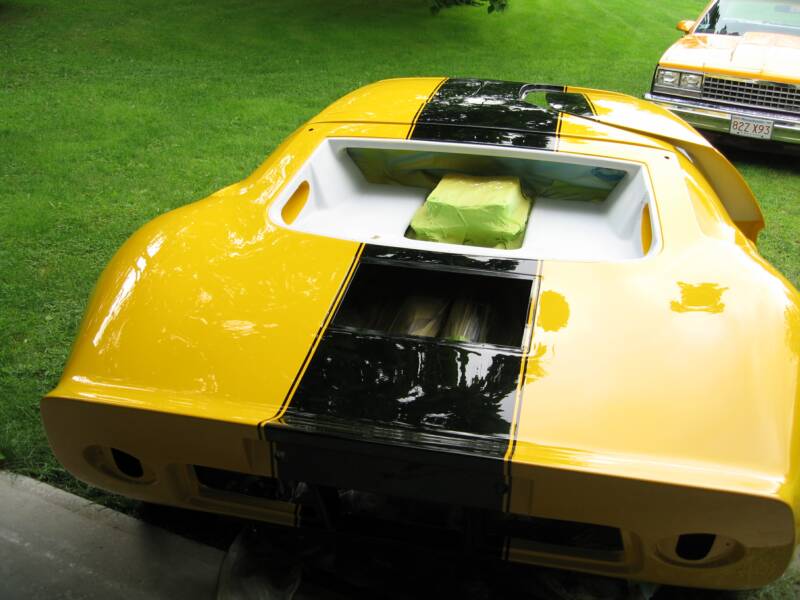
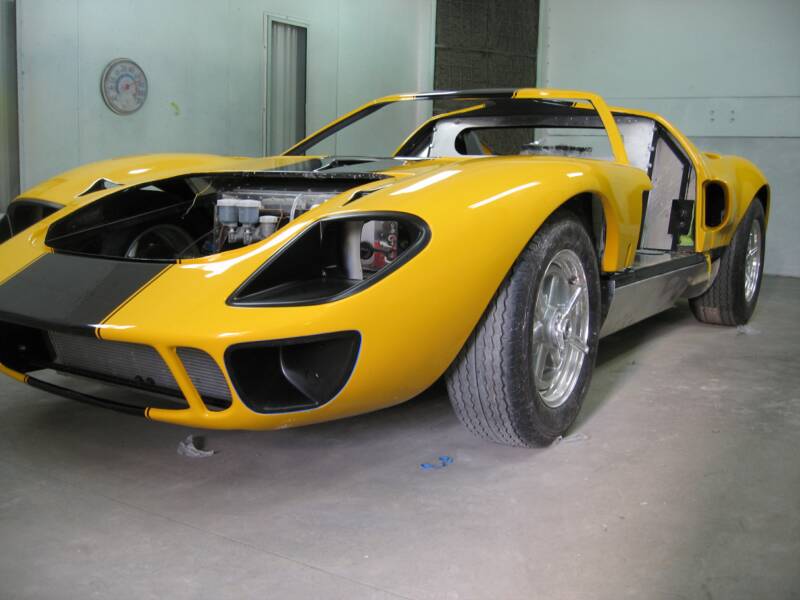
Well, next step is the wet sanding, to be followed by the buffing. I had to get it out of the booth for that, so I thought I'd pull it outside and snap a few pics, before starting on the next phase.
Well, there is nothing glamorus about wet sanding, but if you want that paint to look wet, that's the way to do it. So, I started with 1500 grit and then went back over it with 2000 grit. Then I started with the buffing.
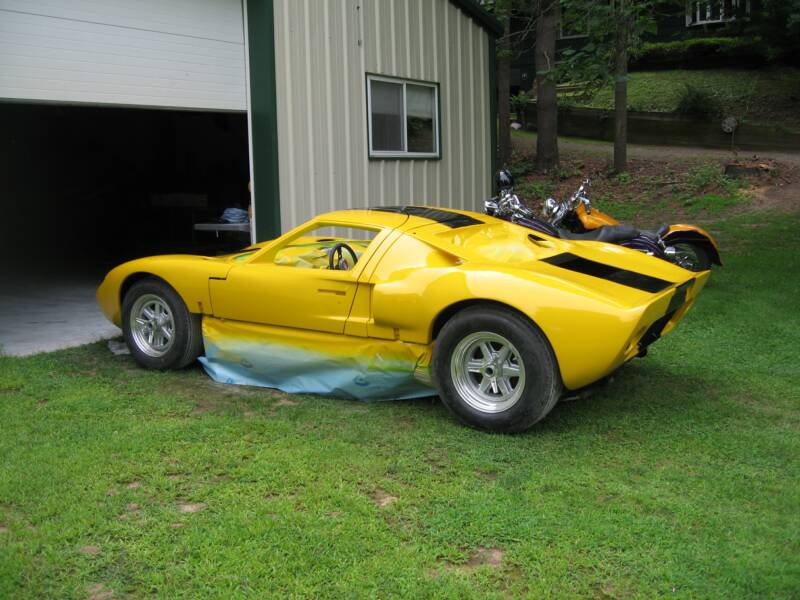
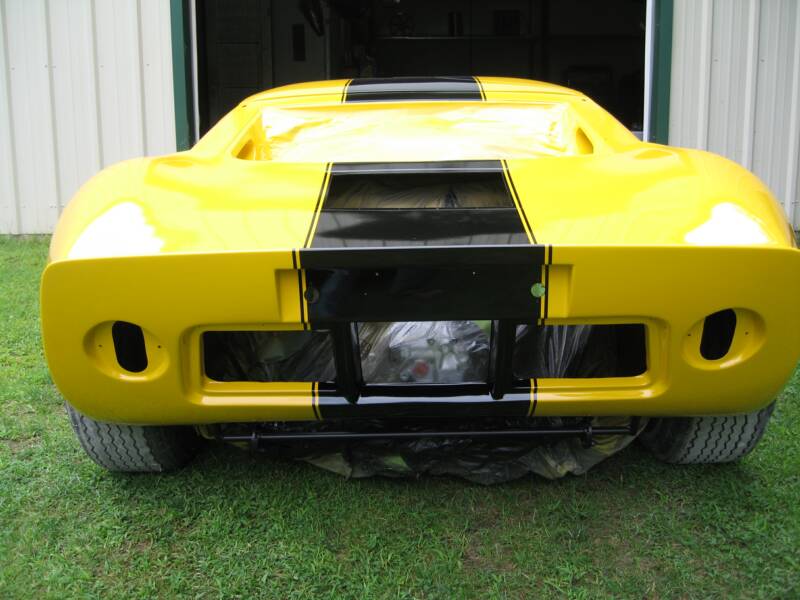
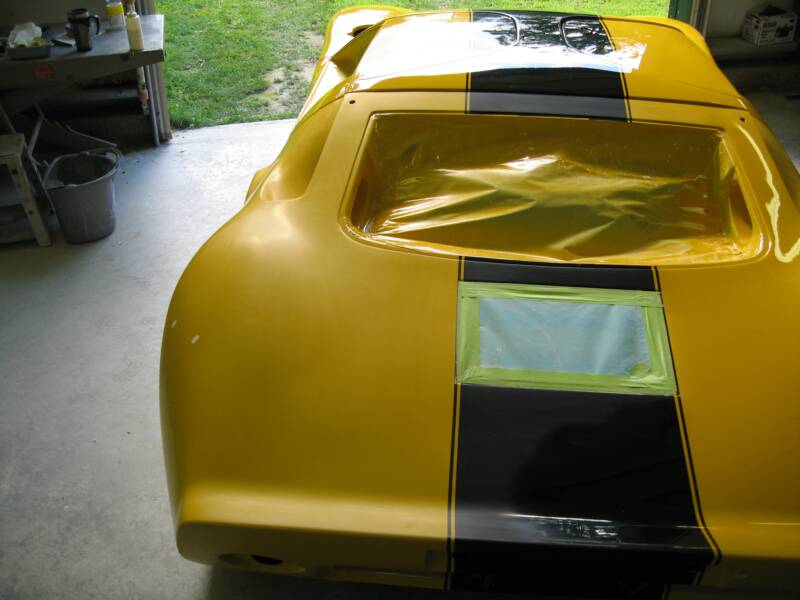
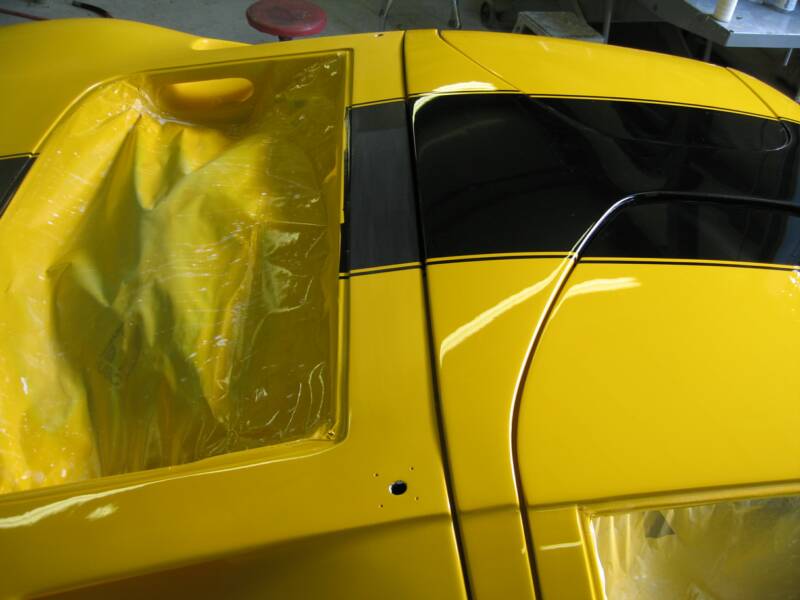
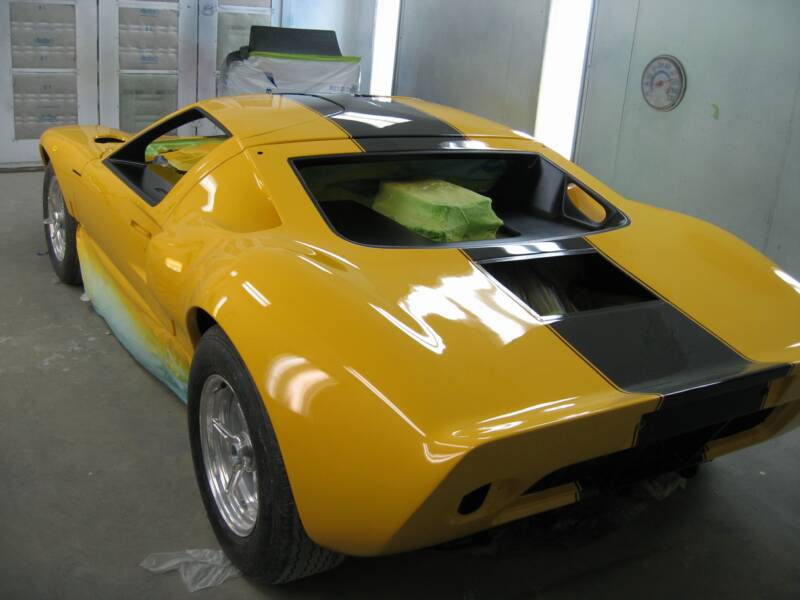
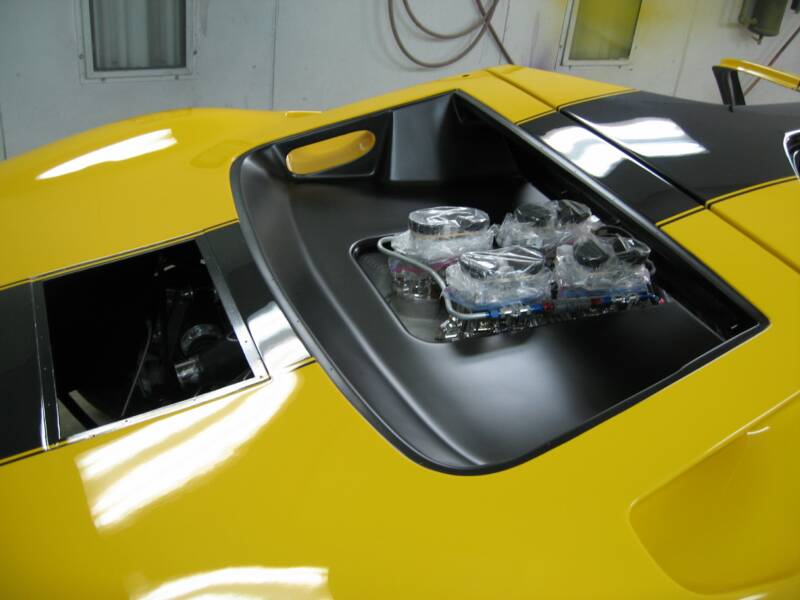
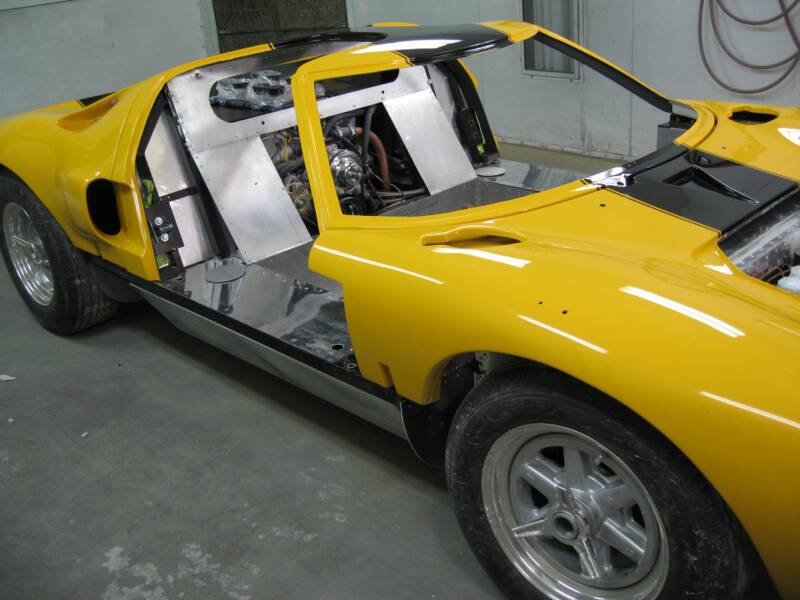
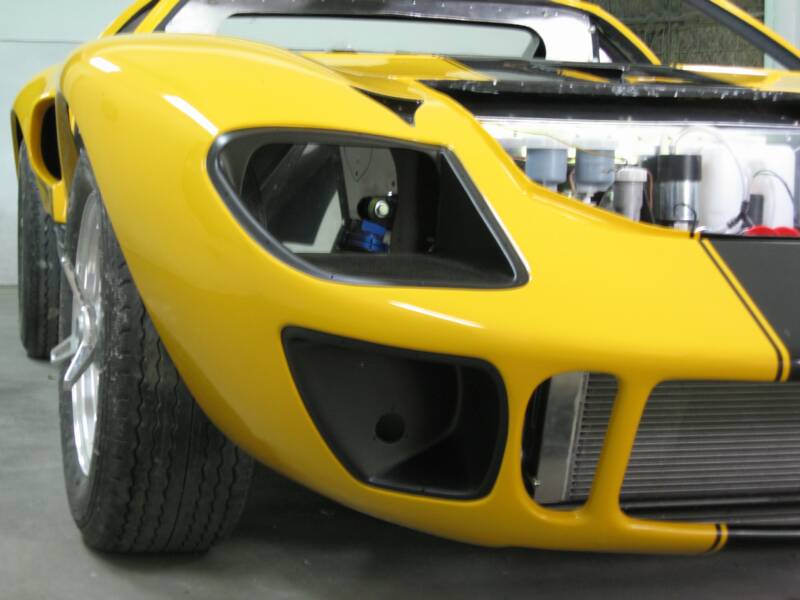
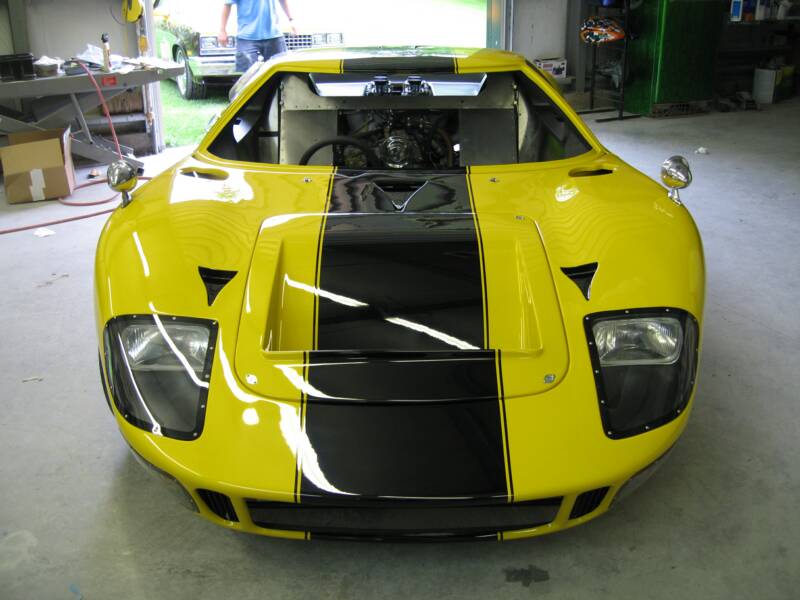
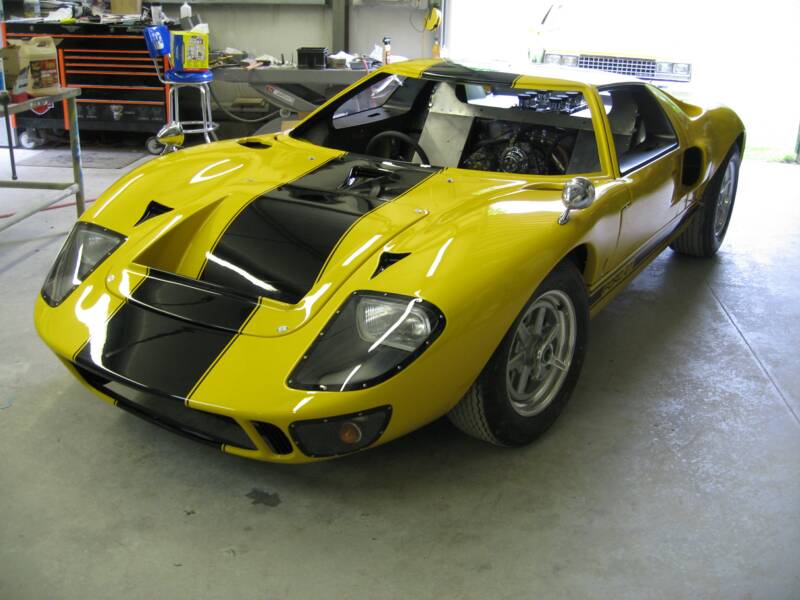
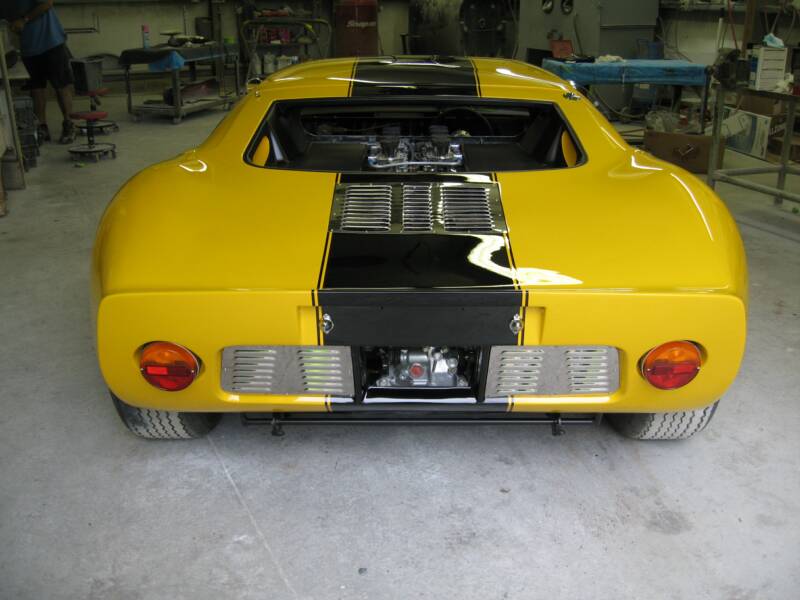
With the buffing completed, I could now unmask the areas to be blacked- out on the exterior. The panel under the rear window,headlight and driving light recesses, and side window openings. Now things are really starting to take shape.
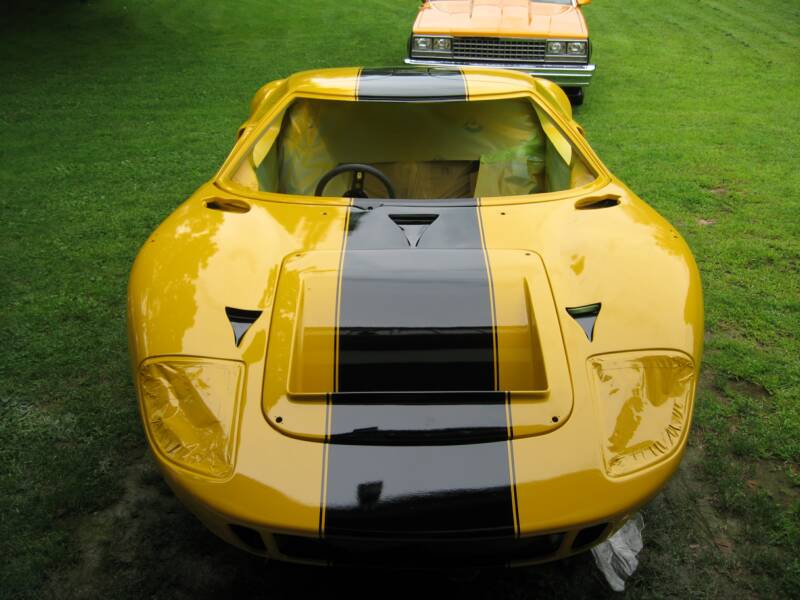
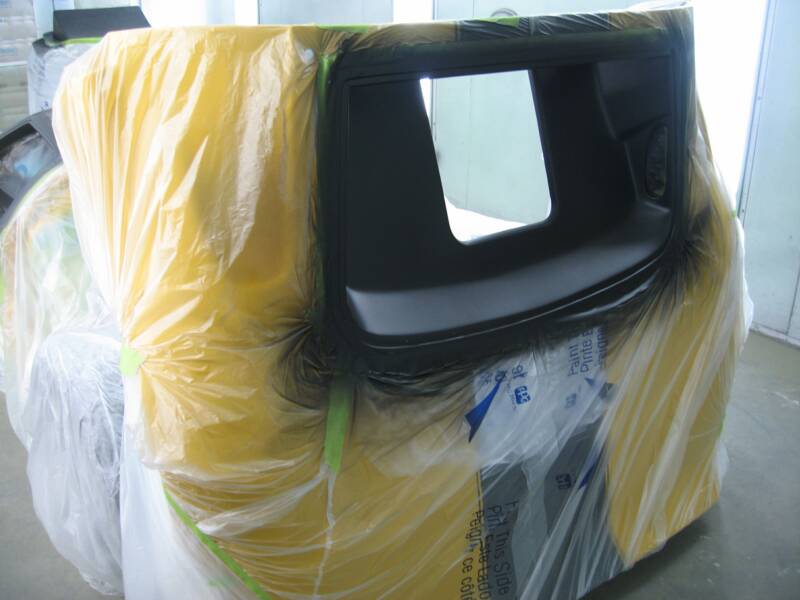
So, we're back in the booth. Cover the car, completely with plastic sheeting and cut out the area's to be masked only, and masking paper the window opening. Sprayed 1 coat of epoxy sealer and followed with 3 coats, Trim black (semi gloss black). Once that dried, I removed the plastic and all exterior masking.
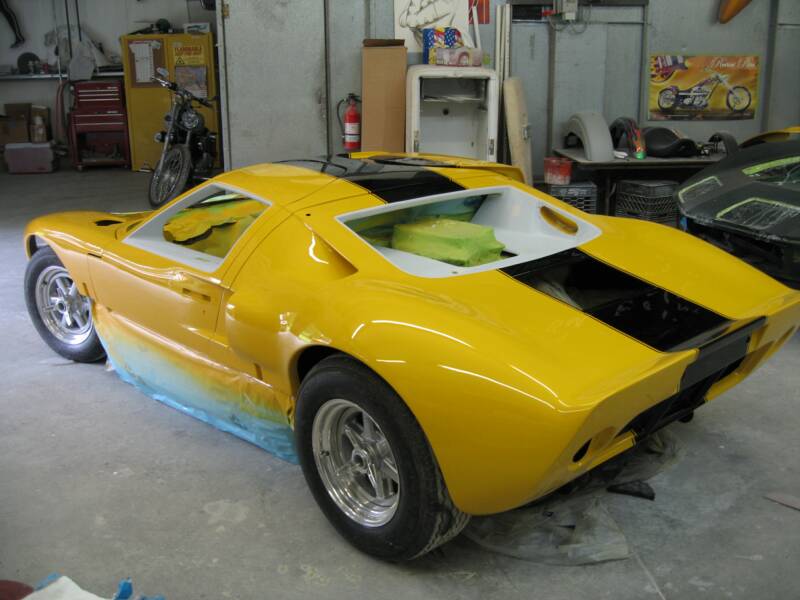
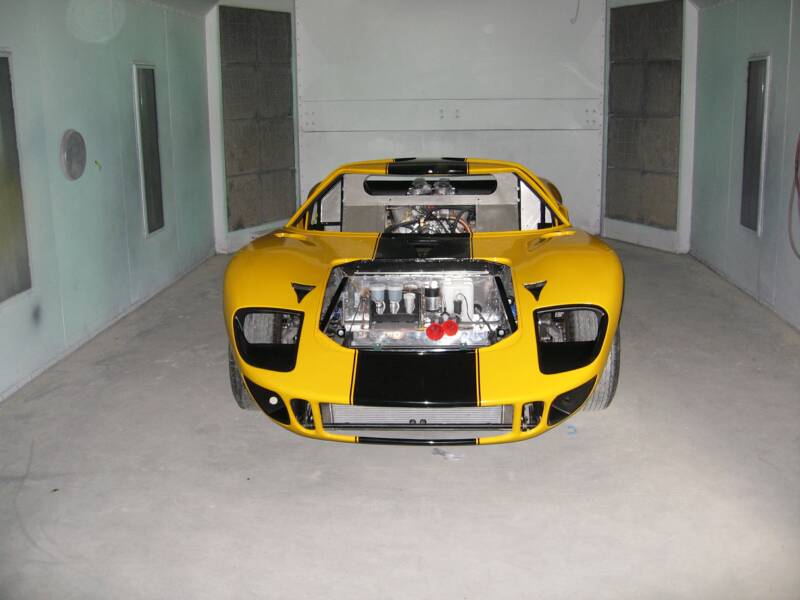
I told ya' it was starting to take shape. With the black-out done, it's time to move onto the interior.
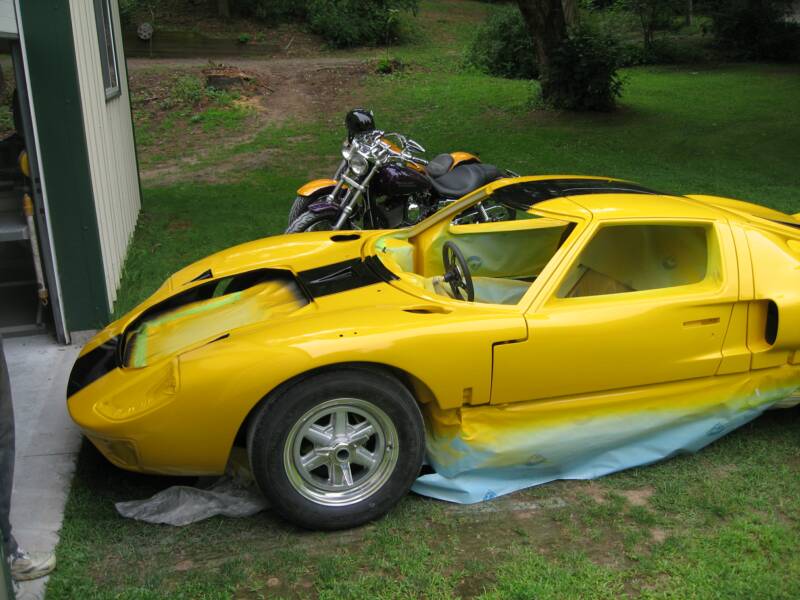
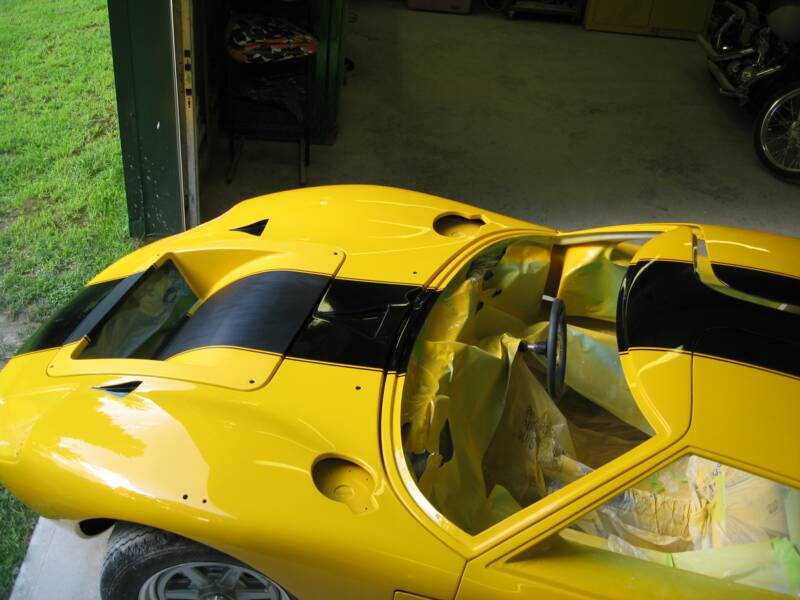
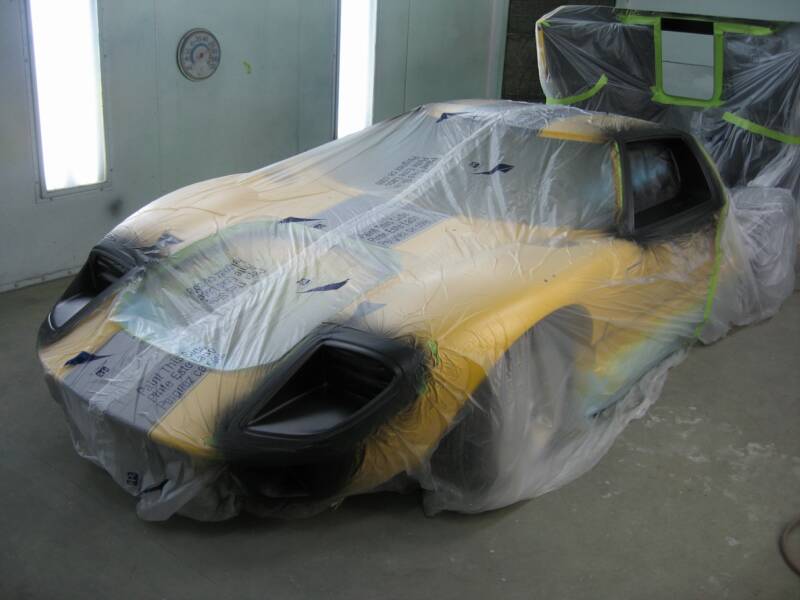
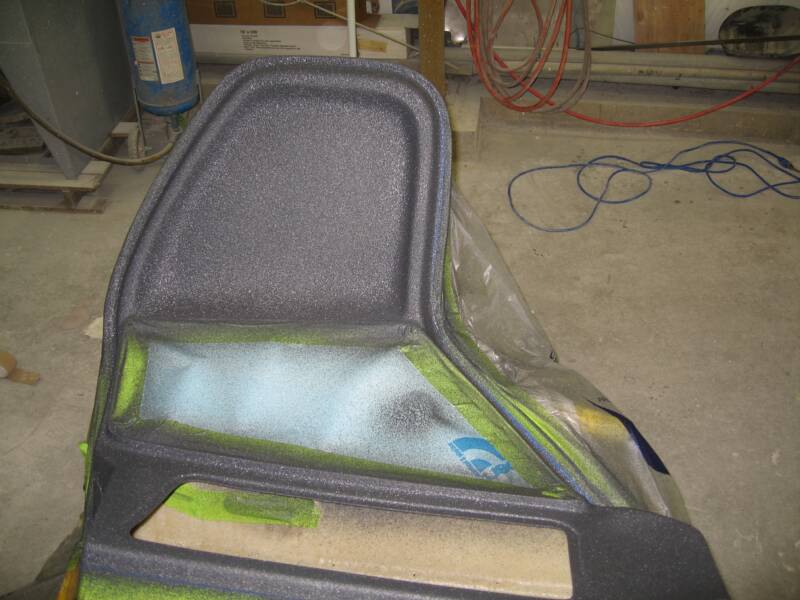
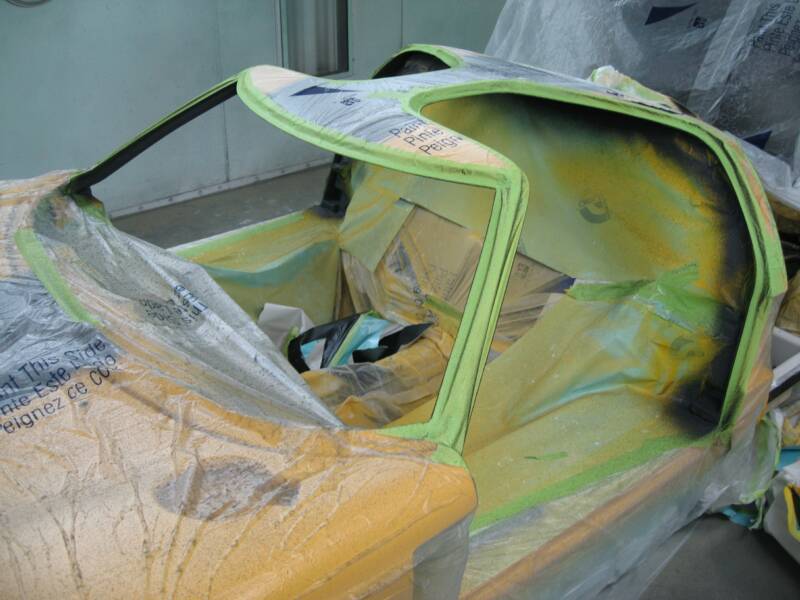
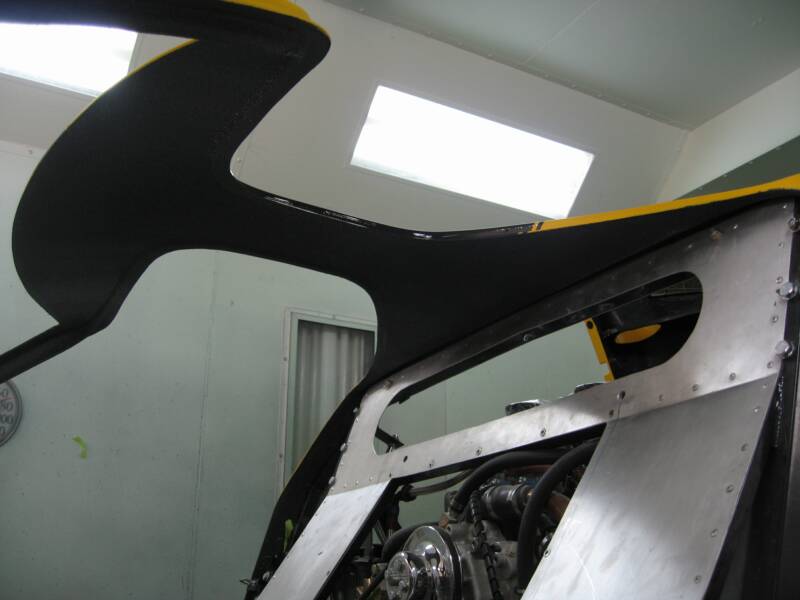
I previously sanded the interior area's when I was prepping the outside, to save time later and also so I wouldn't have to create dust in the middle of all this painting. It worked out well, because all through the paint processes, it remained dust free. So, it was ready to wash with wax/grease remover and tape for spraying.Again I bagged the car with plastic and cut out access area's, to spray the roof and pillars.. I removed the doors, they were much easier to tape and spray off the car and only 1 bolt, and they come right off.
With those area's dry, I began unmasking the layers of plastic and tape that have been added for each step. Somewhere, at the bottom, is the initial wrap to protect the important stuff. With that removed it really looks great and is very close to completion. Next I'll start reassembling it, striping the rocker panels, that I buffed while the interior work was drying, and some other details I need to finish. It's hard to believe but, I haven't seen the shiny stuff, since this project started 3 weeks ago. This thing is wicked !
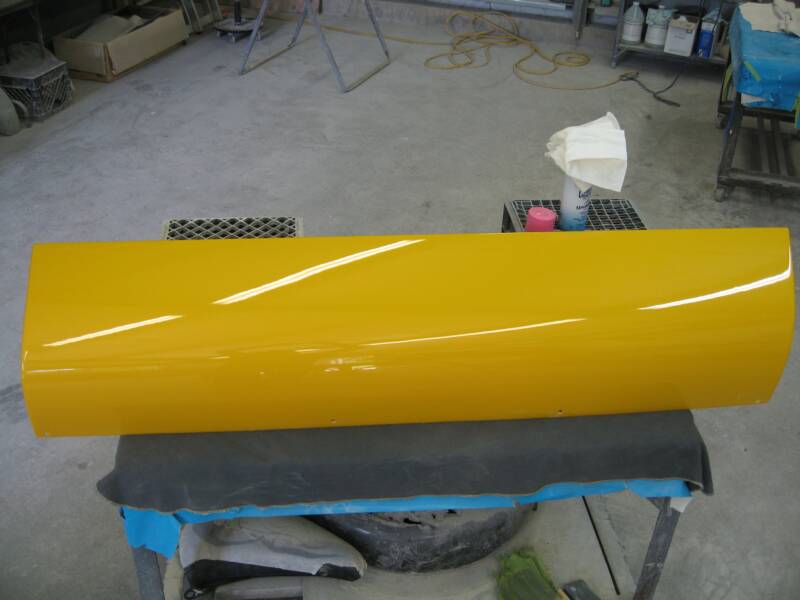
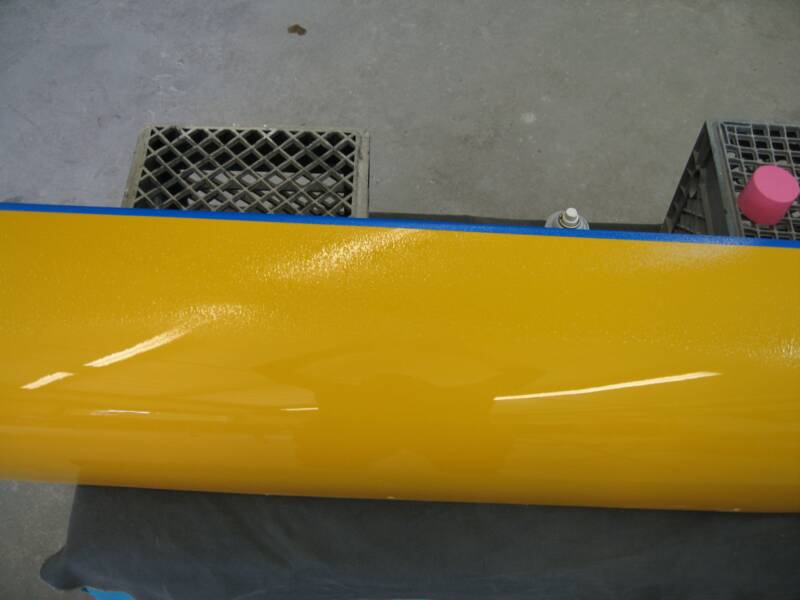
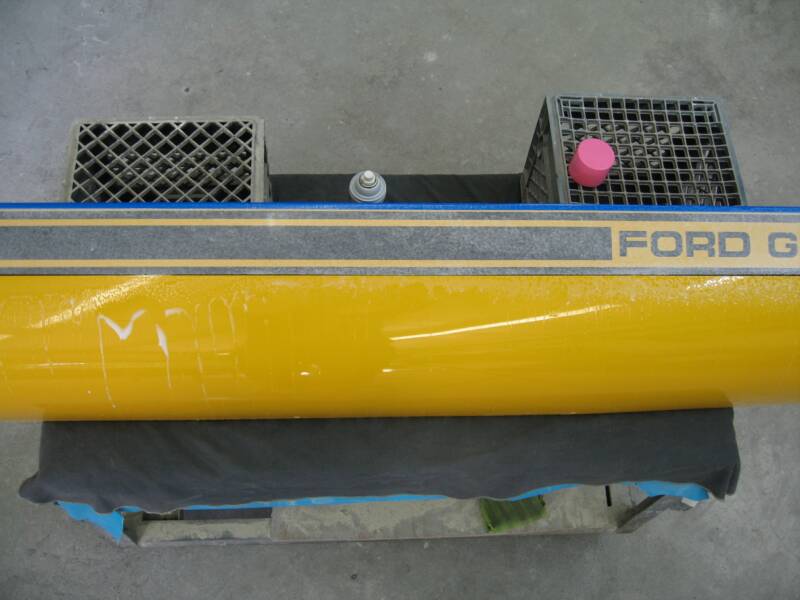
Here's the buffed rocker panel, first I spray it down with window cleaner, then pull the backing off the decal,leaving the white paper on the top of it. Once you set it down on the window cleaner, you can position it where you want it, when you get that set, you can squeegee the liquid out from under the decal, working out the bubbles. I start in the middle and work towards the end. Once all the water is out wipe up the excess with a paper towel. Then remove the white paper slowly. Dry it up, work out any bubbles left behind, and it's done.
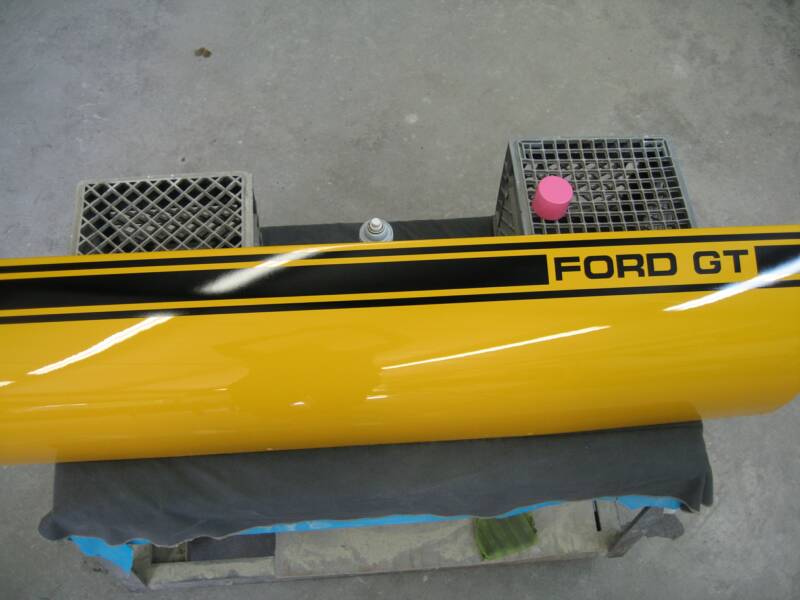
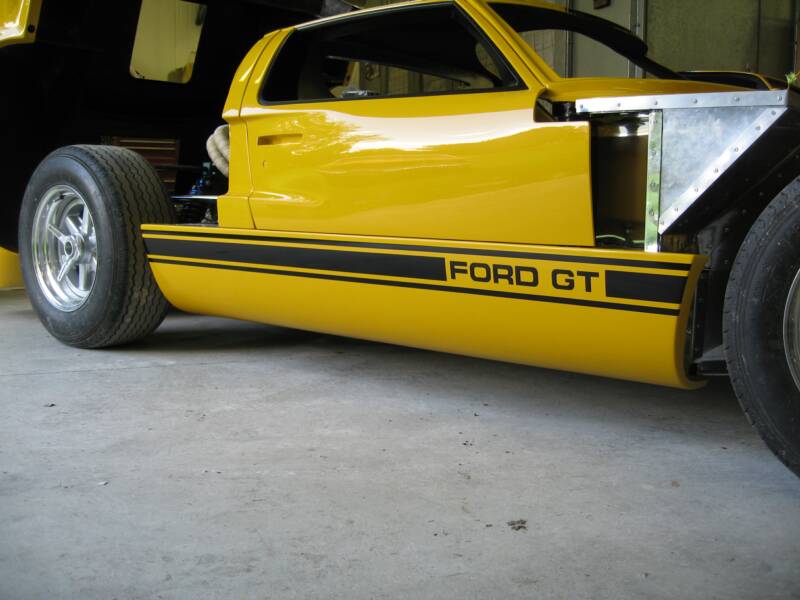
Here's the finshed panel, ready for installation, and another shot of it installed
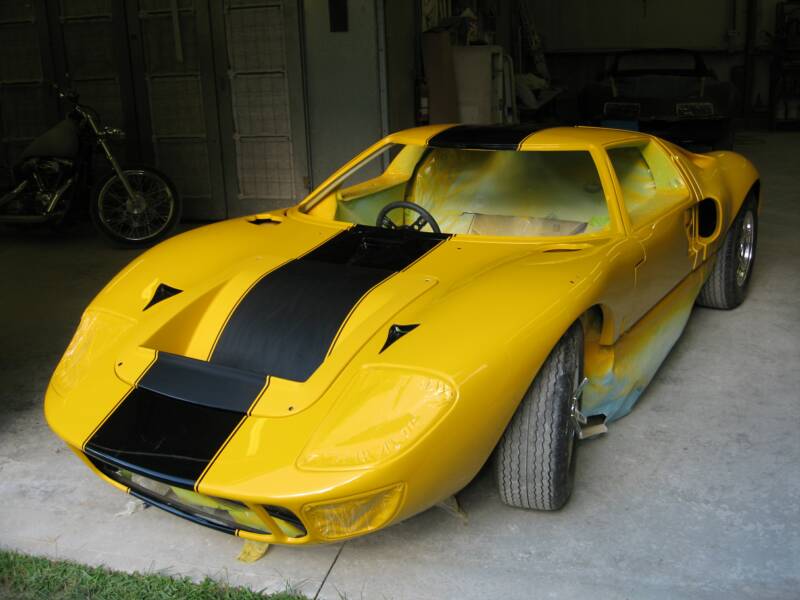
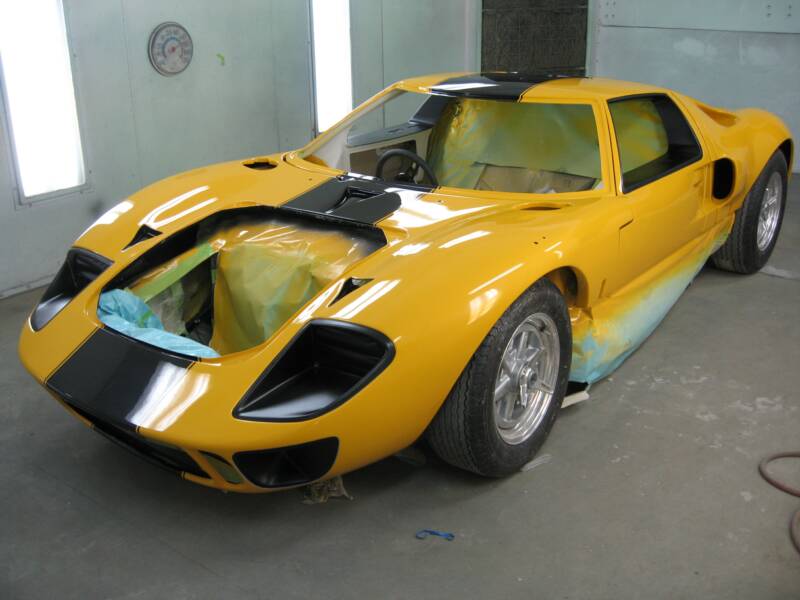
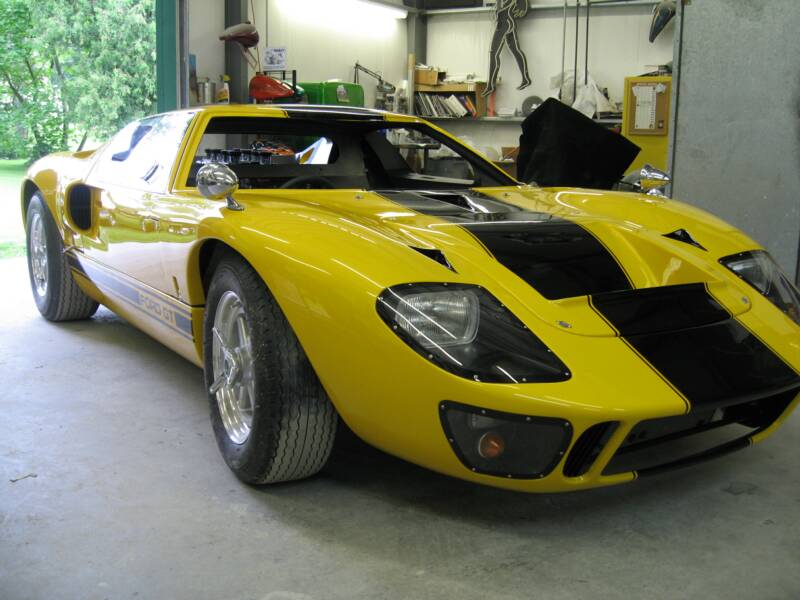
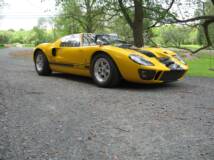
Well, after painting all the small pieces flat black (interior trim and covers for underneath.) I began assembly, and this is the result. It looks as if it rolled out of the Dealership, factory fresh and ready for the pavement. Well that's after Scott finishes the interior, and front and rear glass,etc. What a well thought out, excellent reproduction of a racing legend ! Looks like it would make an early morning, country ride, very fun.