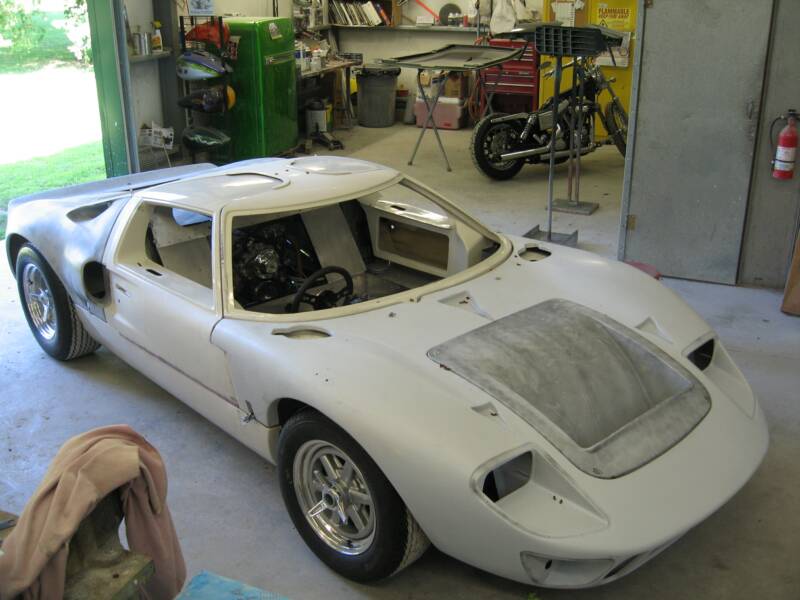
What a very cool kit, this thing is a serious testosterone rush. Well made, nice design, the body is very nice also, but as with any car fiberglass or steel, there's certain things that need to be done. First we have to focus on the alignment of the body panels. There aren't any major issues, it's all fine tuning.
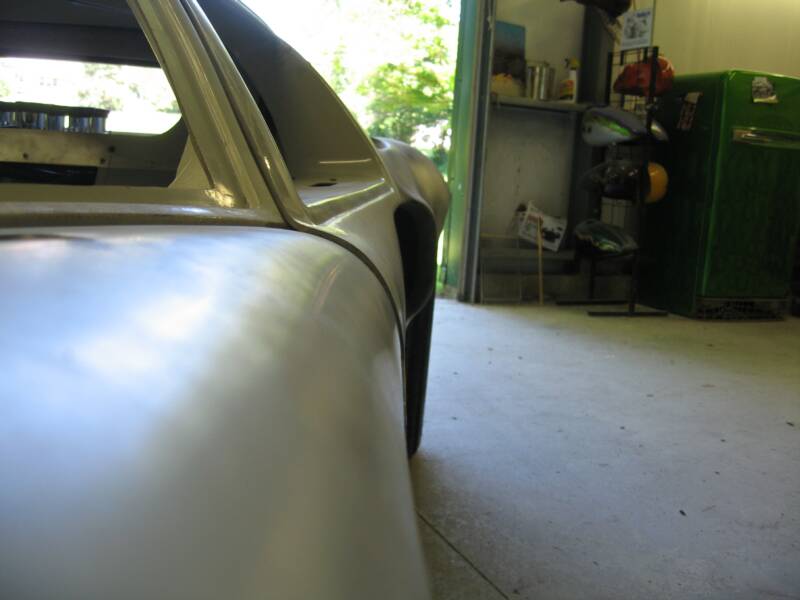
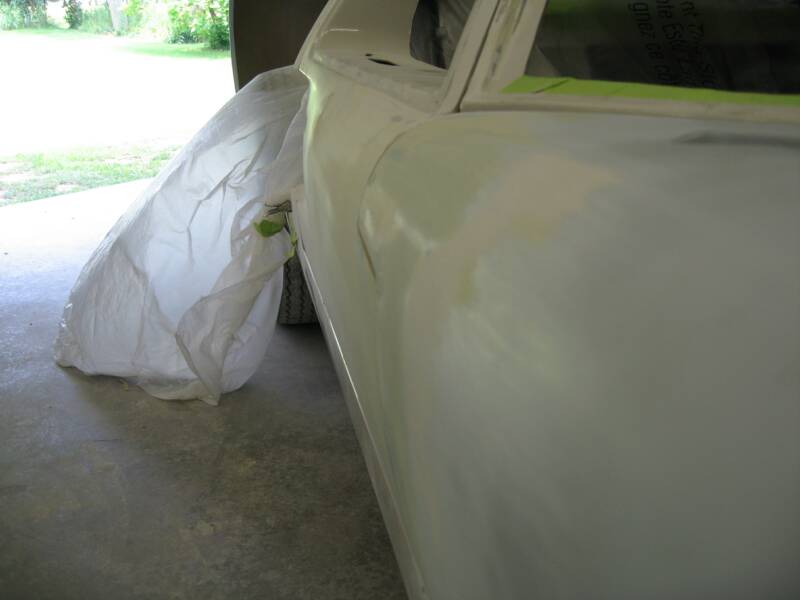
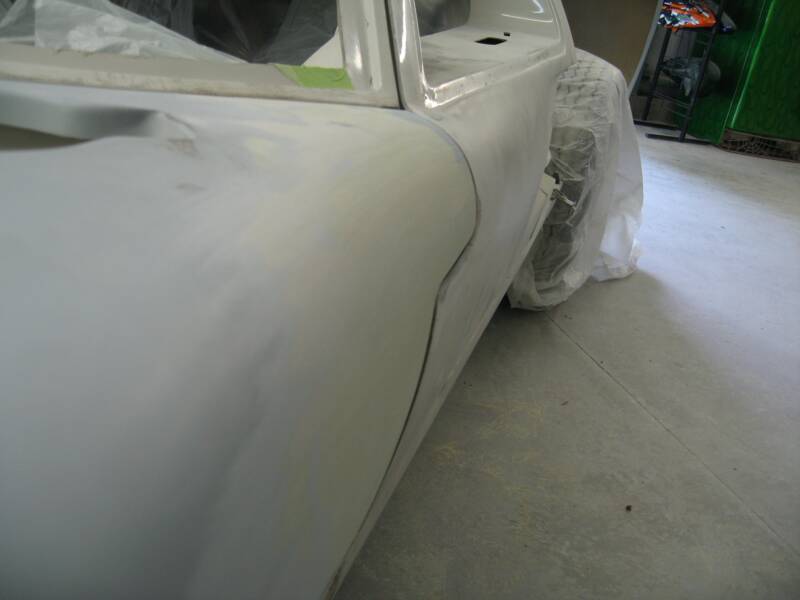
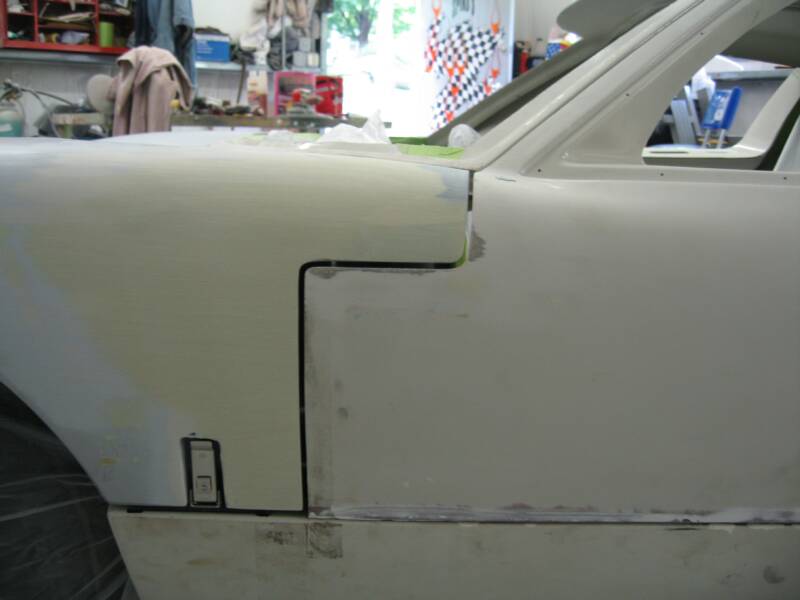
Above you'll notice the door is slightly higher than the fender. Now all the panels are adjusted where they need to be, so, at this point we will add material or take it away as necessary. Here we added some filler to the fender area to level the two panels. The profile shot shows our gap between the two panels on the other side. Both sides had the same problem, so I added some fiberglass to the fender area and also at the top of the door, in the front. Then finished the bodywork with a coat of Duraglass, then plastic to finish it up for primer.
Now you can sight down the side of the car and there aren't any bumps in the road ! The gap is a nice 3/16" gap, not as fat as it was, but still enough room for clearence issues.
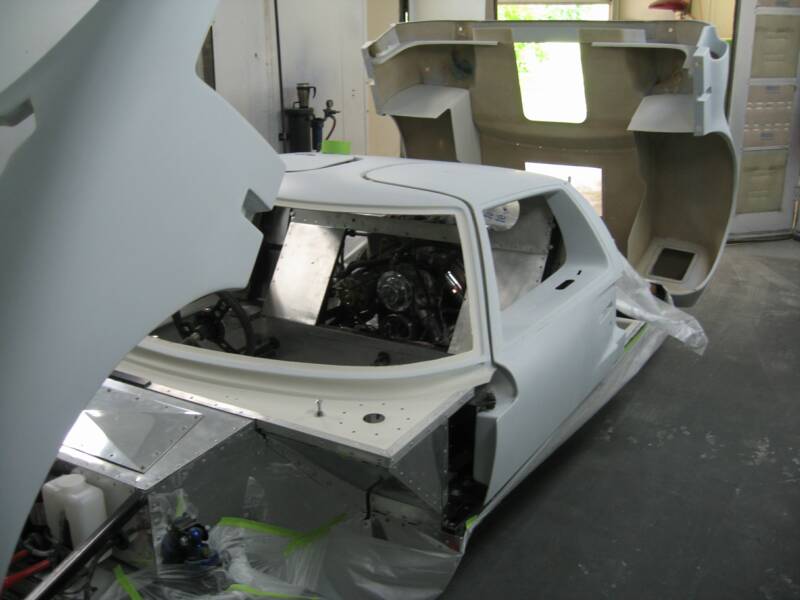
We'll move our attention to the rear clip now, and see what alignment looks like back here.
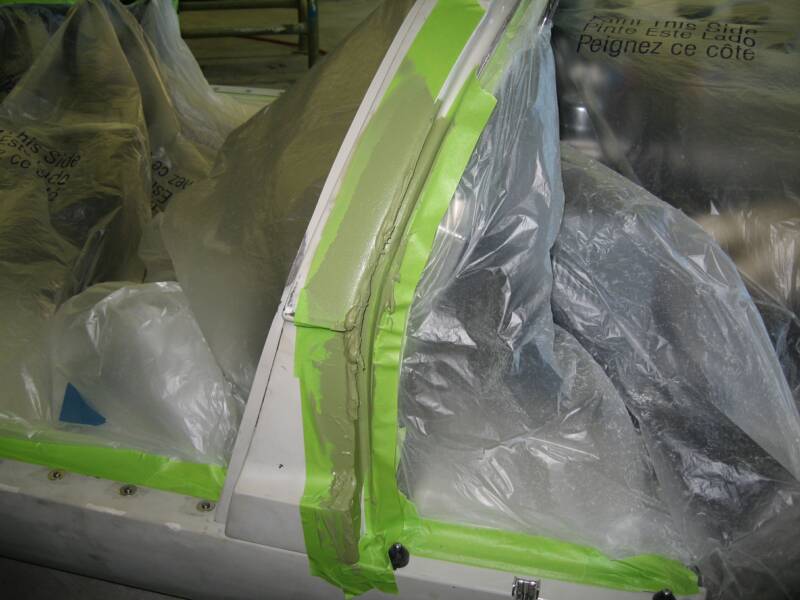
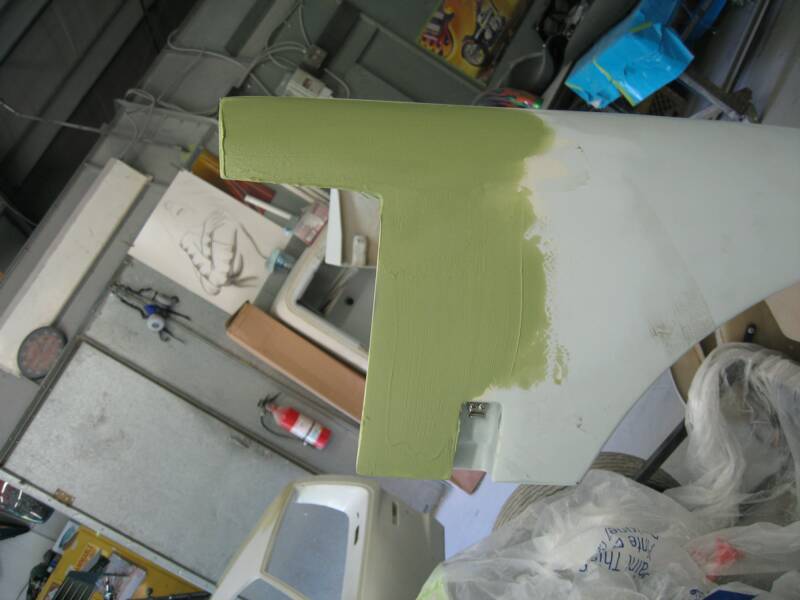
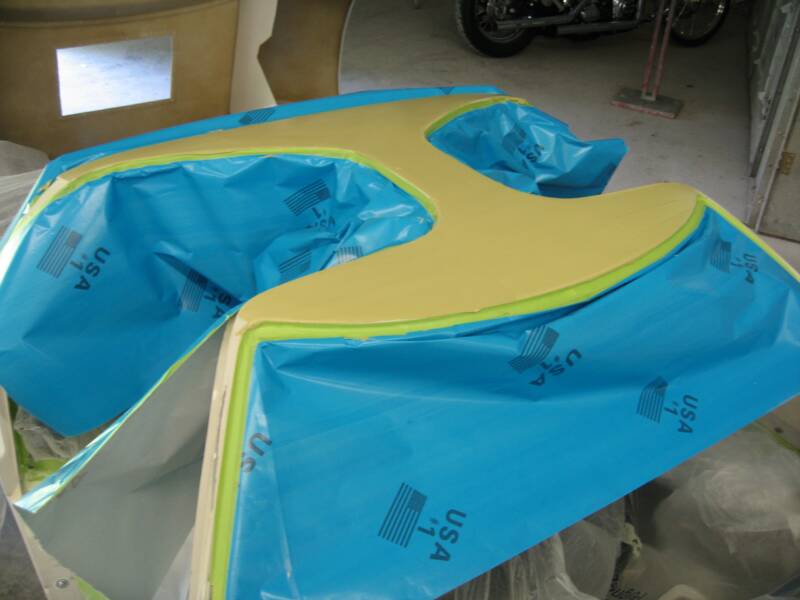
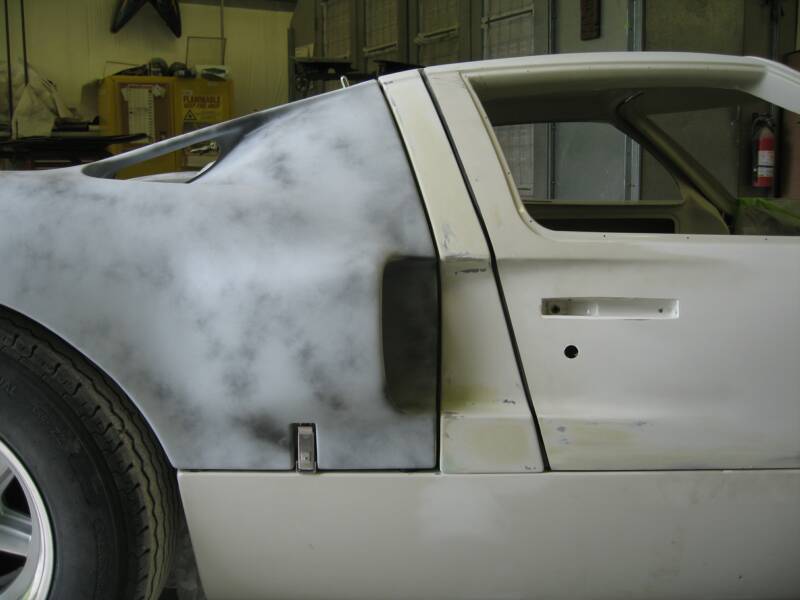
These gaps were bigger than we wanted, and a little inconsistant also, I roughed up the roof spyder with some 80 grit sandpaper., that's the panel consisting of the roof (obviously ) and the pillar that is between the door and rear bonnet. This time we don't need to do anything to the rear clip to solve this problem.I'm going to add material to just the spyder. As you can see below.
This kind of work takes awhile, there are a lot of different faces, and 2 jambs ( door and bonnet ) to consider. Its best to concentrate on getting the thickness first, then usually a skin coat on the flats is all it takes to finish it.. A lot of checking and double checking through the job is most important.
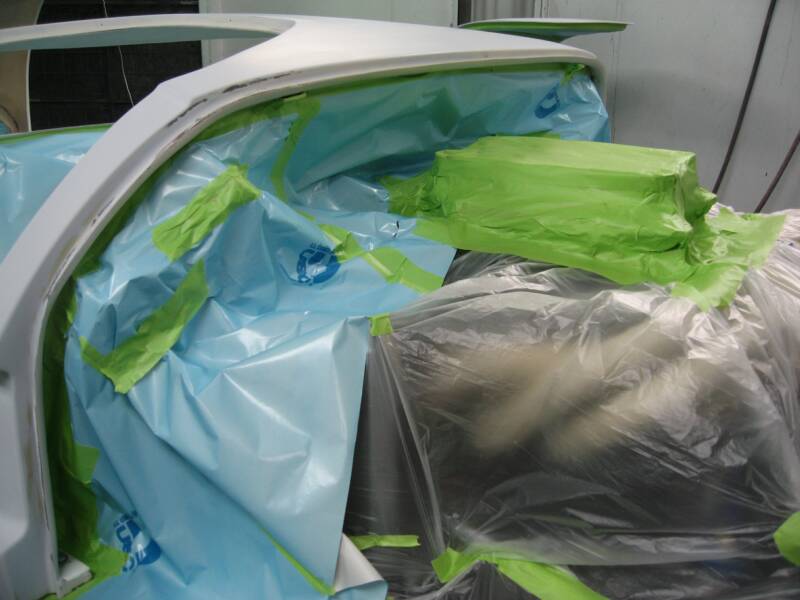
At this point I covered the spyders jambs with masking paper, The roof and door uppers had some waves, so, I'll take that precaution, because it will spare me a lot of hand sanding later if any filler gets into the jamb., and it will. One nice coat of filler just to level things out.
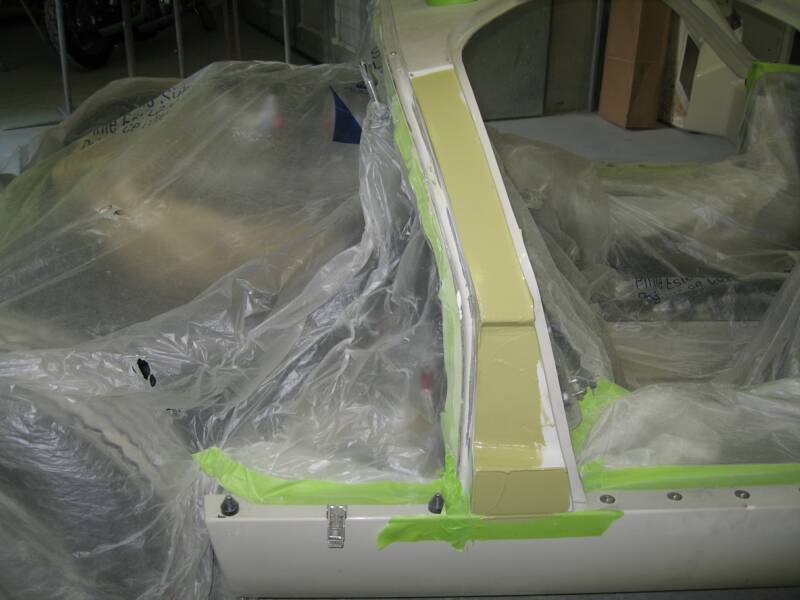
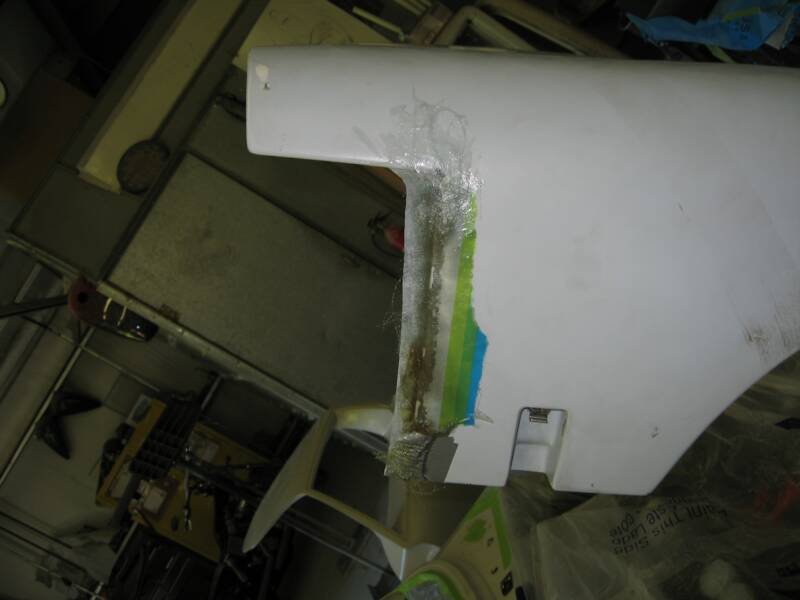
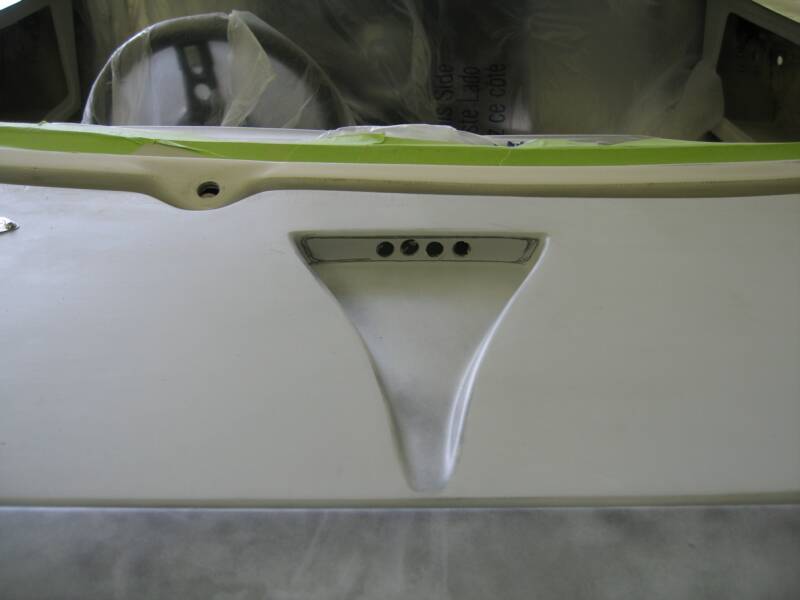
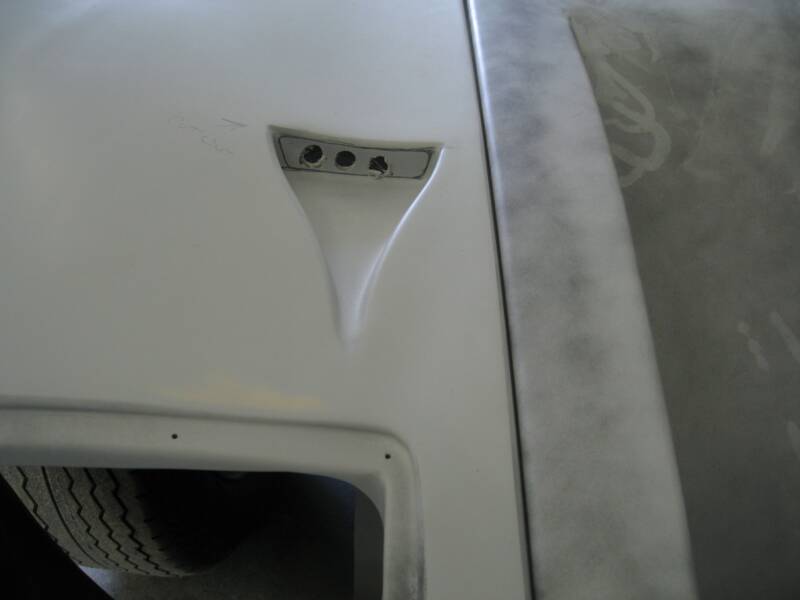
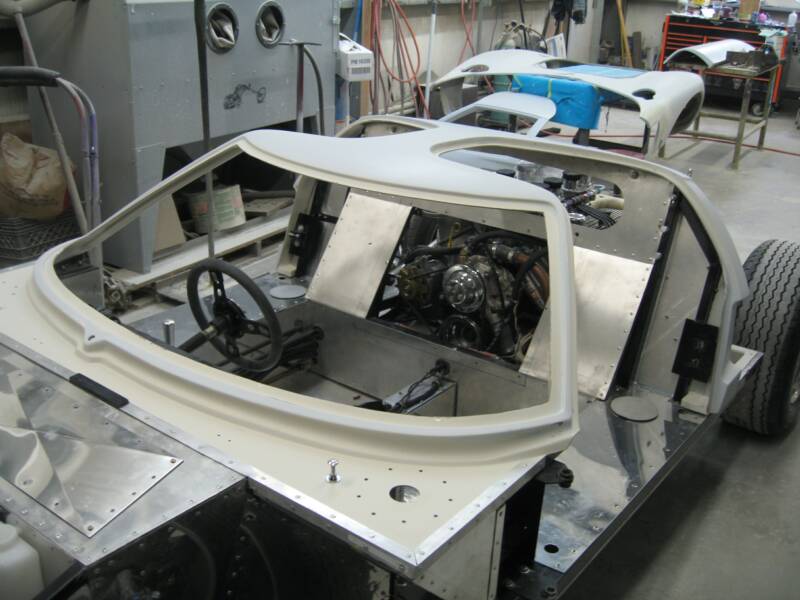
Below is a view of the finished spyder pillar, ready for primer. You can also see the left door and rear clip fit the pillar nicely. The rear tire opening, on the clip needed a little fill, about 3/8", so it would line up with the rocker panel. The right side however, fits fine.
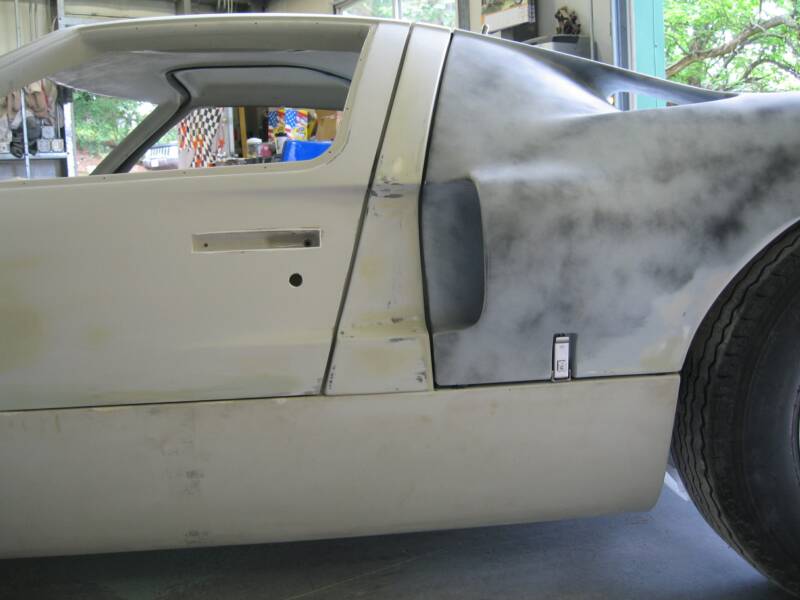
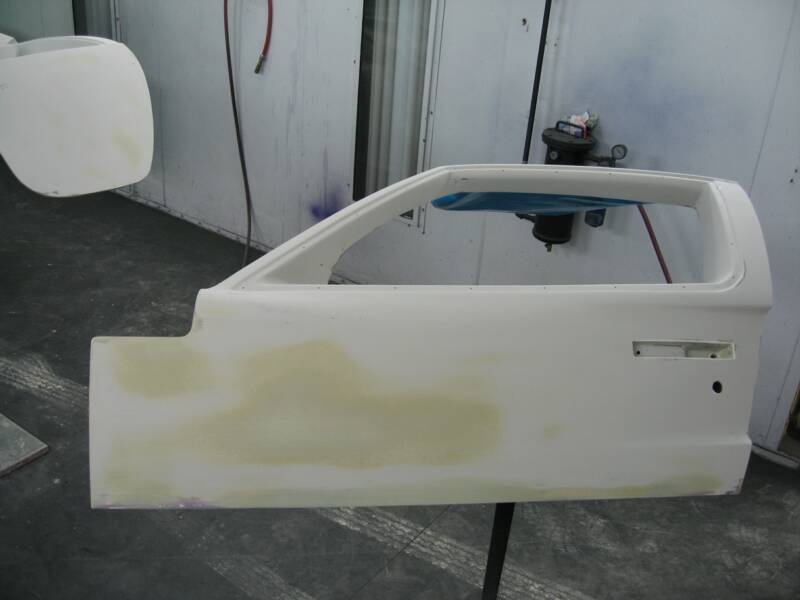
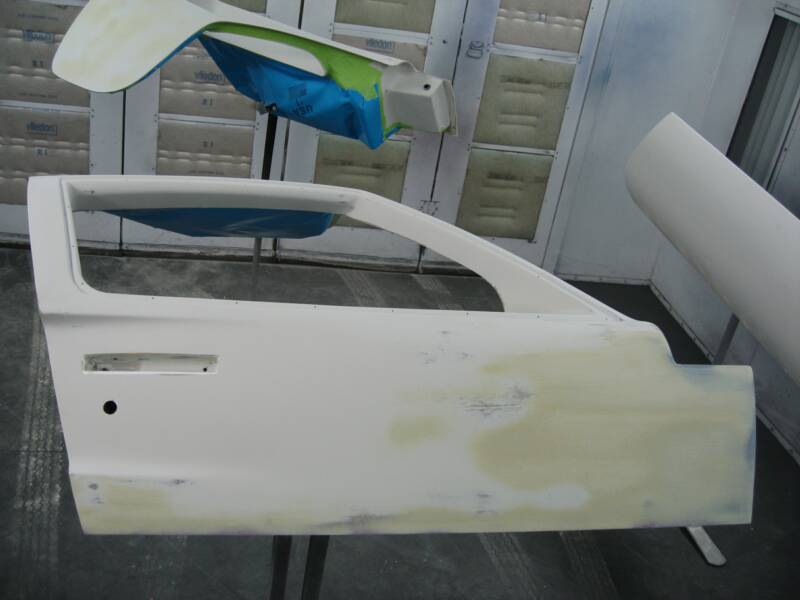
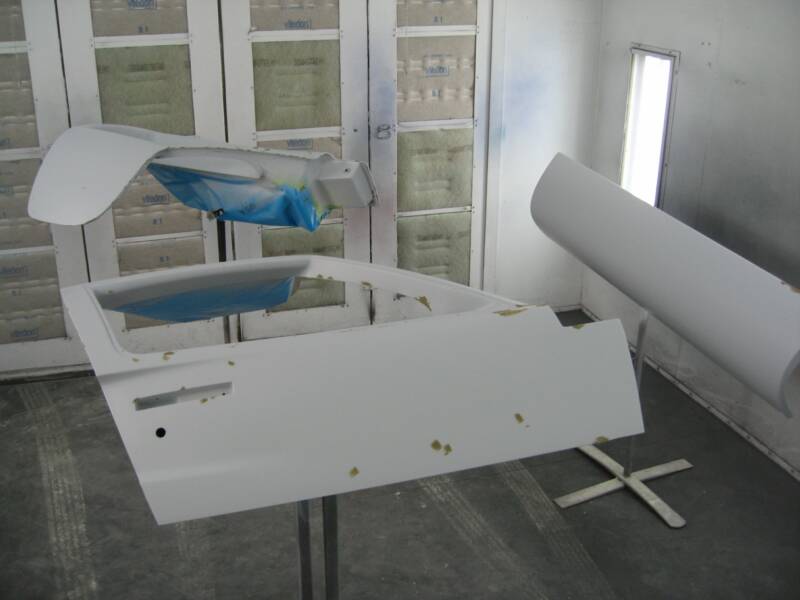
Here the finished doors are, just a couple of low spots to fill and some work around the door handle pockets. We also smoothed out the top, remember ? The other area of the doors that needed quite a bit of work, was the edge itself. That's where a lot of grinding and sanding was done to create proper gaps. The edge is raw fiberglass, so it has voids and air pockets in the glass itself. We want to fill any of those so we have a nice clean, smooth edge. when you run your hand over it, you don't want to feel any imperfections. Those things draw attention.
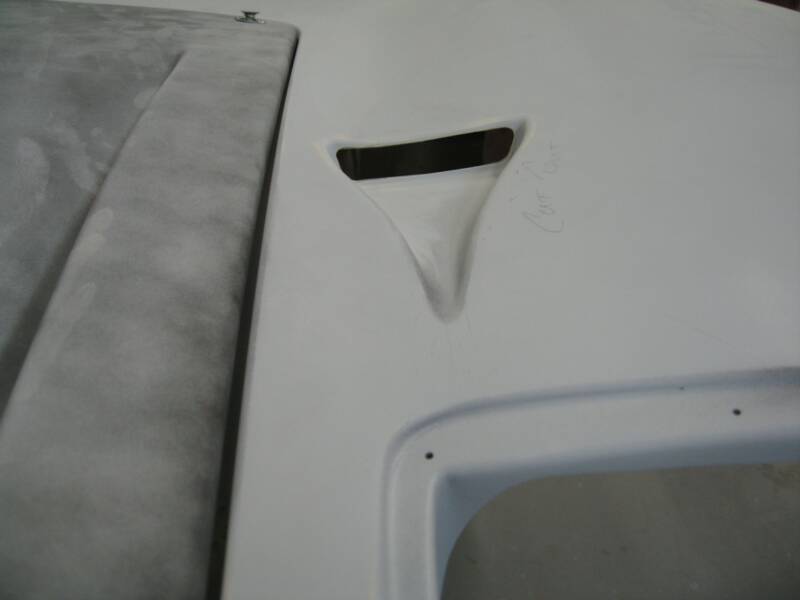
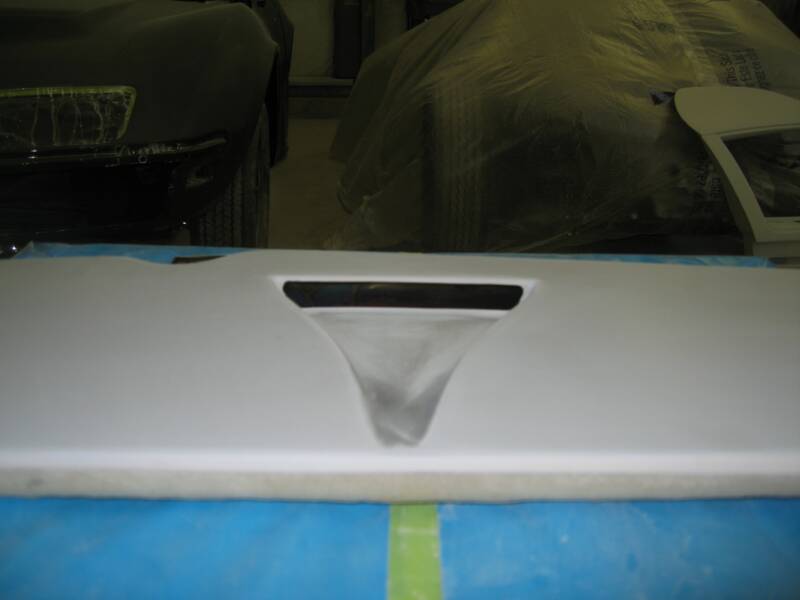
This car is all business, so after some discussion, we decided the scoops HAD to be cut out, so there would be no doubt what it's purpose was. Special care needs to be taken here, you don't want to get over zealous, otherwise you'll be laying new fiberglass and mat down and this isn't the easiest of areas to work in. I drilled some holes after marking the cutout in pencil. Then carved the rest out with a rotary bit in the die cutter.
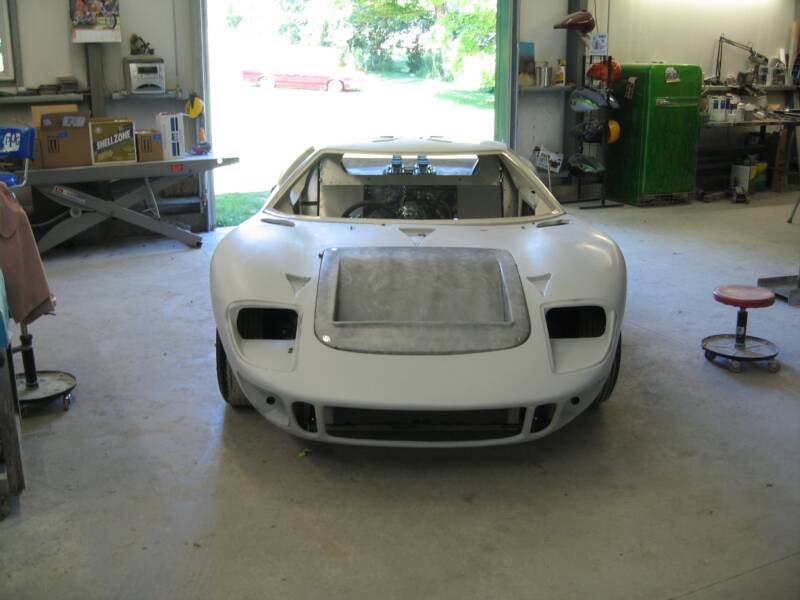
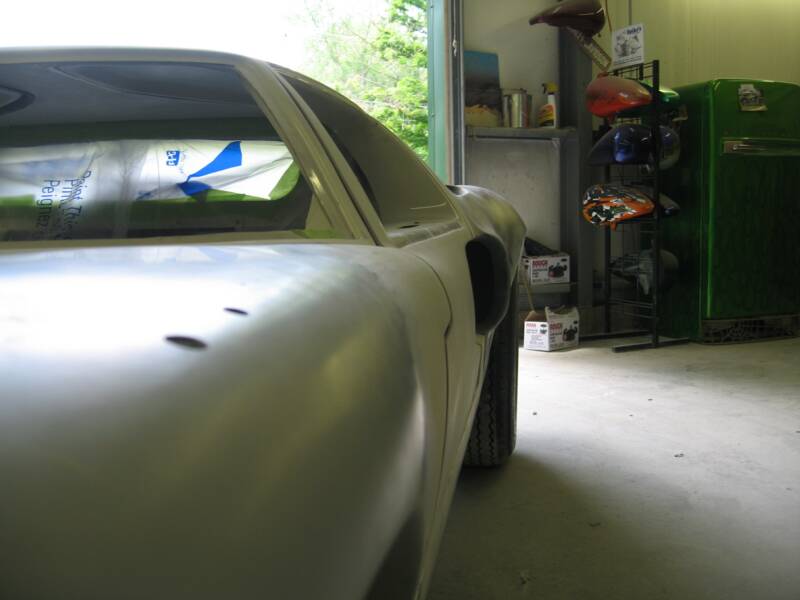
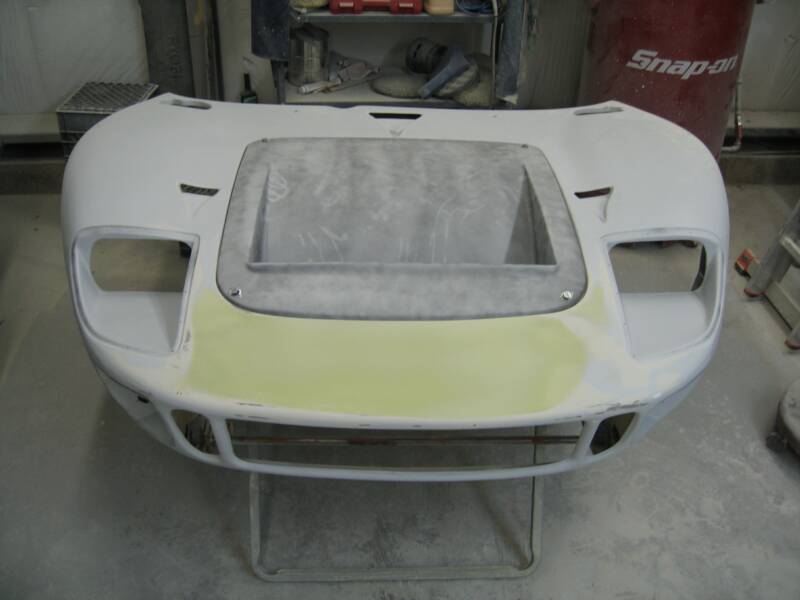
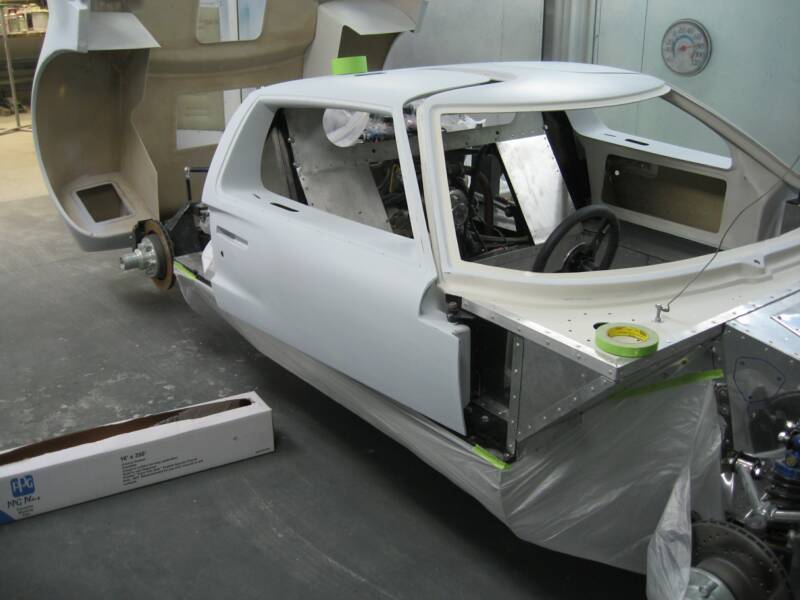
The area between the headlamps was a little low and wavy, so with that area filled, that raps up the front clip. I mounted it on the car again to check final fit of all the panels. You can sight down the sides now and everything looks good.
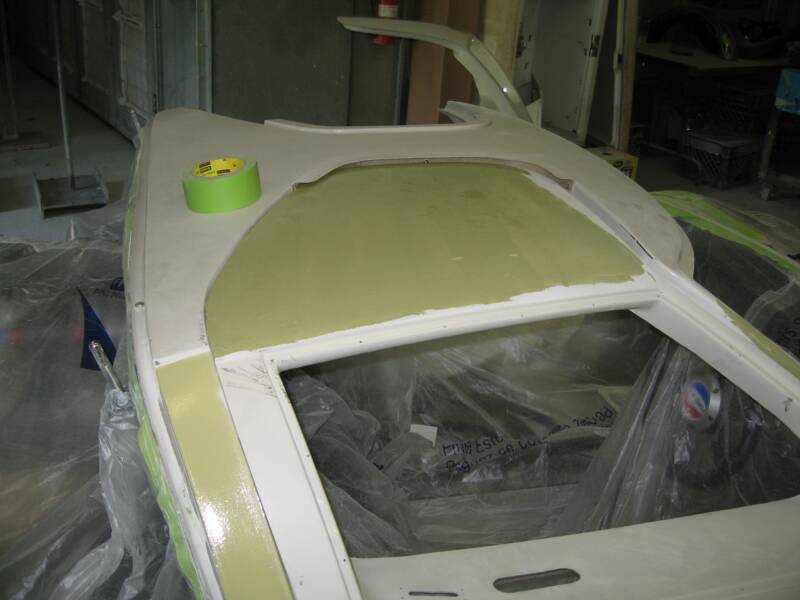
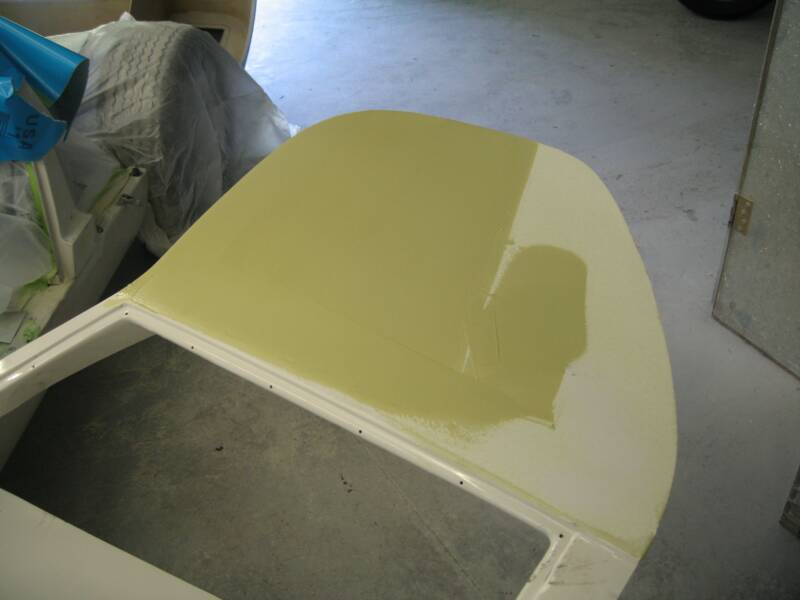
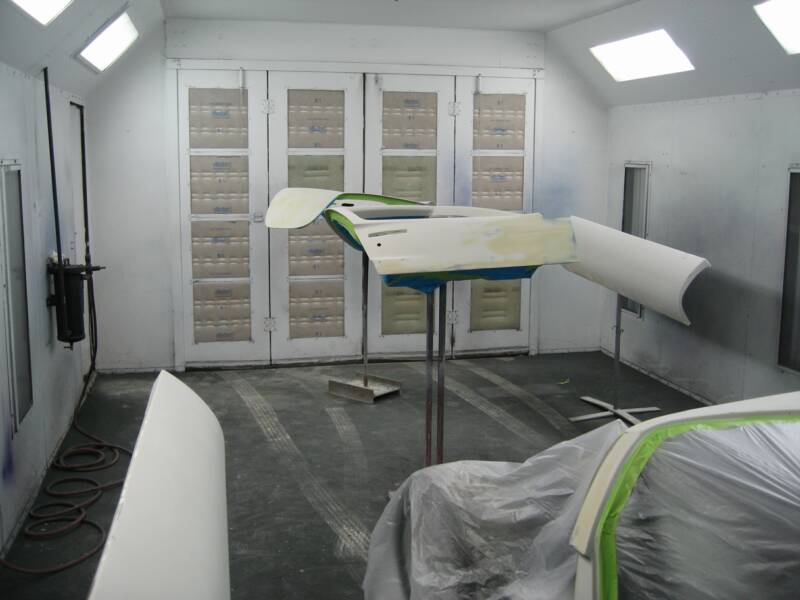
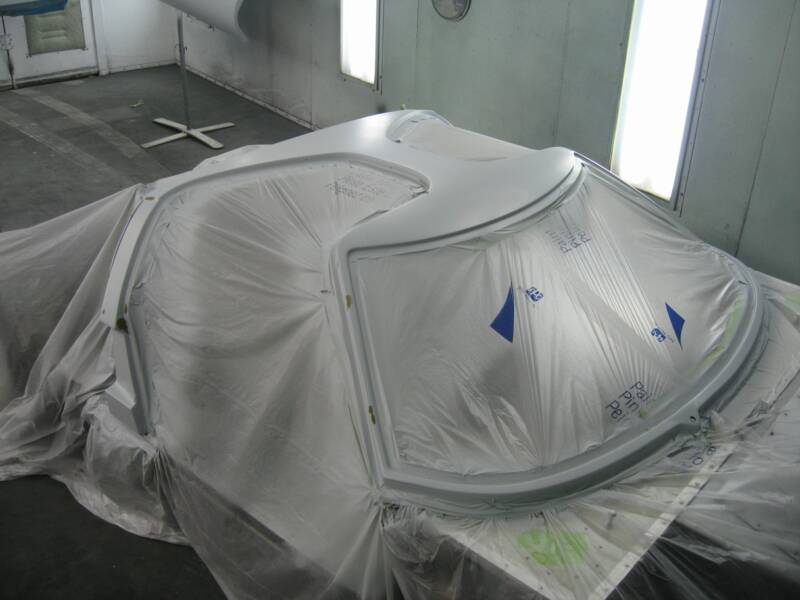
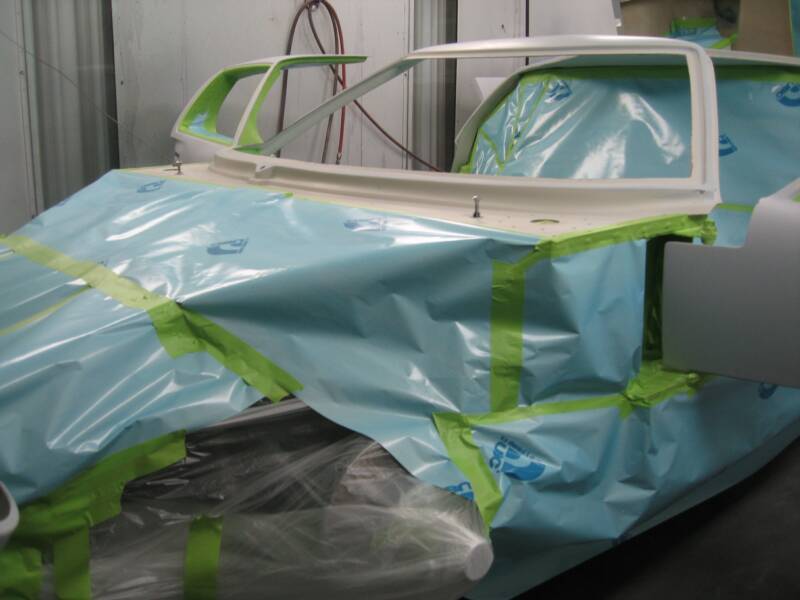
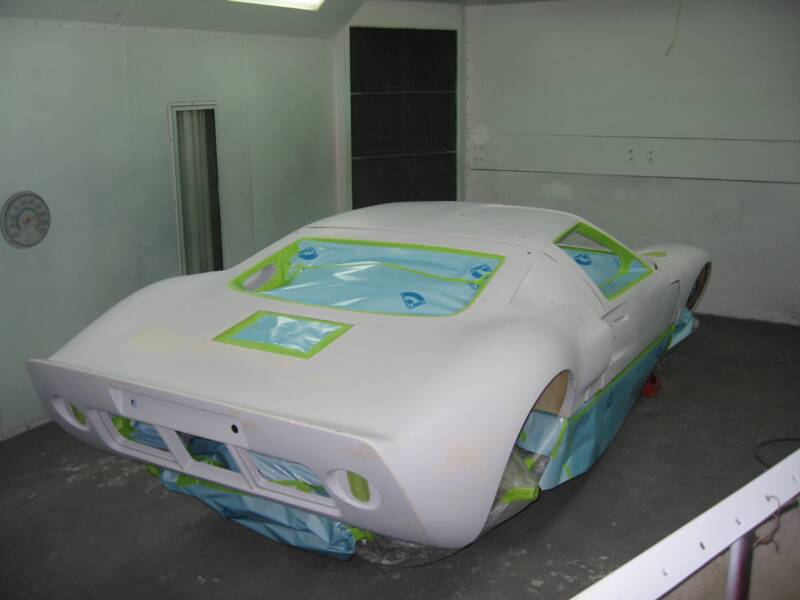
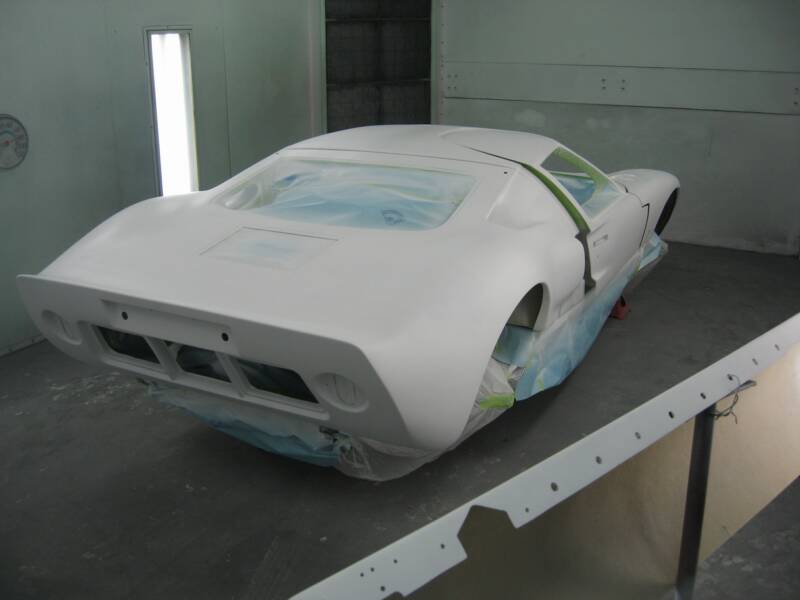
So, with all the bodywork done, it's time to move to the booth for primer. All the pieces are layed out and the roof spyder is taped to prevent any overspray from getting where we don't want.I applied 2 heavy coats of 2 part primer, blocked that with 150 grit sandpaper and applied 2 more coats of primer, and sanded that with 320 grit sandpaper.
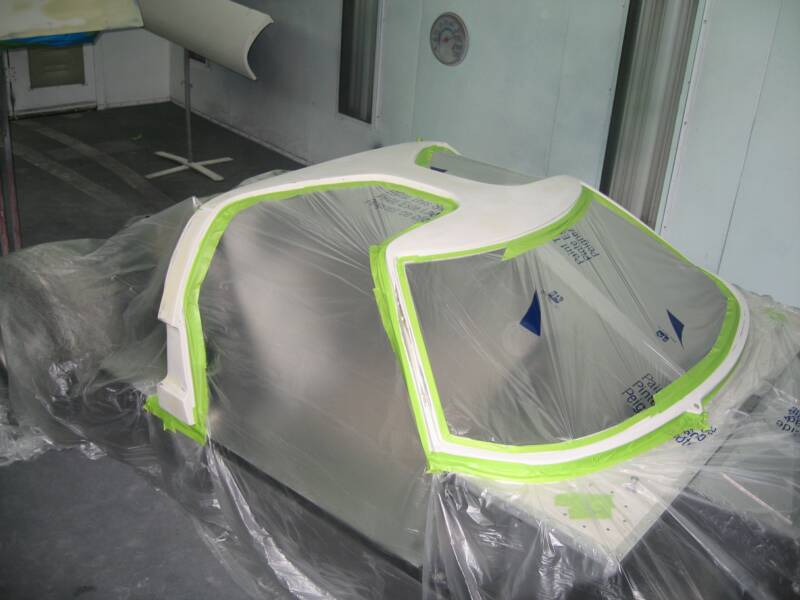
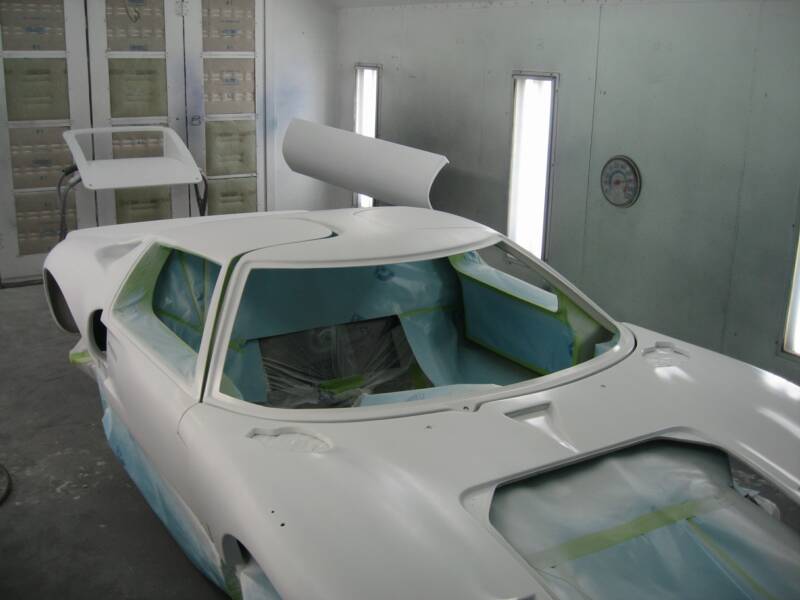
Here is the spyder all finish sanded with 320 grit paper, ready for paint.
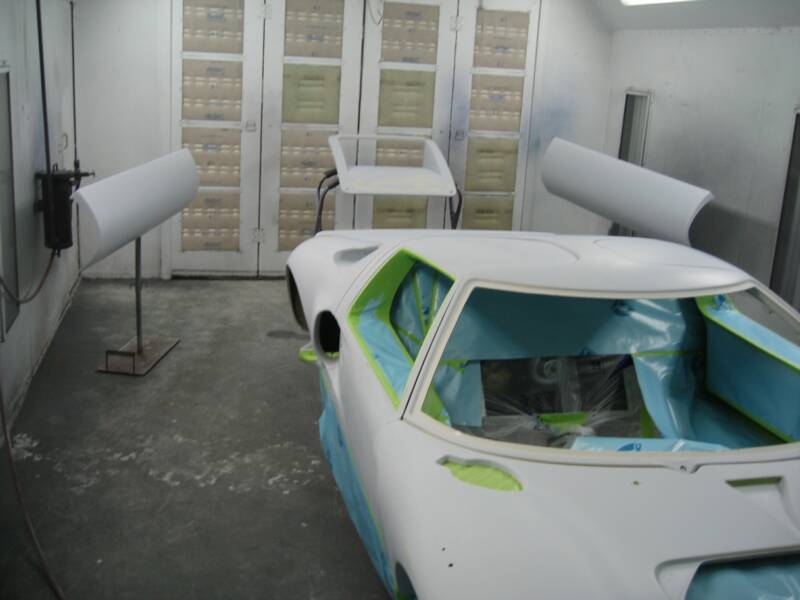
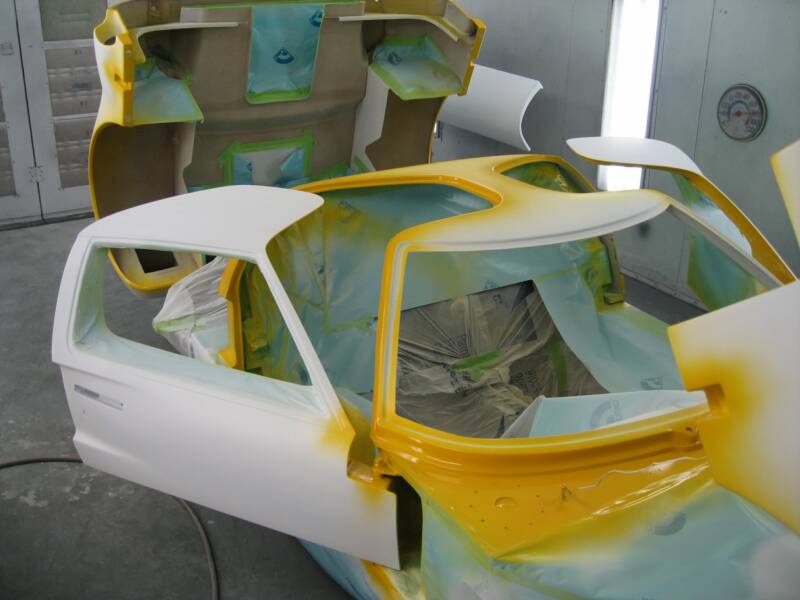
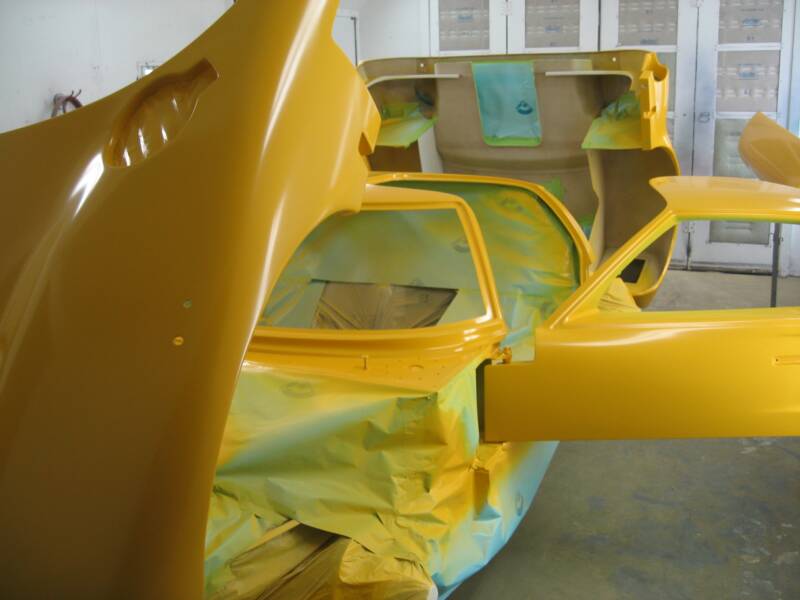
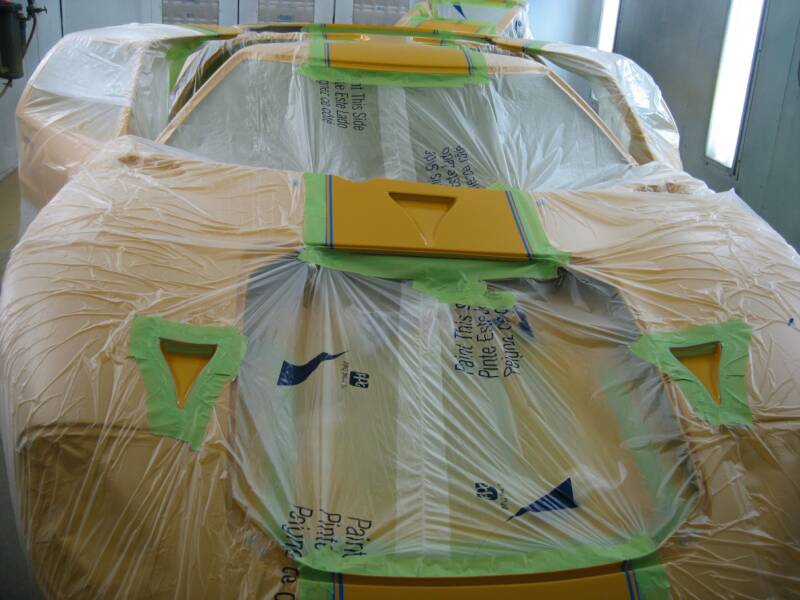
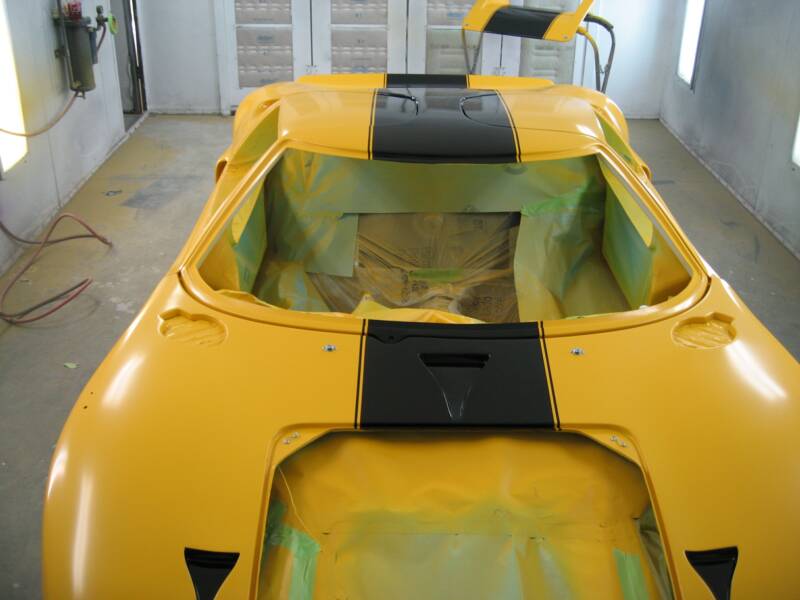
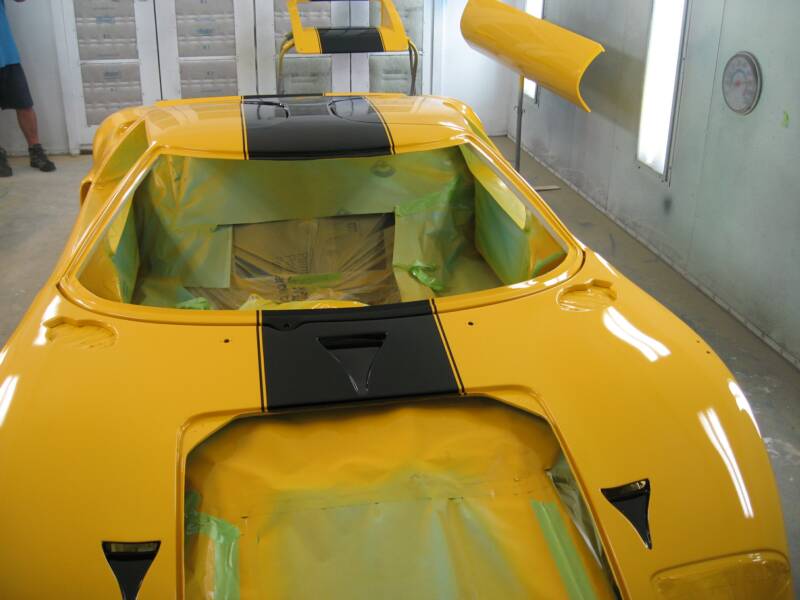
Alright, so everything else was prepped for paint, and after a lot of consideration, I decided the way to paint this particular car, was together. The reason for that is, we are going to put a racing stripe on before we clear it. That is going over the front clip, the roof, which will also include a small portion of the doors, so they need to be in place also, then down the rear clip.
While taping, we have to remember that everything has to open and close, without rubbing up against any other parts. Plus this is a completed car, for the most part, so we need to protect everything that we don't want paint or overspray getting on. I covered underneath, right up to the bottom of the doors with plastic sheeting and also the front frame clip and the engine and rear clip. That's insurance for the unforseen. Then I used masking paper where the paint was most definately going to get on. If you don't, once the paint dries, and you blow back across it with clear, it will flake off and most certainly end up on your paint job, in your clear and well, you'll have quite a mess to say the least.
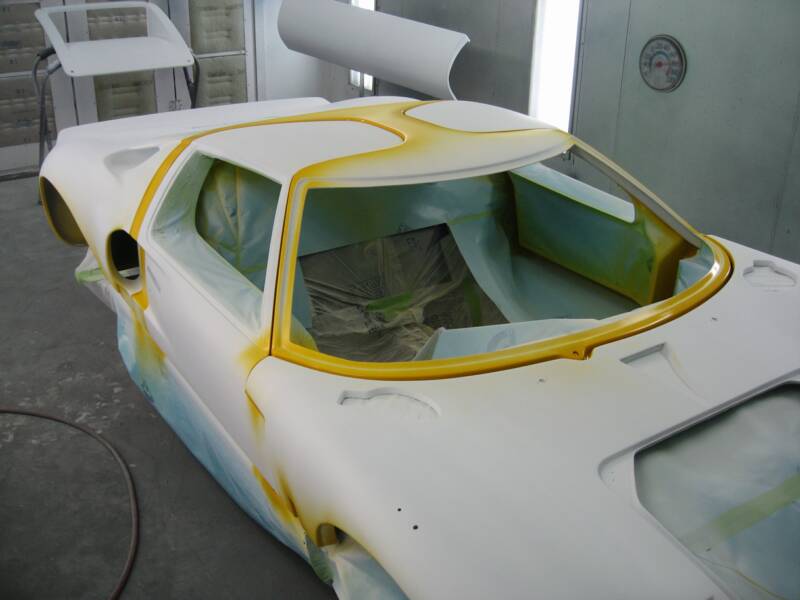
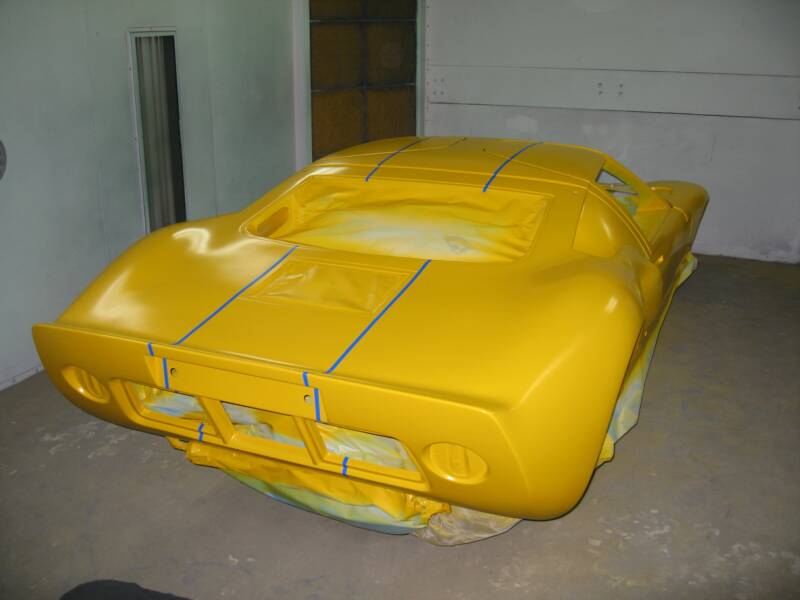
Above, we have the finish tape job and we are ready for sealer. Below, the car has 2 coats of DP Epoxy Primer. It locks up the surface, and provides a nice even base for the yellow to follow.
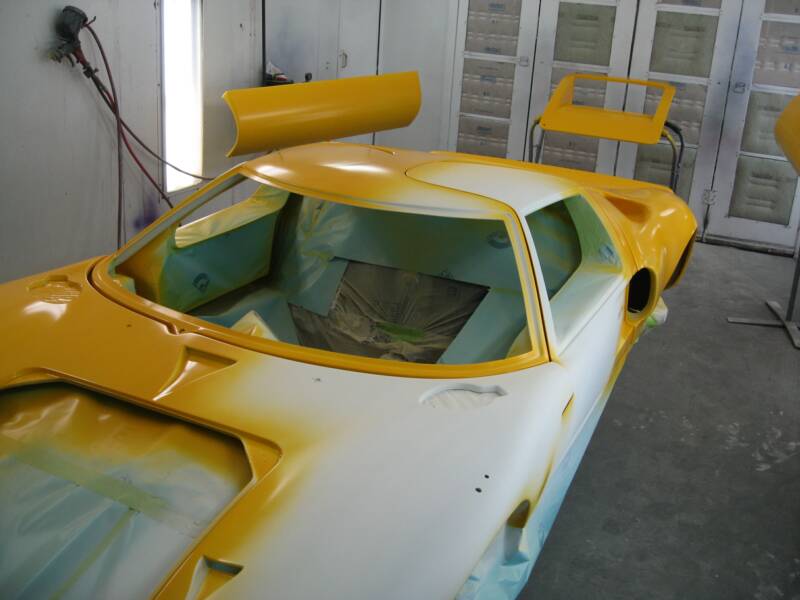
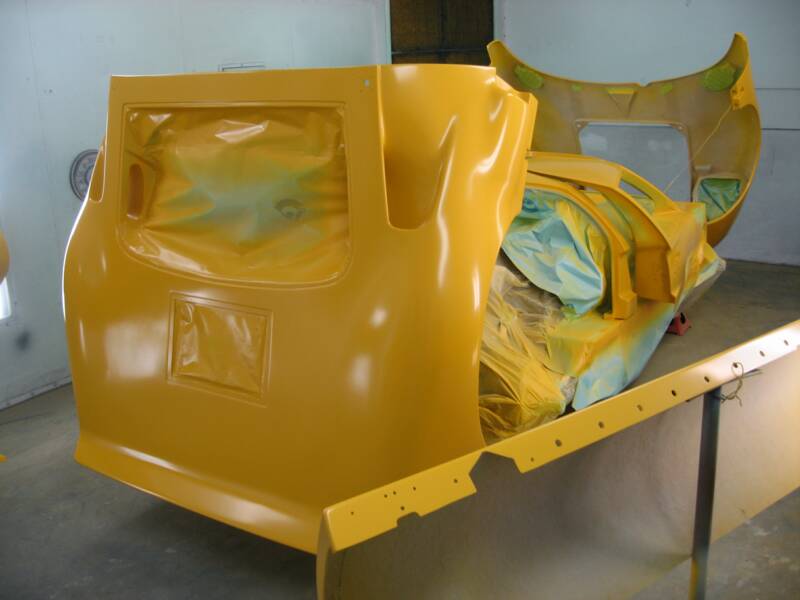
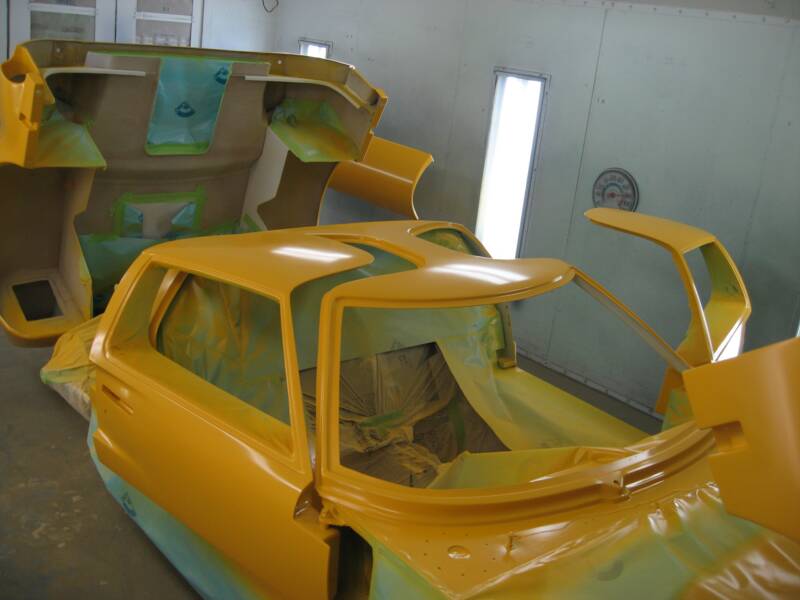
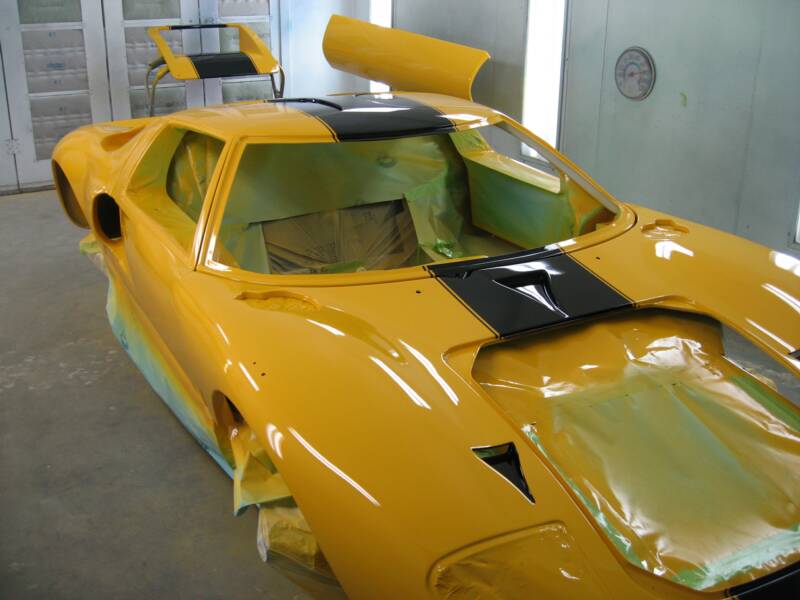
Once that flashed, I began painting. I started by edging the jambs, then closed it up and laid on 3 full coats. Then I opened it up again, edged it 1 more time. I'll let it sit over night and then begin the flames.....no racing stripe...yeah that's it, Black racing stripe.
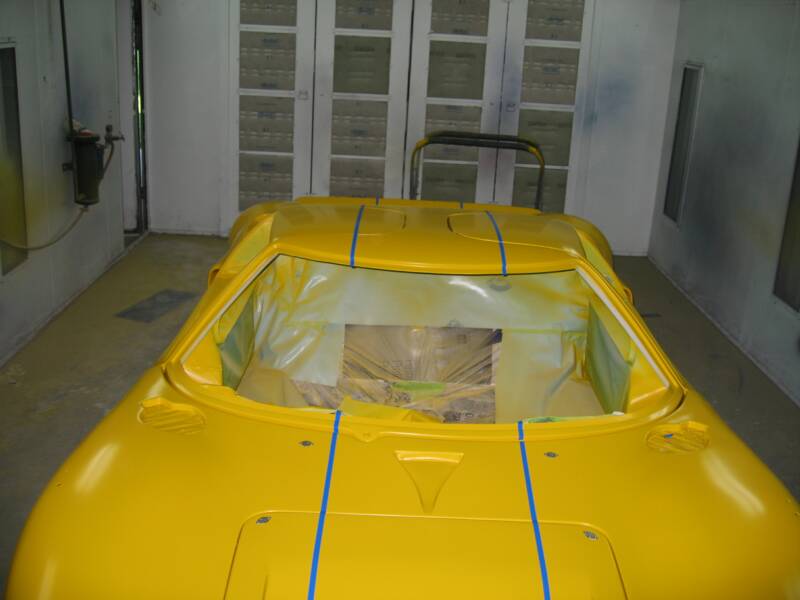
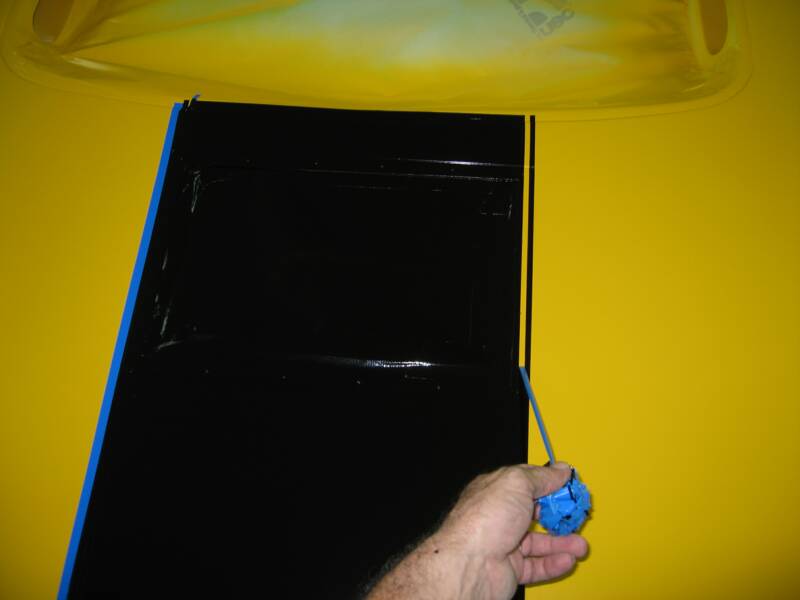
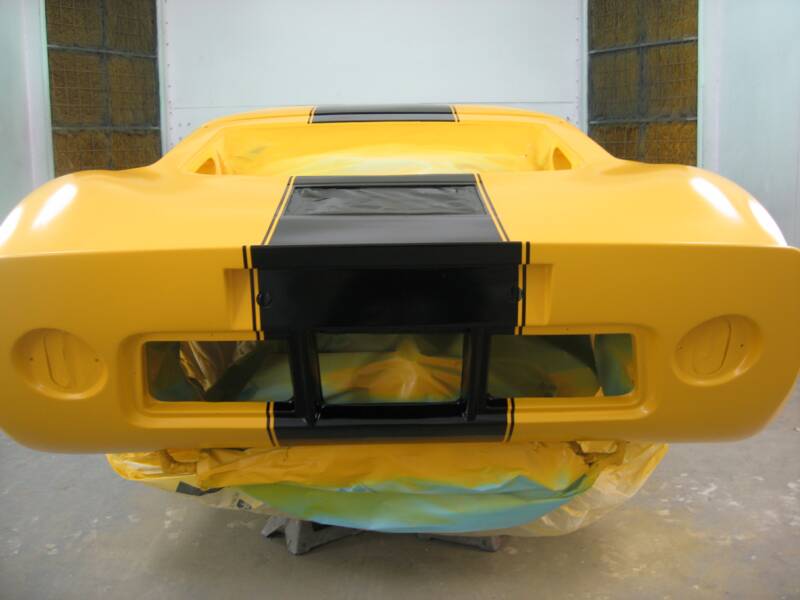
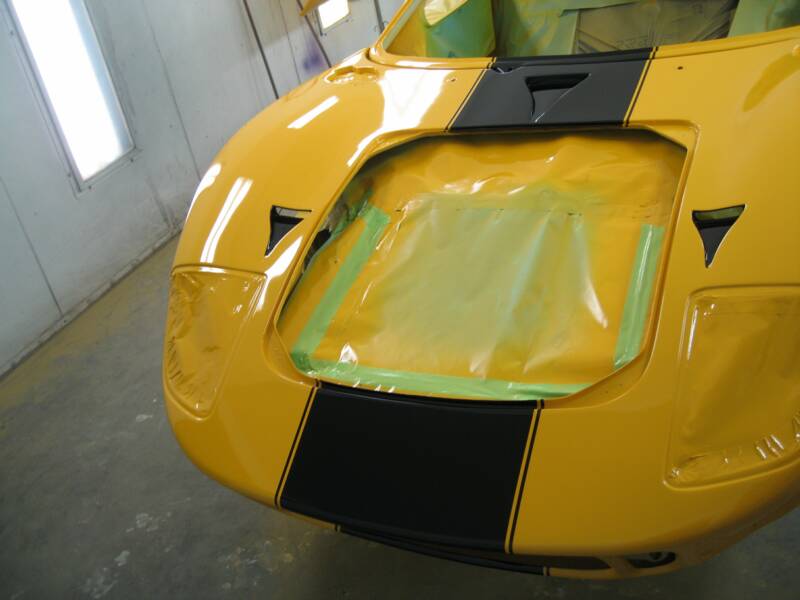
For the stripe, I began by creating my perimeters with 1/2" blue fine line masking tape. Then I layed down a 1/4" blue fine line tape inside of that, for spacing, on both sides. Then another 1/4" strip inside of that, this one will stay, as this is gonna' be the 1/4" yellow pinstripe. I pulled out the first 1/4" spacer tape, as this line will get painted along with the center.
Then I began the tedious task of masking it all up. You have to plan ahead here and be sure to cover everything you don't want to get any black on. Overspray gets in all kinds of places you never imagined. So, it's check and double check, to make sure everything is sealed up tight.
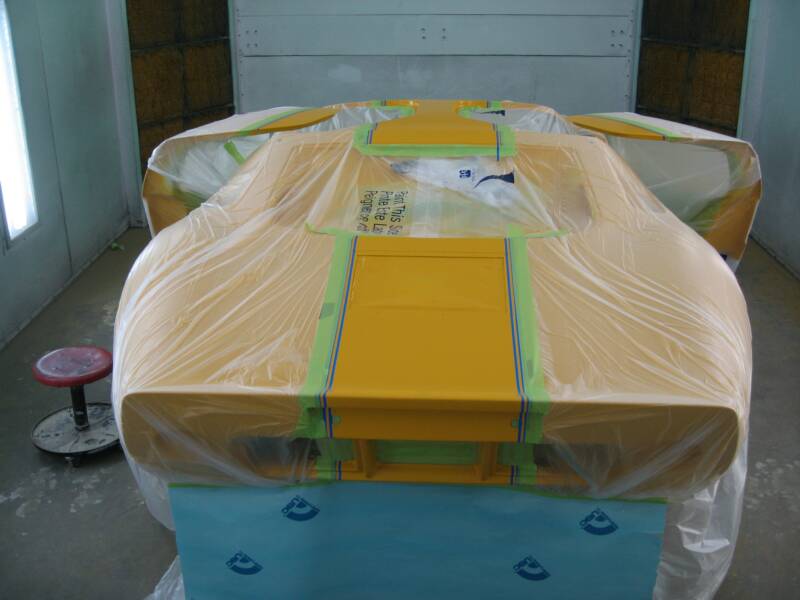
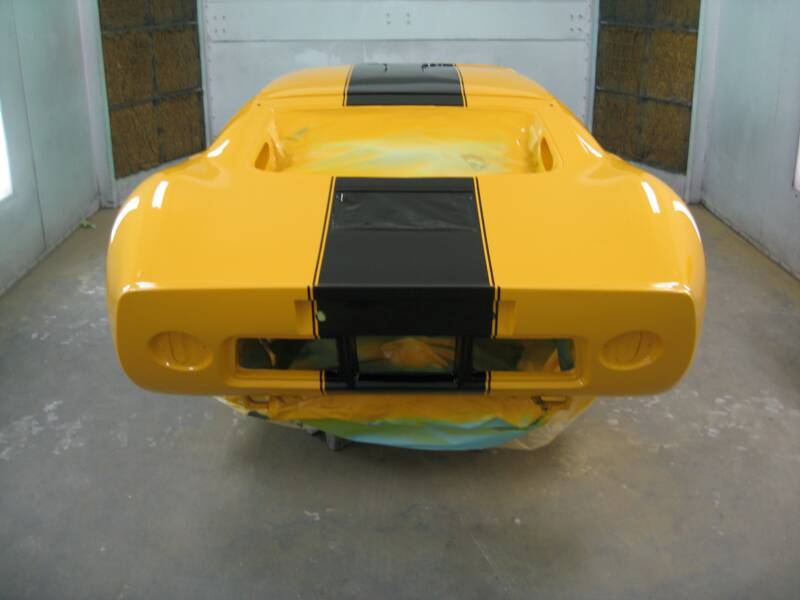
I then layed down 2 coats of Black, let that flash good and then unmasked it all. Very carefully, sometimes if the paint is soft at all, when you pull the fine line off, the paint will roll over and leave a fuzzy edge. Unfortunately, you won't know until it happens. So, you just have to go slow, and don't rush it !
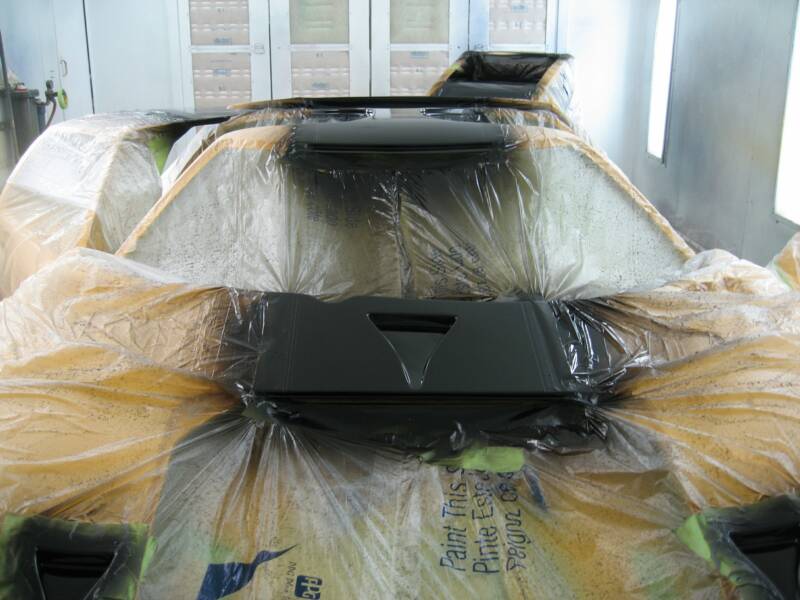
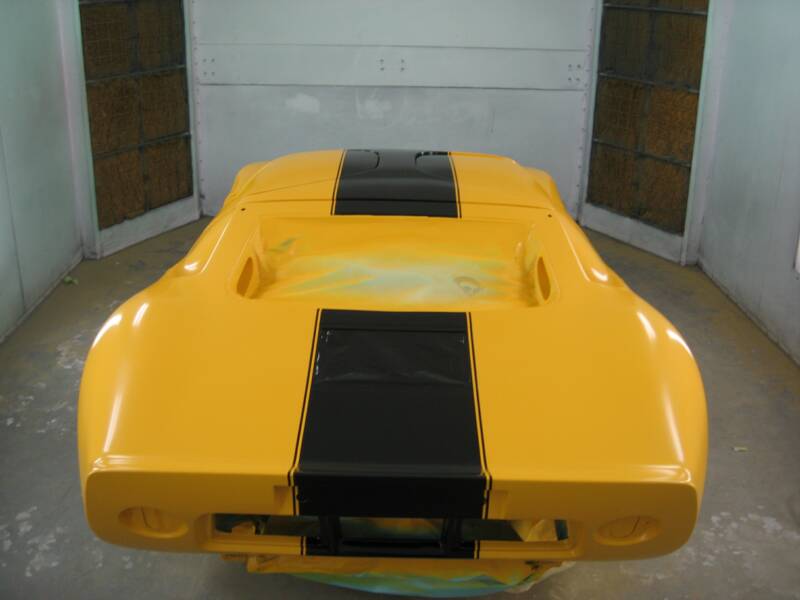
Well, that's all our basecoat work, now we'll go around the car, check it over good and make any repairs or touch ups necessary before clearcoat. It all looks good and no overspray got through, the lines are clean and sharp. Next step CLEARCOAT !
We've now sprayed the clear and everything came out great. When you get this close to the finish, it's hard to control the urge to play Ferris Bueller and sneek it out for a test ride. but there's plenty left to do.
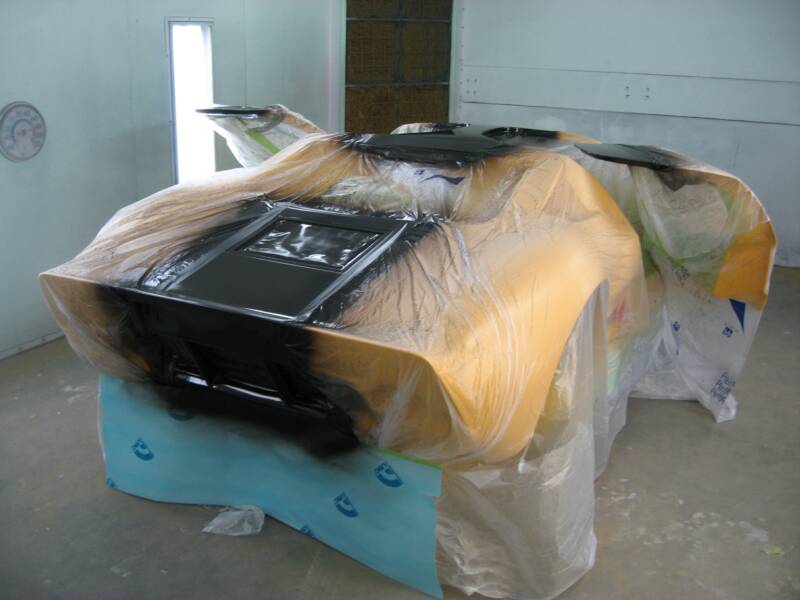
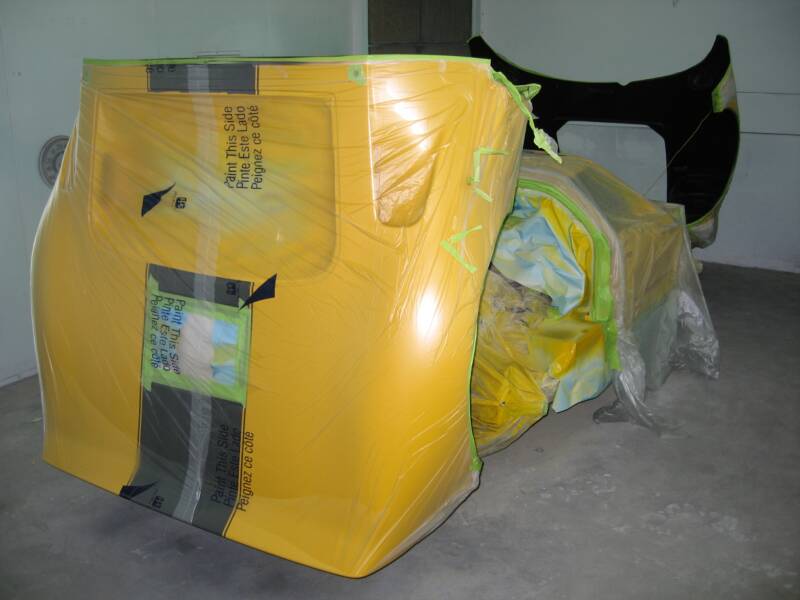
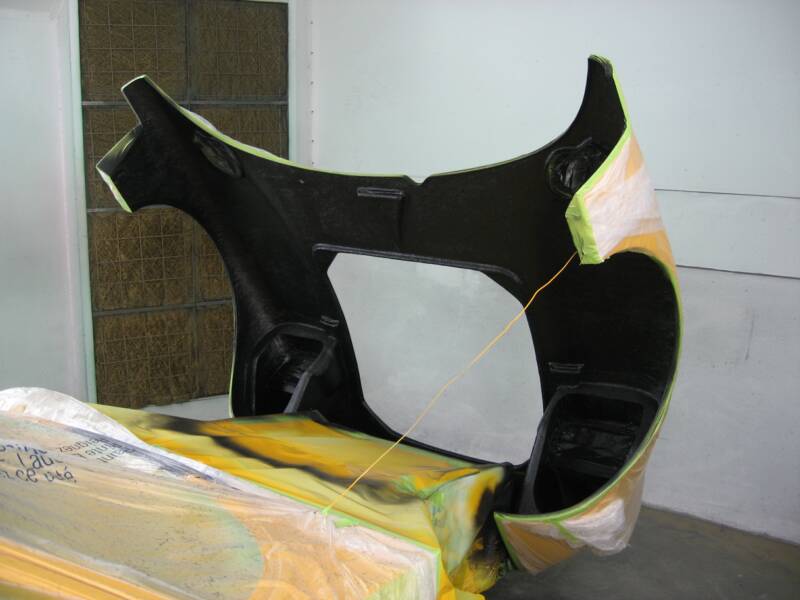
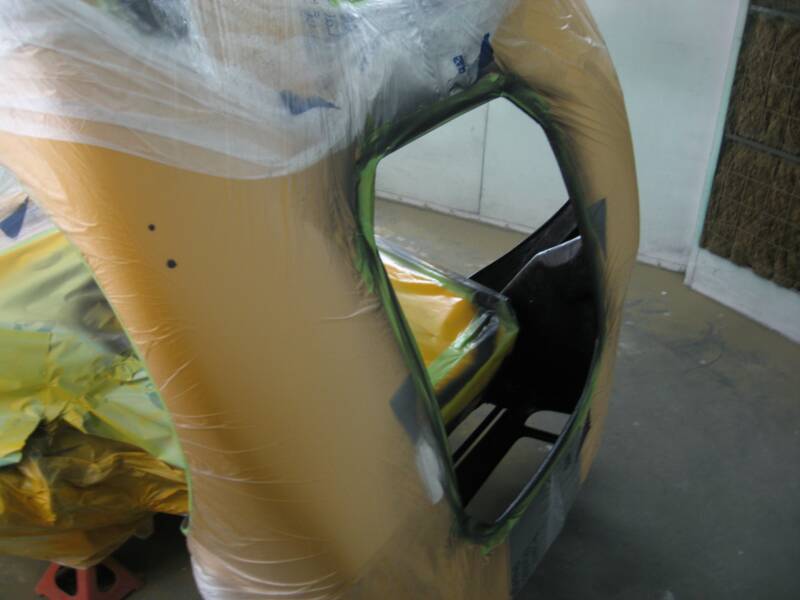
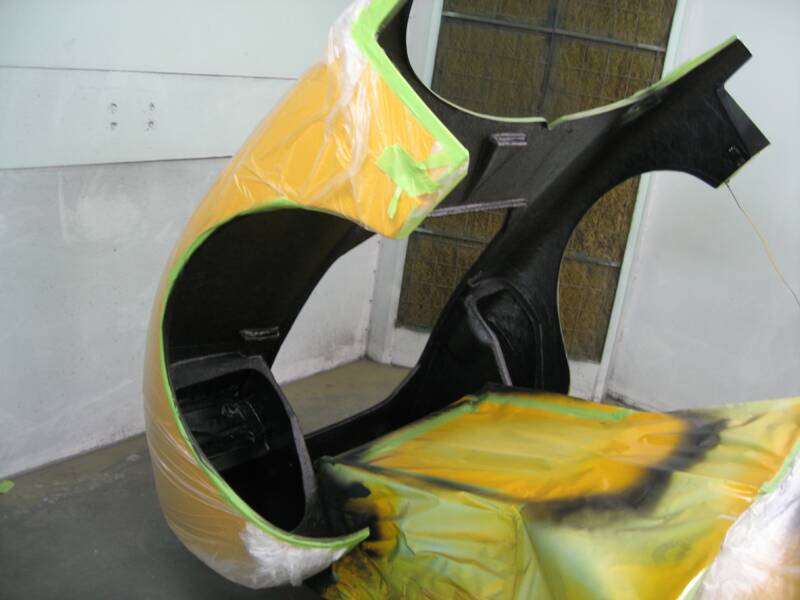
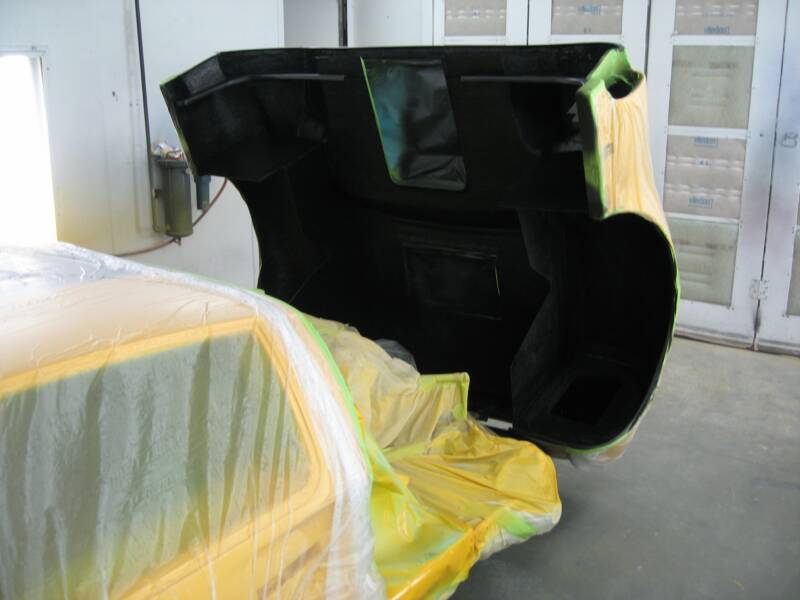
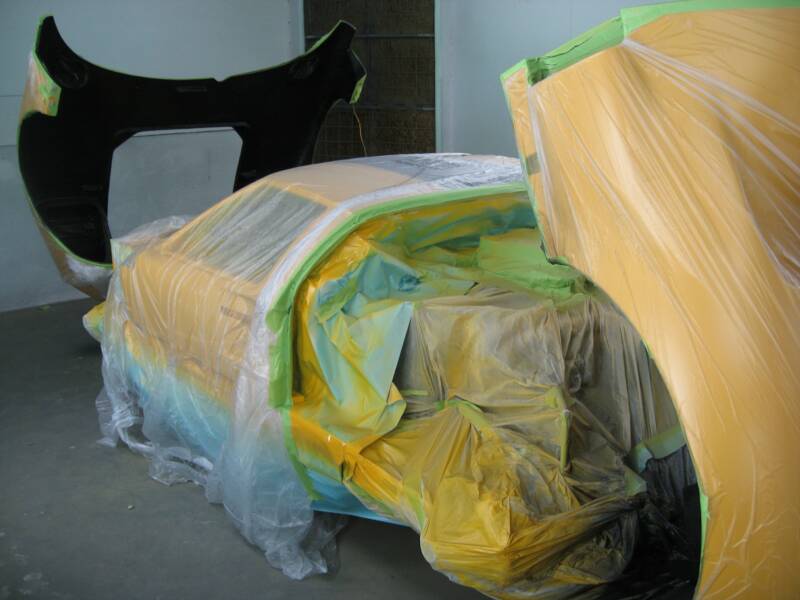
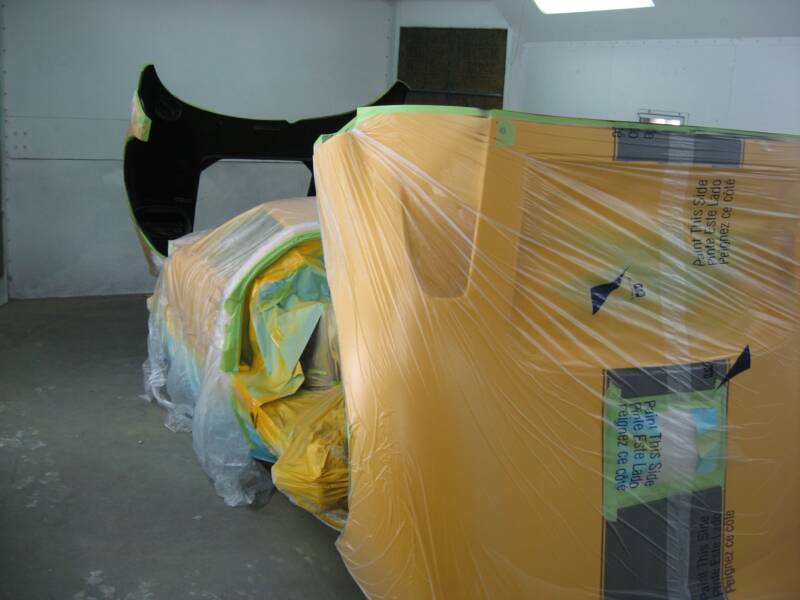
Next step is to Black out the inside surface of the front and rear clips. You may have noticed in previous shots, the raw fiberglass showing. The extieror of the panels are the only surfaces to get Gel-Coat. So we're going to start by covering our previous paint work. First we have to cover any holes in the panel, from the outside. Places where overspray might sneek between the panel and the plastic sheeting we're gonna' put on next.
So I cover the front and rear clip, on the outside this time and tape it down, all the way around the edges. I'm not doing anymore spraying on the cockpit section this time, so that gets covered completely. Once that's done, it's time to put down a good coat of Epoxy Sealer for adhesion and after proper flash time, follow with 3 coats of Trim Black. It has the same sheen you would see when you look under the hood of the car your driving now. It really finishes it off nicely under there.